This week, I finished the first step on the Journey 2 Nebula, the Seaside table runner from Jaybird Quilts. I watched Julie's video that had tips for successful piecing. Even with that, I have a few points that don't exactly match, but I know what adjustments I need to make, so I do not doubt that I'll successfully complete the diamond section of Nebula.

Since I'm not always happy with my quilting, I decided to go simple here to have a finished project. It's not that I can't do the quilting, I'm just the kind of person that wants to be perfect from the start, and free motion quilting is an entirely different skill from any that I have. It also doesn't help that my machine has a painfully small throat space. Even navigating the simple walking foot lines on the table runner got a little cumbersome.


For my binding, I went with a coordinating solid. I usually do a 2.5" binding, but since this is a smaller project, I went with 2.25". I know that the quarter-inch shouldn't make that much of a difference, but it did. It would've been faster to machine bind it, but I prefer hand binding. It always comes out cleaner. Even after attempting it many times over the years, I've never been happy with the finished results on anything I've done machine binding on.

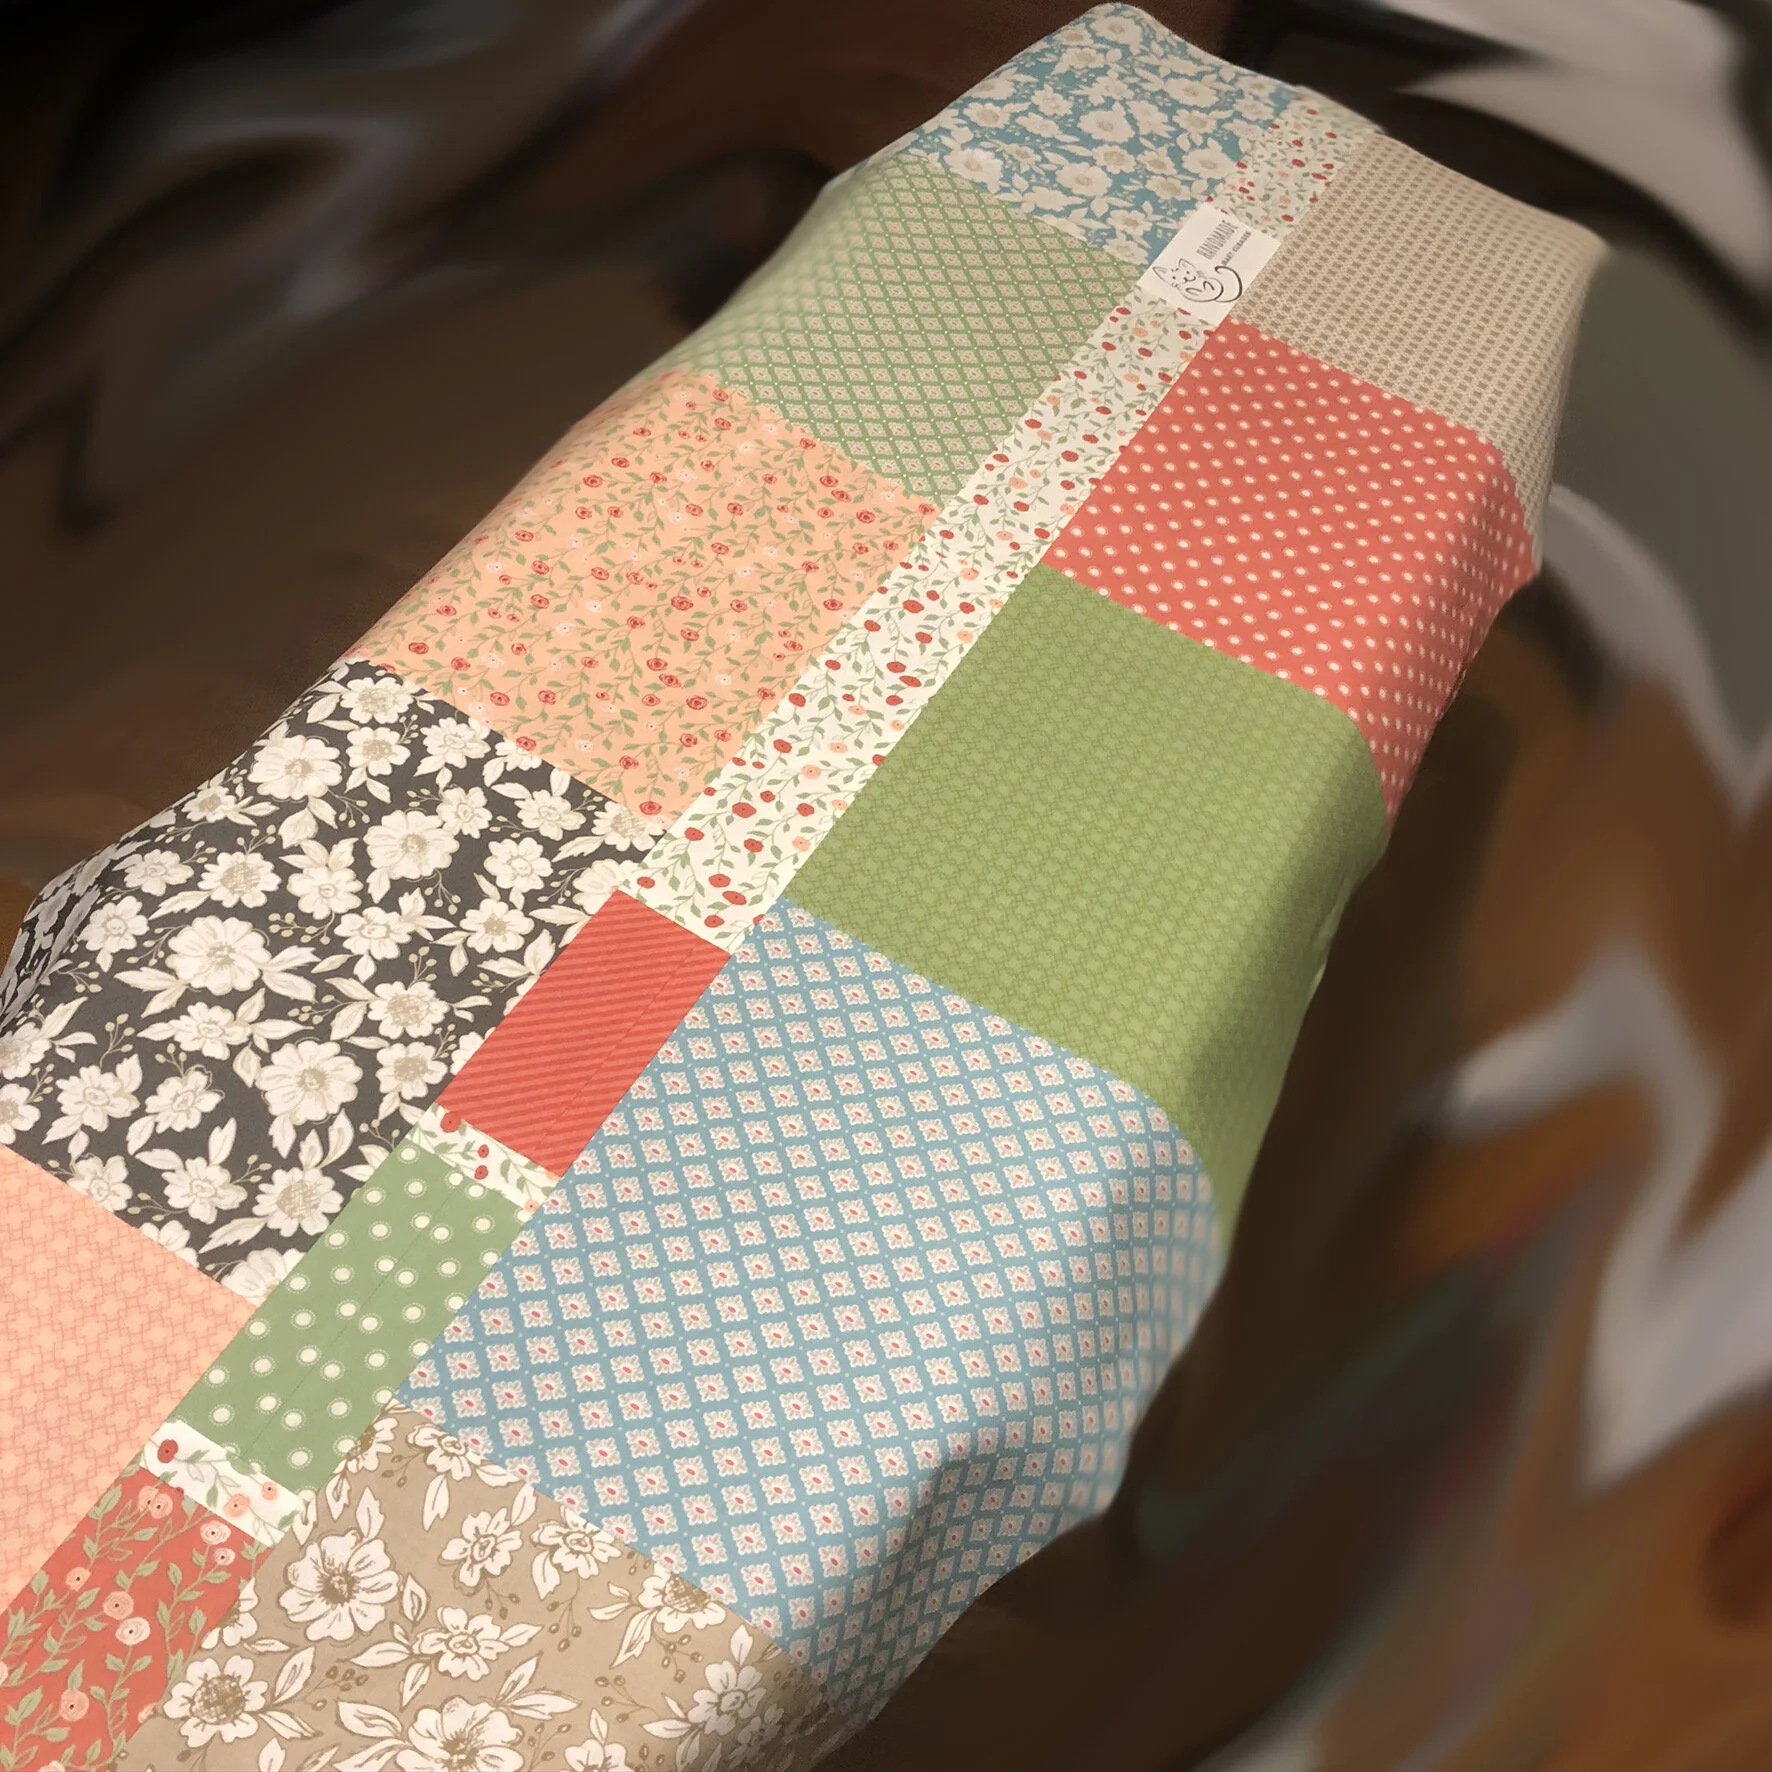
Since I wanted to use up my scraps, I did a pieced backing for this project. I've started adding labels to my projects since I don't always know what I'm going to do with them. When figuring out the backing for this project, I selected the layer cake squares I knew I wanted to use for the front, then laid out the remaining squares. I wanted to make sure to get the label in there and liked the lighter flower print, so I decided to use that as a strip down the center. I wasn't going to have quite enough length, so I went even scrappier with it. I'm almost as happy with the back as I am with the front.

I really enjoyed this project, using my stash and seeing what everyone else is doing with theirs. It's a great way to use scraps, so I'm sure this will be a project that I revisit!
Details
Fabric: Bloomington by Lella Boutique for Moda (Petite Layer Cake), unknown white from stash, Bella Solid from Moda in Lead
Thread: Aurafil 50wt; piecing and quilting: 2000, binding: 5004
Batting: Happy Cloud from Fat Quarter Shop 80/20 Silky Blend
Pattern: Jaybird Quilts Seaside
Total Hours Spent on Project: 13 hours, 24 seconds