January Calendar Crates + Tiny Sweater Pattern

It's been a very long time since I shared anything here on the blog. I've mostly been posting to Instagram, and even that has been sporadic lately. I've been thoroughly enjoying everyone else's posts, though! I don't know that there's a particular reason I haven't been posting other than it's winter, and I have a tough time in the winter.

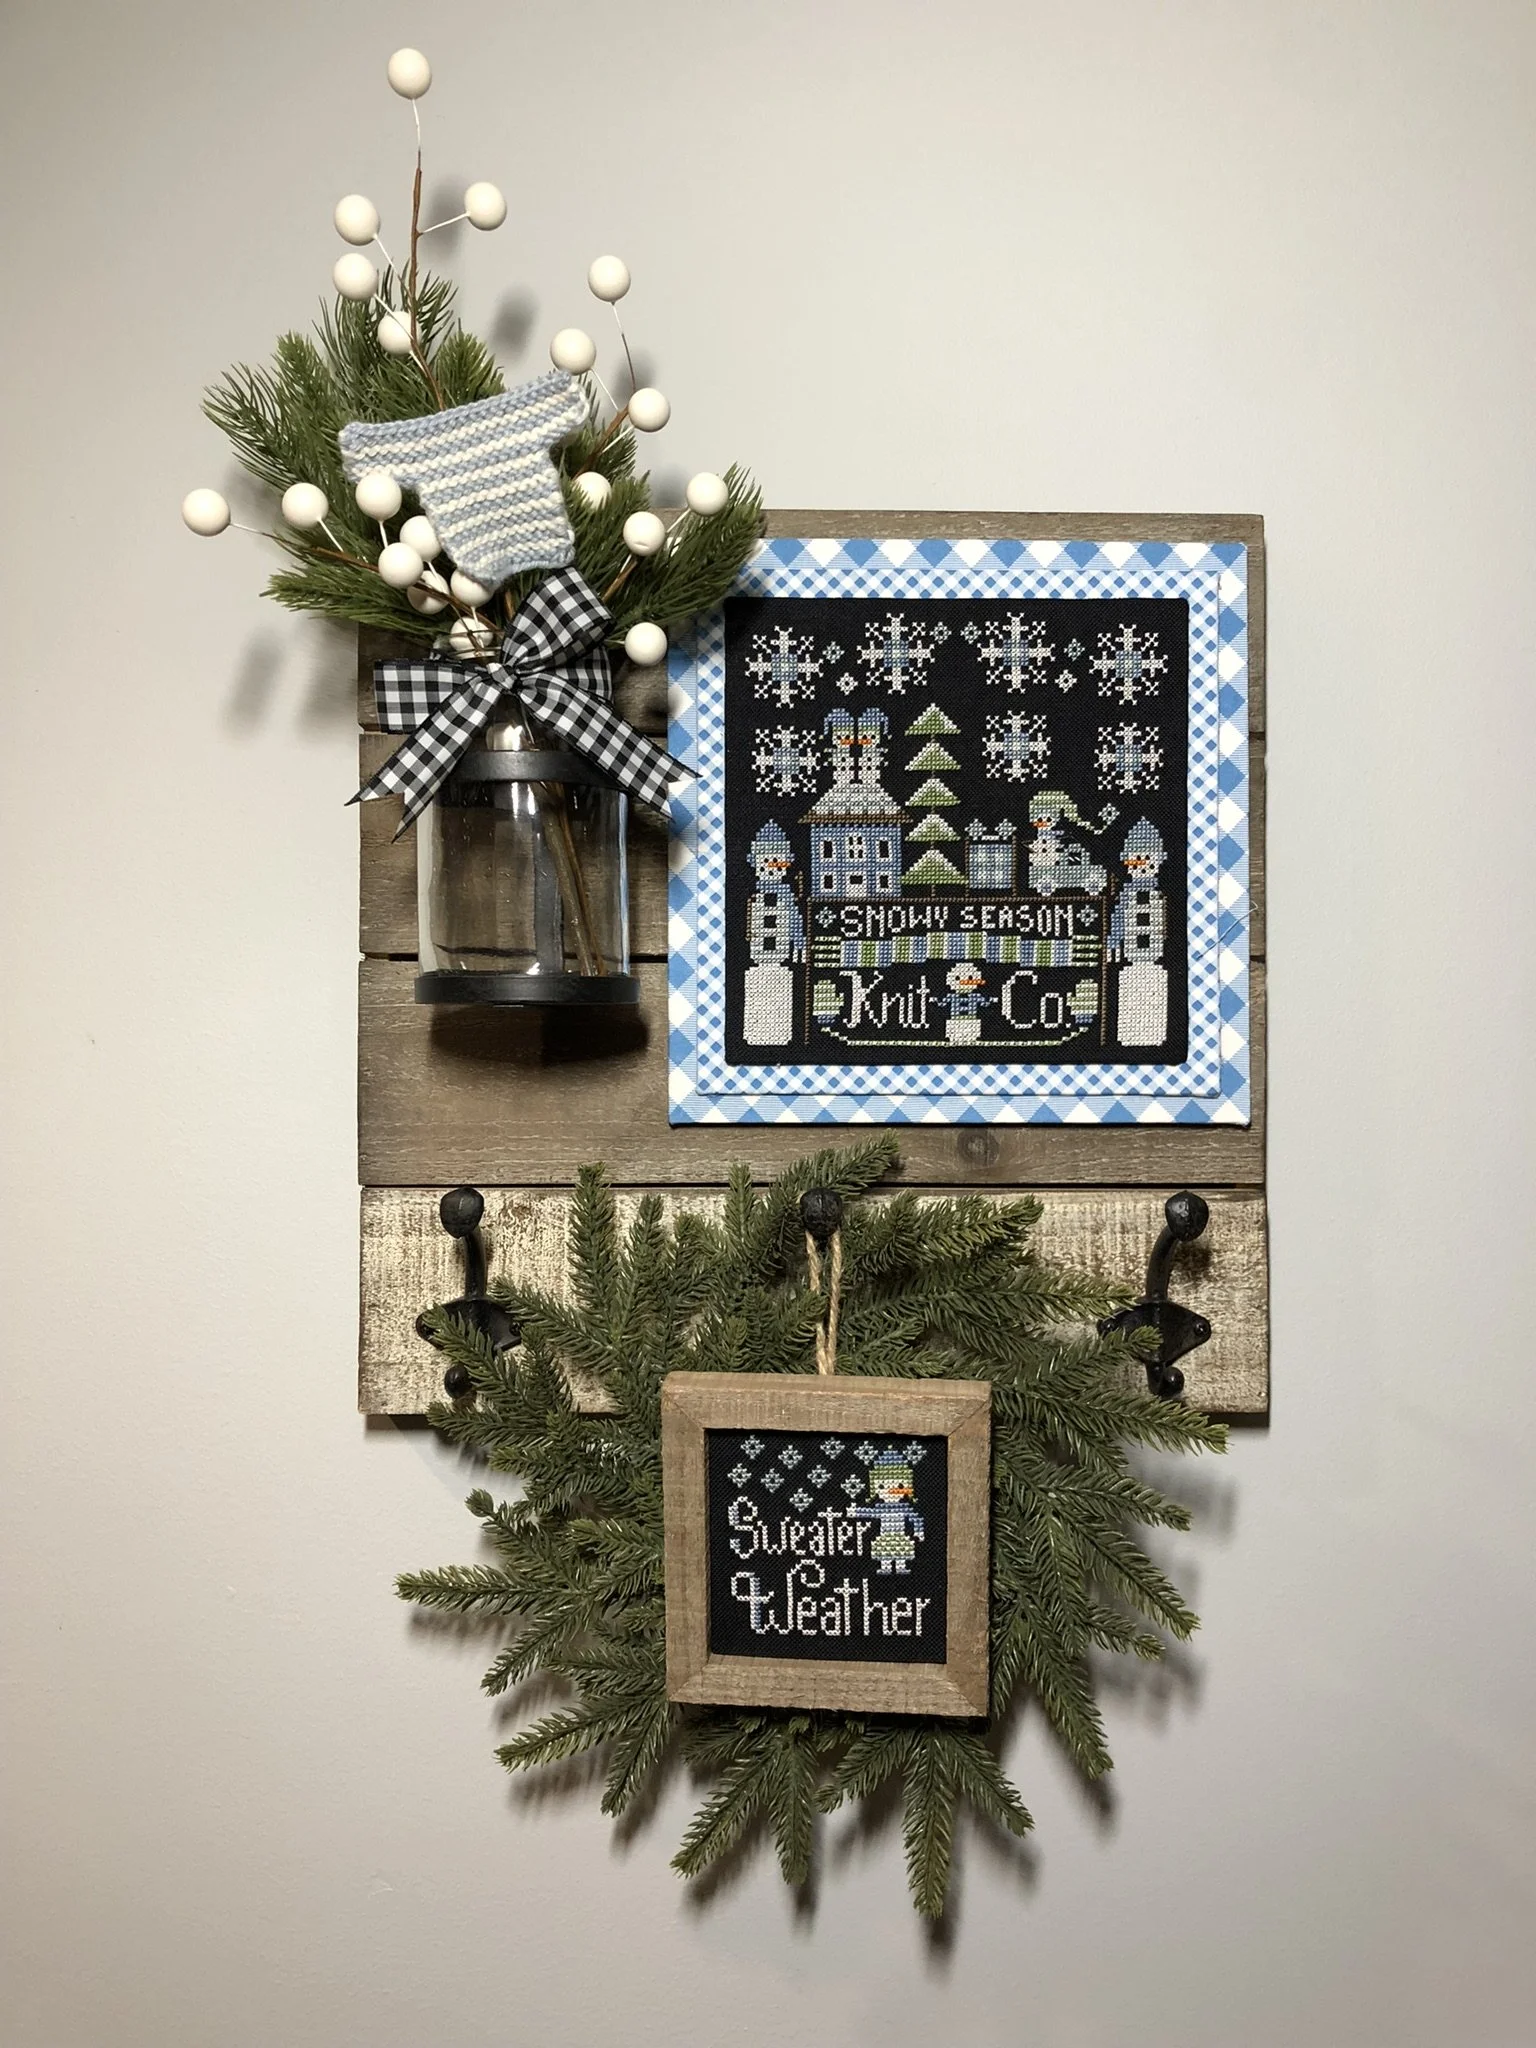
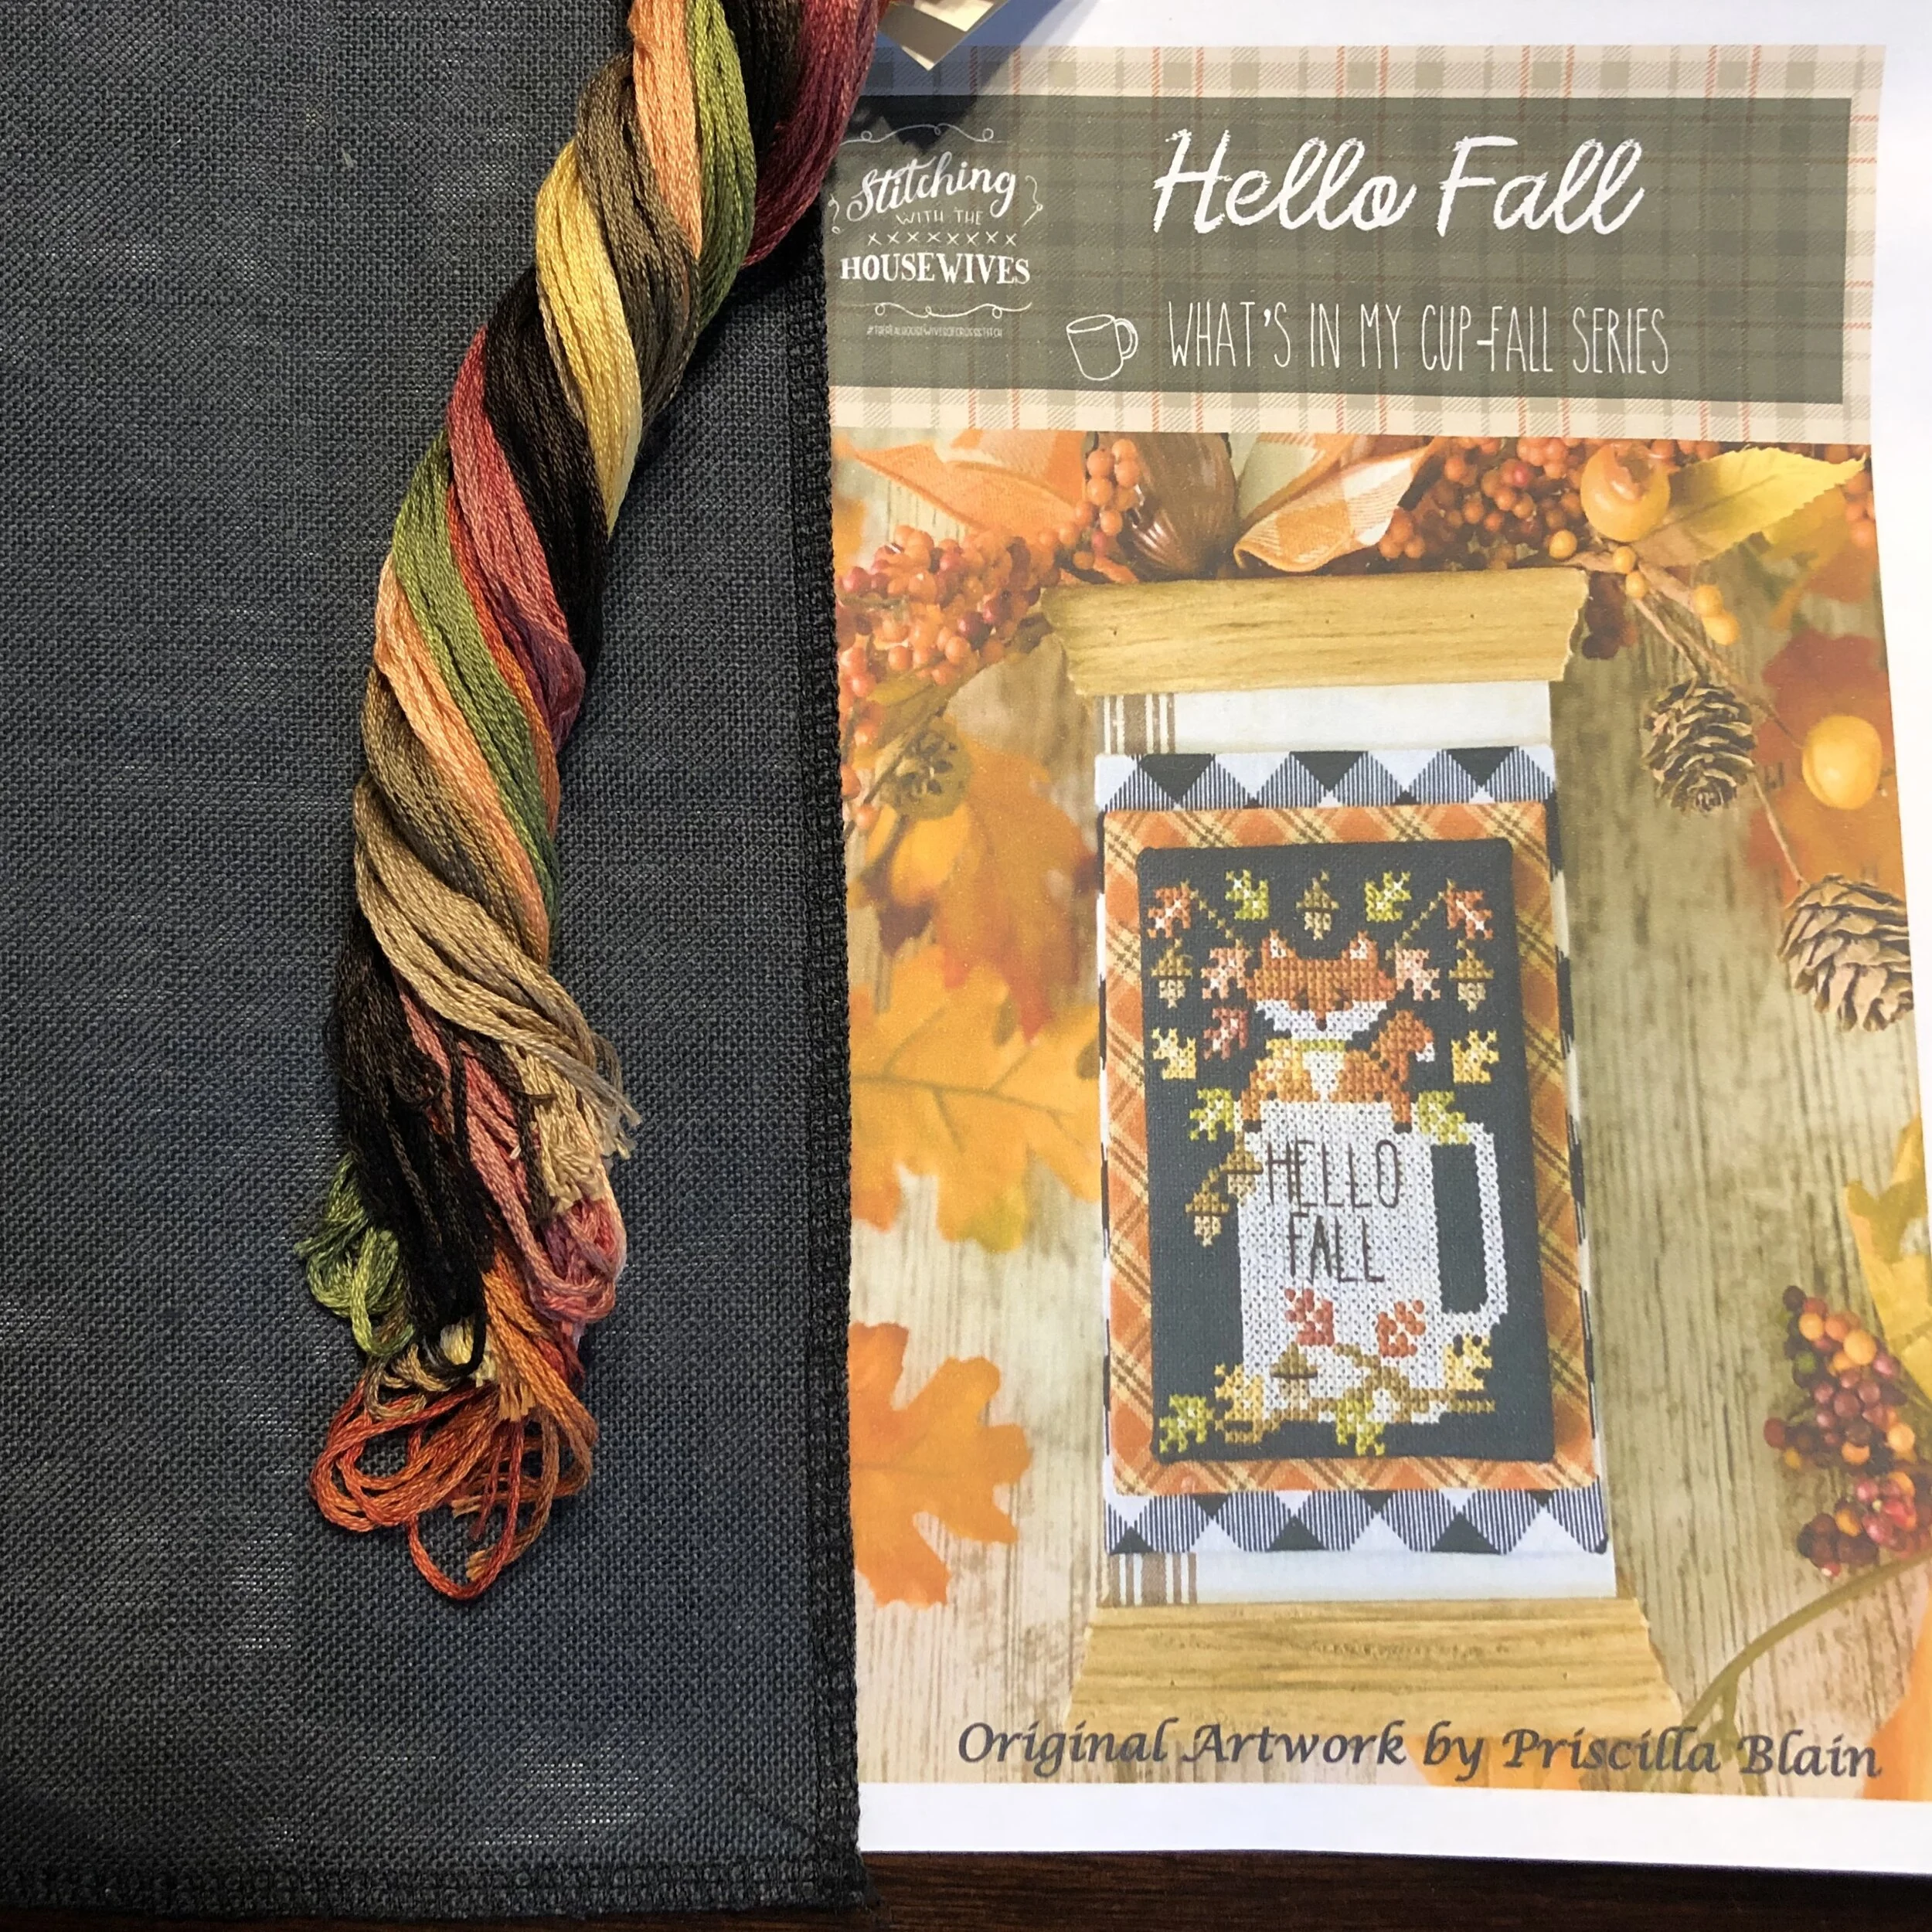
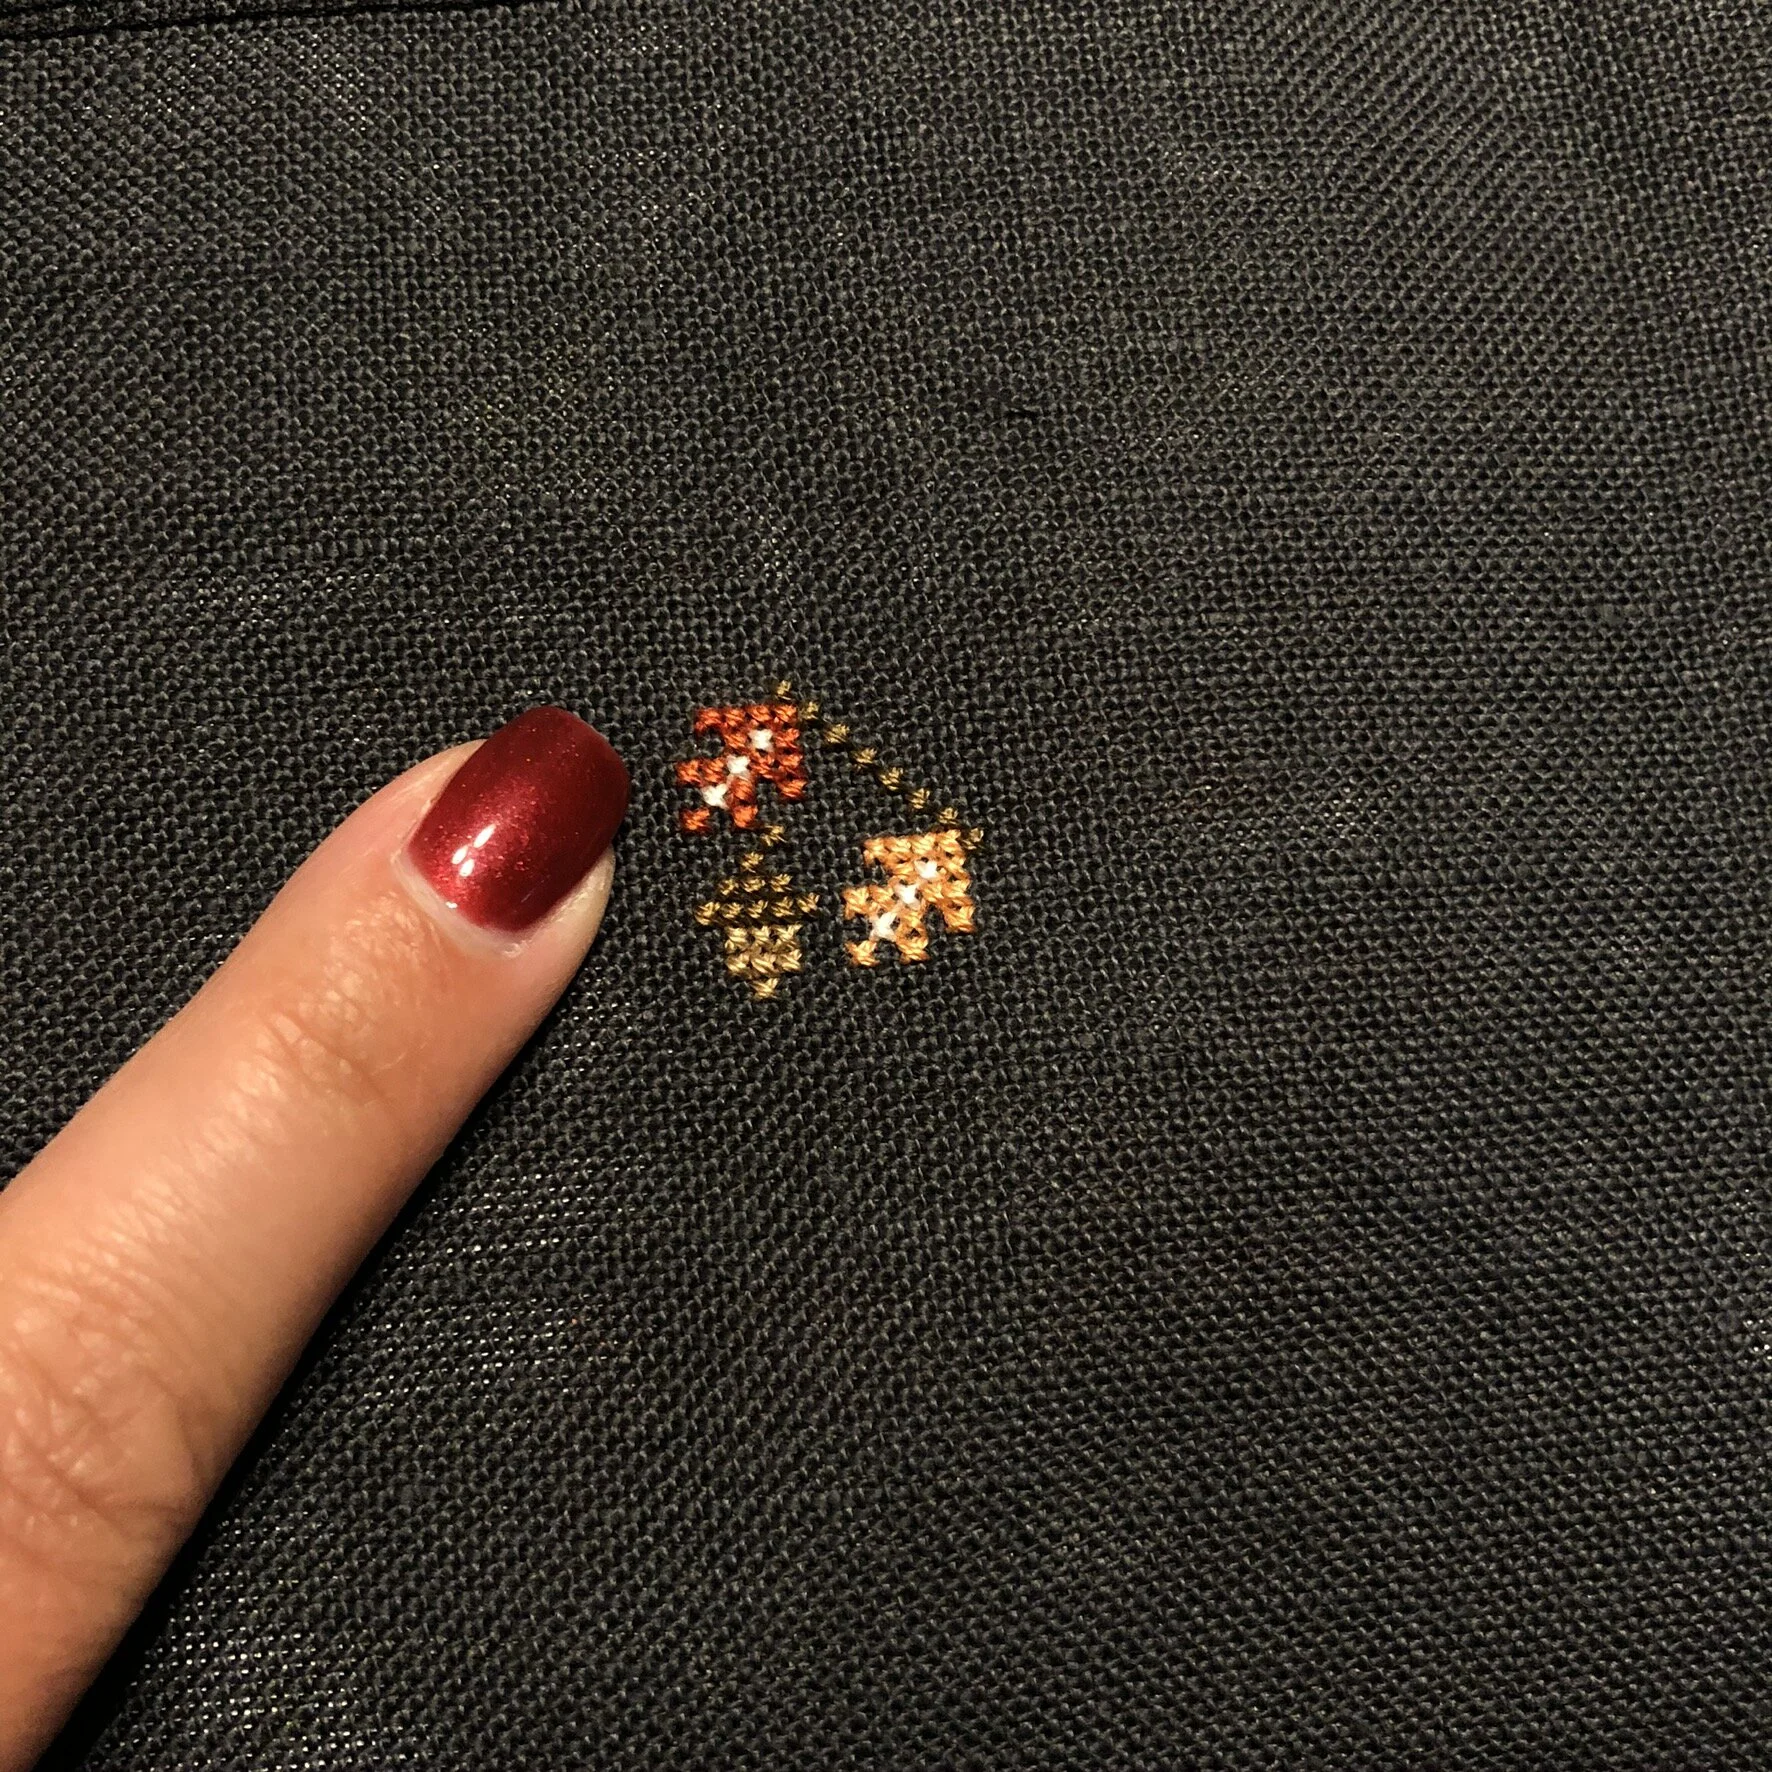
Since the first release, I have been stitching all of the Calendar Crates from Stitching with the Housewives. I finally FFO'd the January version even though the stitching has been finished since the beginning of the month. Since it was somewhat knitting-themed, and that's my day job, I decided to add a little knitted element!

I made a really, really lazy tiny sweater to go with the January Calendar Crate! It's just a worsted weight yarn knit on size US4 needles to give it a little bit of density. I was also super lazy about finishing it. I bound it off a little too tight but didn't go back and fix it, because like I said, lazy knitter over here.

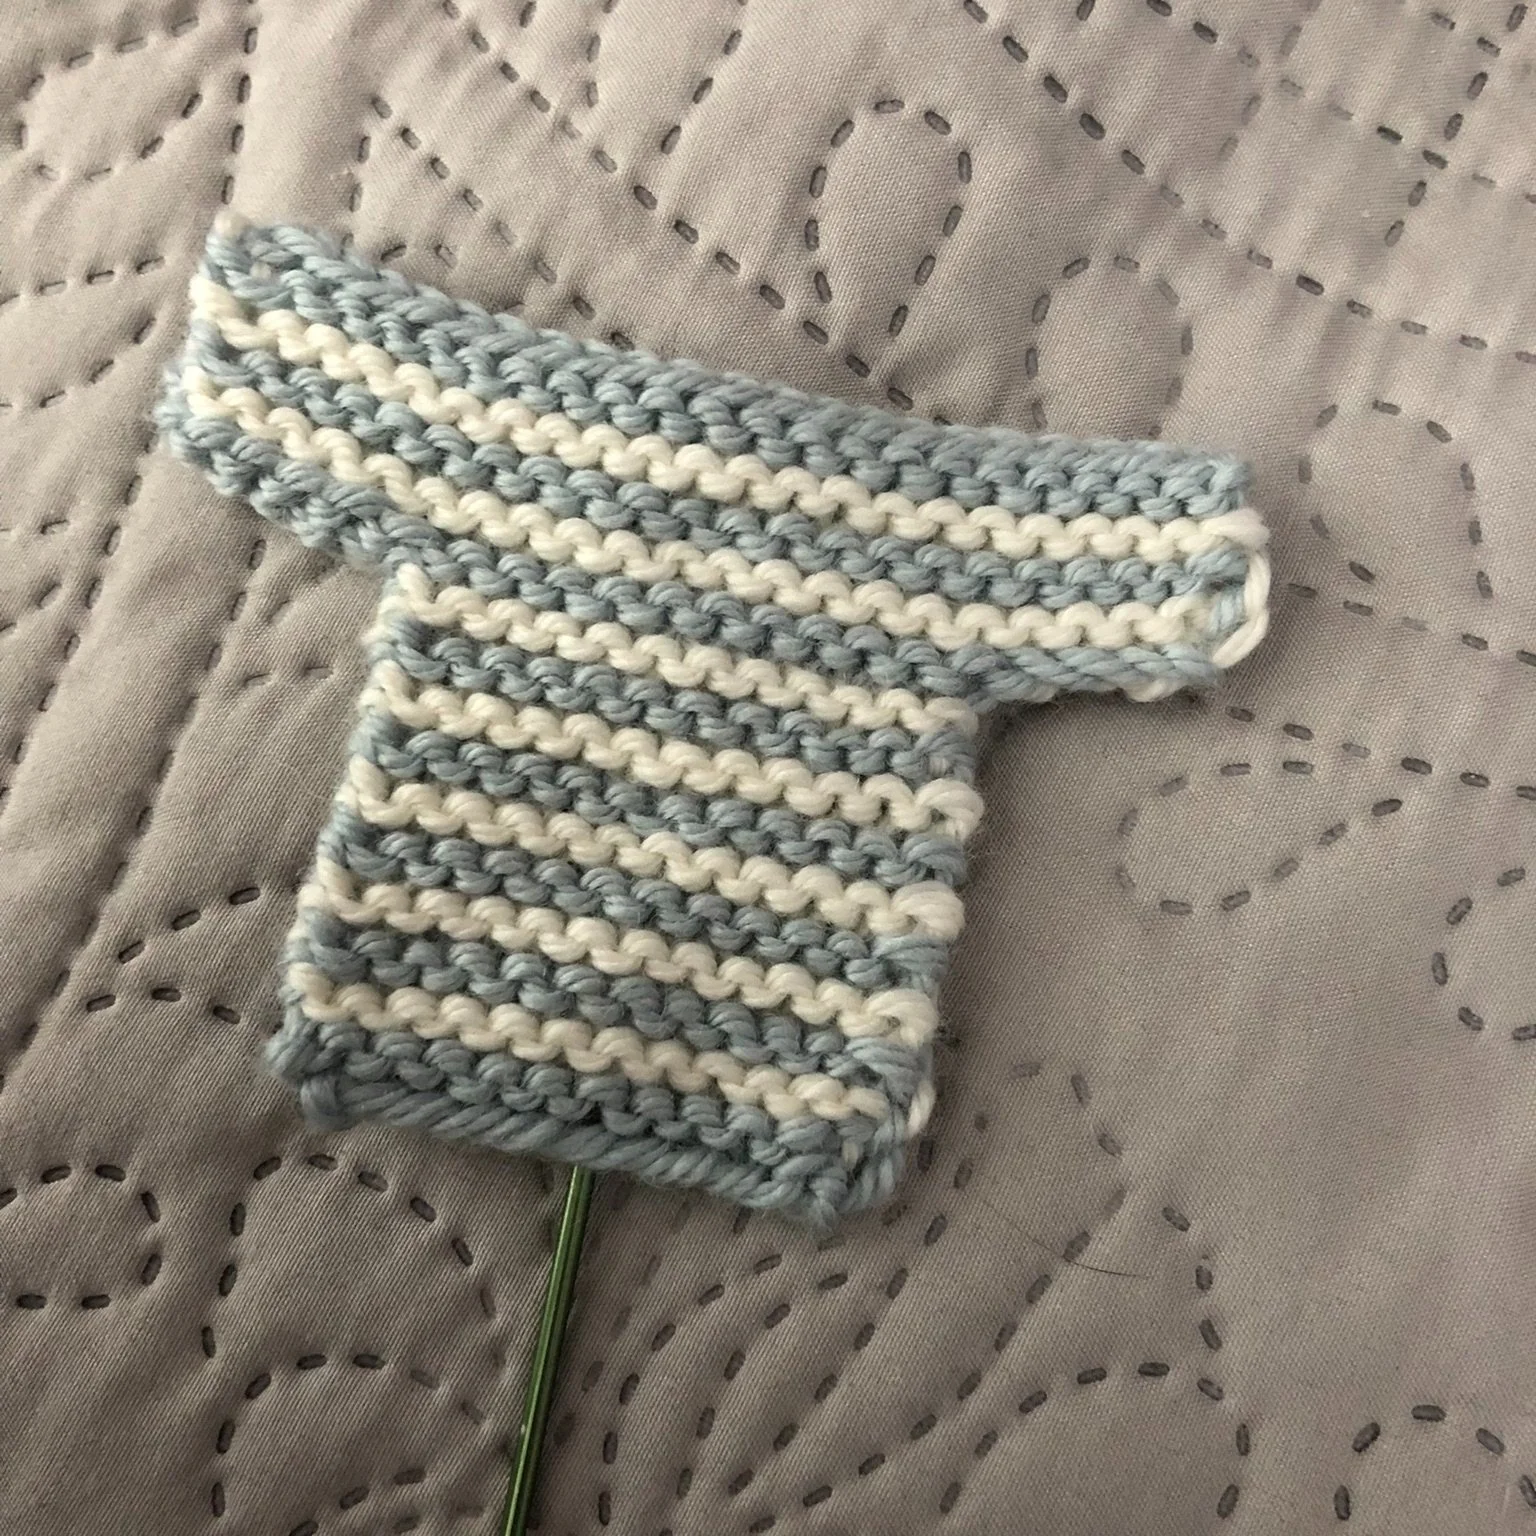
I used Debbie Bliss Cashmerino Aran in colors 202 and 25. I suppose it's sort of a fancy yarn for something so small, but I do love the yarn, and again…day job.

I quickly wrote down the pattern as I was working on it and figured I'd share it here for anyone who wants to make one too.

Tiny Sweater Pattern
In MC CO 12 sts
Knit 1 row
*Change to CC
Knit 2 rows
Change to MC
Knit 2 rows
Repeat from * 3 more times
Change to CC
Knit 2 rows
Change to MC
Knit and CO 6 sts at end of row
Next row: Knit and CO 6 sts at end of row
Change to CC
Knit 2 rows
Change to MC
Knit 2 rows
Repeat this stripe sequence one more time
BO

I just used an old DPN to thread it through the back to help prop it up in the jar. I know it's not perfect, but overall, I'm pleased with the result, and it's another project that makes me smile when I look at it!

FFO: Catoween Wanda + Catoween Cal

Recently, I was lucky enough to be the winner of a free copy of Stitching with the Housewives Catoween Wanda while watching Priscilla & Chelsea’s YouTube channel. I don't often win, so I was super excited! I'm not much of a Halloween person. There's less than a handful of Halloween movies I like, but I LOVE cats, so even before I tried to win this one, I knew I was going to purchase it. When Catoween Cal came out, I knew that I wanted to stitch both to add just a hint of Halloween to my decor.

I was going to stitch them on 32 count Wichelt Linen in Chalkboard, but I managed to catch when Fat Quarter Shop uploaded their Picture This Plus 28 count Lugana, so I grabbed a piece in Shadow, not knowing what I was going to do with it. After I hit purchase, I thought, "Oh, this would be great for my Catoween project!" So, as soon as it came in the mail, I trimmed two pieces and started stitching.

IMG_2885.jpg

I used the called for Classic Colorworks but subbed DMC 3865 for the 12-Grain since that color wasn't available when I was ordering, and I have plenty of 3865. When I finished stitching, I realized that I didn't feel the fabric was quite dark enough to stand in for the design's black areas, so I dug some DMC 310 out of my stash and stitched those no-stitch areas. (I have an abundance of 310, so next time I think I need it, I do not!)

I enjoyed stitching both of these pieces. I prefer evenweave over linen, but it's a little harder to come by in the colors I want to stitch on, so when I can get it, I do. Otherwise, I make do with linen. They were reasonably quick stitches considering I feel that I am a slow stitcher.

To finish, I used sticky board that I trimmed down to fit the stitched piece, added a piece of 100% cotton, and layered the piece over the top. I did use It's Sew Emma Finishing Tape to secure it, mostly because I did not feel like dealing with the glue gun. I had a half yard of Midnight Magic plaid that I used for the background fabric. I knew I wanted to use the candy corn pick I had ordered a while ago, but I wasn't quite sure how. After messing about with the layout, I decided that I preferred the bow/candy corn combination at the bottom. I used a scrap of fabric from my stash that I tore into strips for the bow. I'm not a great bow-maker, but I don't hate the way this one came out.

IMG_2911.jpg

Looking at these two kitties makes me smile every time I walk by!

Details 

Pattern: Stitching with the Housewives Catoween Wanda, Stitching with the Housewives Catoween Cal
Floss: Classic Colorworks in called for colors but swapped 12-Grain for DMC 3865 and added DMC 310 for the pupils and pumpkin black areas
Fabric: 28ct Picture This Plus Lugana in Shadow; Finishing Fabric - Midnight Magic by April Rosenthal for Moda, random stash fabric for ribbon
Additional Finishing Items: Display Stand Set from Amazon, Candy Corn Pick from Michaels
Total Hours Spent on Project: Wanda - 8 hours, 47 minutes; Cal - 8 hours, 34 minutes, plus about an hour finishing both

FFO: Hello Fall

I have finished another cross stitch project! This one is to decorate my house for Fall. Let's ignore that it is now October 7th, and I haven't even put my Fall decorations up yet. I'm usually much faster. The first week of September, but I haven't been ready to let go of summer, and we've had an on-going basement project, which means my decorations are currently a little harder to get to.

Anyway, I'm a big fan of Priscilla and Chelsea of Stitching with the Housewives/The Real Housewives of Cross Stitch. I'm thrilled that they've started releasing their own patterns and love that many of them are on the smaller side because that means I can complete them in a reasonable time. I track my crafting time, mostly because I like to see what I've done with my time. Before I started doing that, I would inevitably hit Sunday night and say, "Did I even DO anything this weekend?" Now, I know whether I did or I didn't!

This finish is part of the What's in My Cup Series from Stitching with the Housewives and is called Hello Fall. It's an adorable fox popping out of a mug with leaves and acorns scattered around. Even though this is a smaller project, it still took me a decent number of hours. I discovered that most of the reason for this is I tend to get distracted while stitching, because of what I'm watching, where I am, who I'm talking to, or my phone has something VERY (not) interesting on it. Anyway, I stitched this little guy (I don't know why I'm assuming he's a guy, but that's how he's spoken to me) in the called for colors of Classic Colorworks on 32ct Wichelt Linen in Chalkboard. The pattern suggests 28ct, but when it comes to linen, I prefer 32ct. If it's an evenweave, I don't mind 28ct, probably because the threads are a little thicker on most evenweaves than this particular linen.  

IMG_2670.JPEG

Because I used 32ct, my stitches are so tiny. When I first started, I took a picture of the little leaves next to my fingers (which just so happened to coordinate well) and texted it to my sister, wondering if I'd made a terrible mistake. I knew how I wanted to finish it, so I did want the finished stitching a little on the smaller side, and the 32ct would get me where I wanted to be.

IMG_2671.JPEG

Stitching on dark colors can be a little tricky. I've found recently that I have a bit more trouble seeing the holes than I have in the past. I don't know if my eyes are tired from staring at a screen all day, or if my eyes are getting older. (They're not that old...they're only going to be 38 on November 12th, but I don't know when eyes start changing. I did read recently that by age 40, your eyes need twice as much light as they did when you were 20. That was kind of...eye-opening...yeah, I went there.) I've found that having adequate light and putting the pattern in my lap under my stitching makes it easier to see the holes on dark fabric.

I stitched away on my project and kept wondering if I wanted it to say, "Hello Fall." Since we're already in October, it felt a little late to be welcoming Fall in, so I decided to make a slight change to "Happy Fall." I thought that this would carry me through to my Christmas decorations a little better than the original. It was a simple change since I only had to change a few letters. I grabbed some graph paper and did a little doodling, and in no time, I had the new letters.

62355254807__E8E28048-8A2C-4B0E-86ED-79B46B19E3C7.JPG

I knew that I wanted this to be an addition to my autumn decorations, but I wasn't sure exactly how to do that. I love watching Priscilla's finishes every weekend, but I'm still a little new at it, so mine isn't perfect, and I have this terrible trait that prevents me from finishing a project. I think it's two things. I want it to be perfect, and I have a terrible time making decisions and don't want to regret my choice.

About a month and a half ago, I placed an order online at Michael's. The store near me is open, but I'm still trying to avoid going out as much as possible, which is tough, but it feels like the right thing to do right now. I'm a sucker for plaid, and when I saw the 6" Oval Plaid Metal Bucket from Ashland, into my cart, it went. It helped that it was on sale! I added some other assorted finishing pieces, frames, florals and picks, and some ribbon, thinking ahead to some other projects that I wanted to finish. They were all on sale, which is my favorite kind of purchase.

I created a floral arrangement to go in the bucket with various florals that I ordered, sticking to an autumn/orange theme. I haven't picked up any fake flowers since probably the mid-90s, so I had to dig around the garage for some wire cutters to cut the pieces apart. I'm also not super confident with my arranging skills at this point, but I think, overall, the arrangement came out pretty cute.

I didn't take any pictures of my finishing process, since I'm still not a pro with the glue gun, but I used black foam board under the finished piece and sticky board under the fabric. The fabric is from Lori Holt's Prim collection. I cut the foam board to 3" x 4" and the sticky board to 4" x 5" and attached the fabrics to each with a combination of finishing tape and hot glue. Since the bucket is metal, I glued a magnet onto the back of the piece and stuck it on the bucket. I did test the magnet first to make sure that it stuck.

IMG_2763.JPEG

Despite parts of it being a little lumpy, I'm pleased with how this looks. I'm looking forward to adding it to my other autumn decorations, and I think I'll be sad to put him away the day after Thanksgiving.

Details 
Pattern: Stitching with the Housewives Hello Fall
Floss: Classic Colorworks in called for colors
Fabric: 32 Count Wichelt Linen in Chalkboard; Lori Holt Prim Daisy Gingham
Total Hours Spent on Project: 12 hours, 29 minutes stitching, about an hour finishing