Sewcialites: Block 6

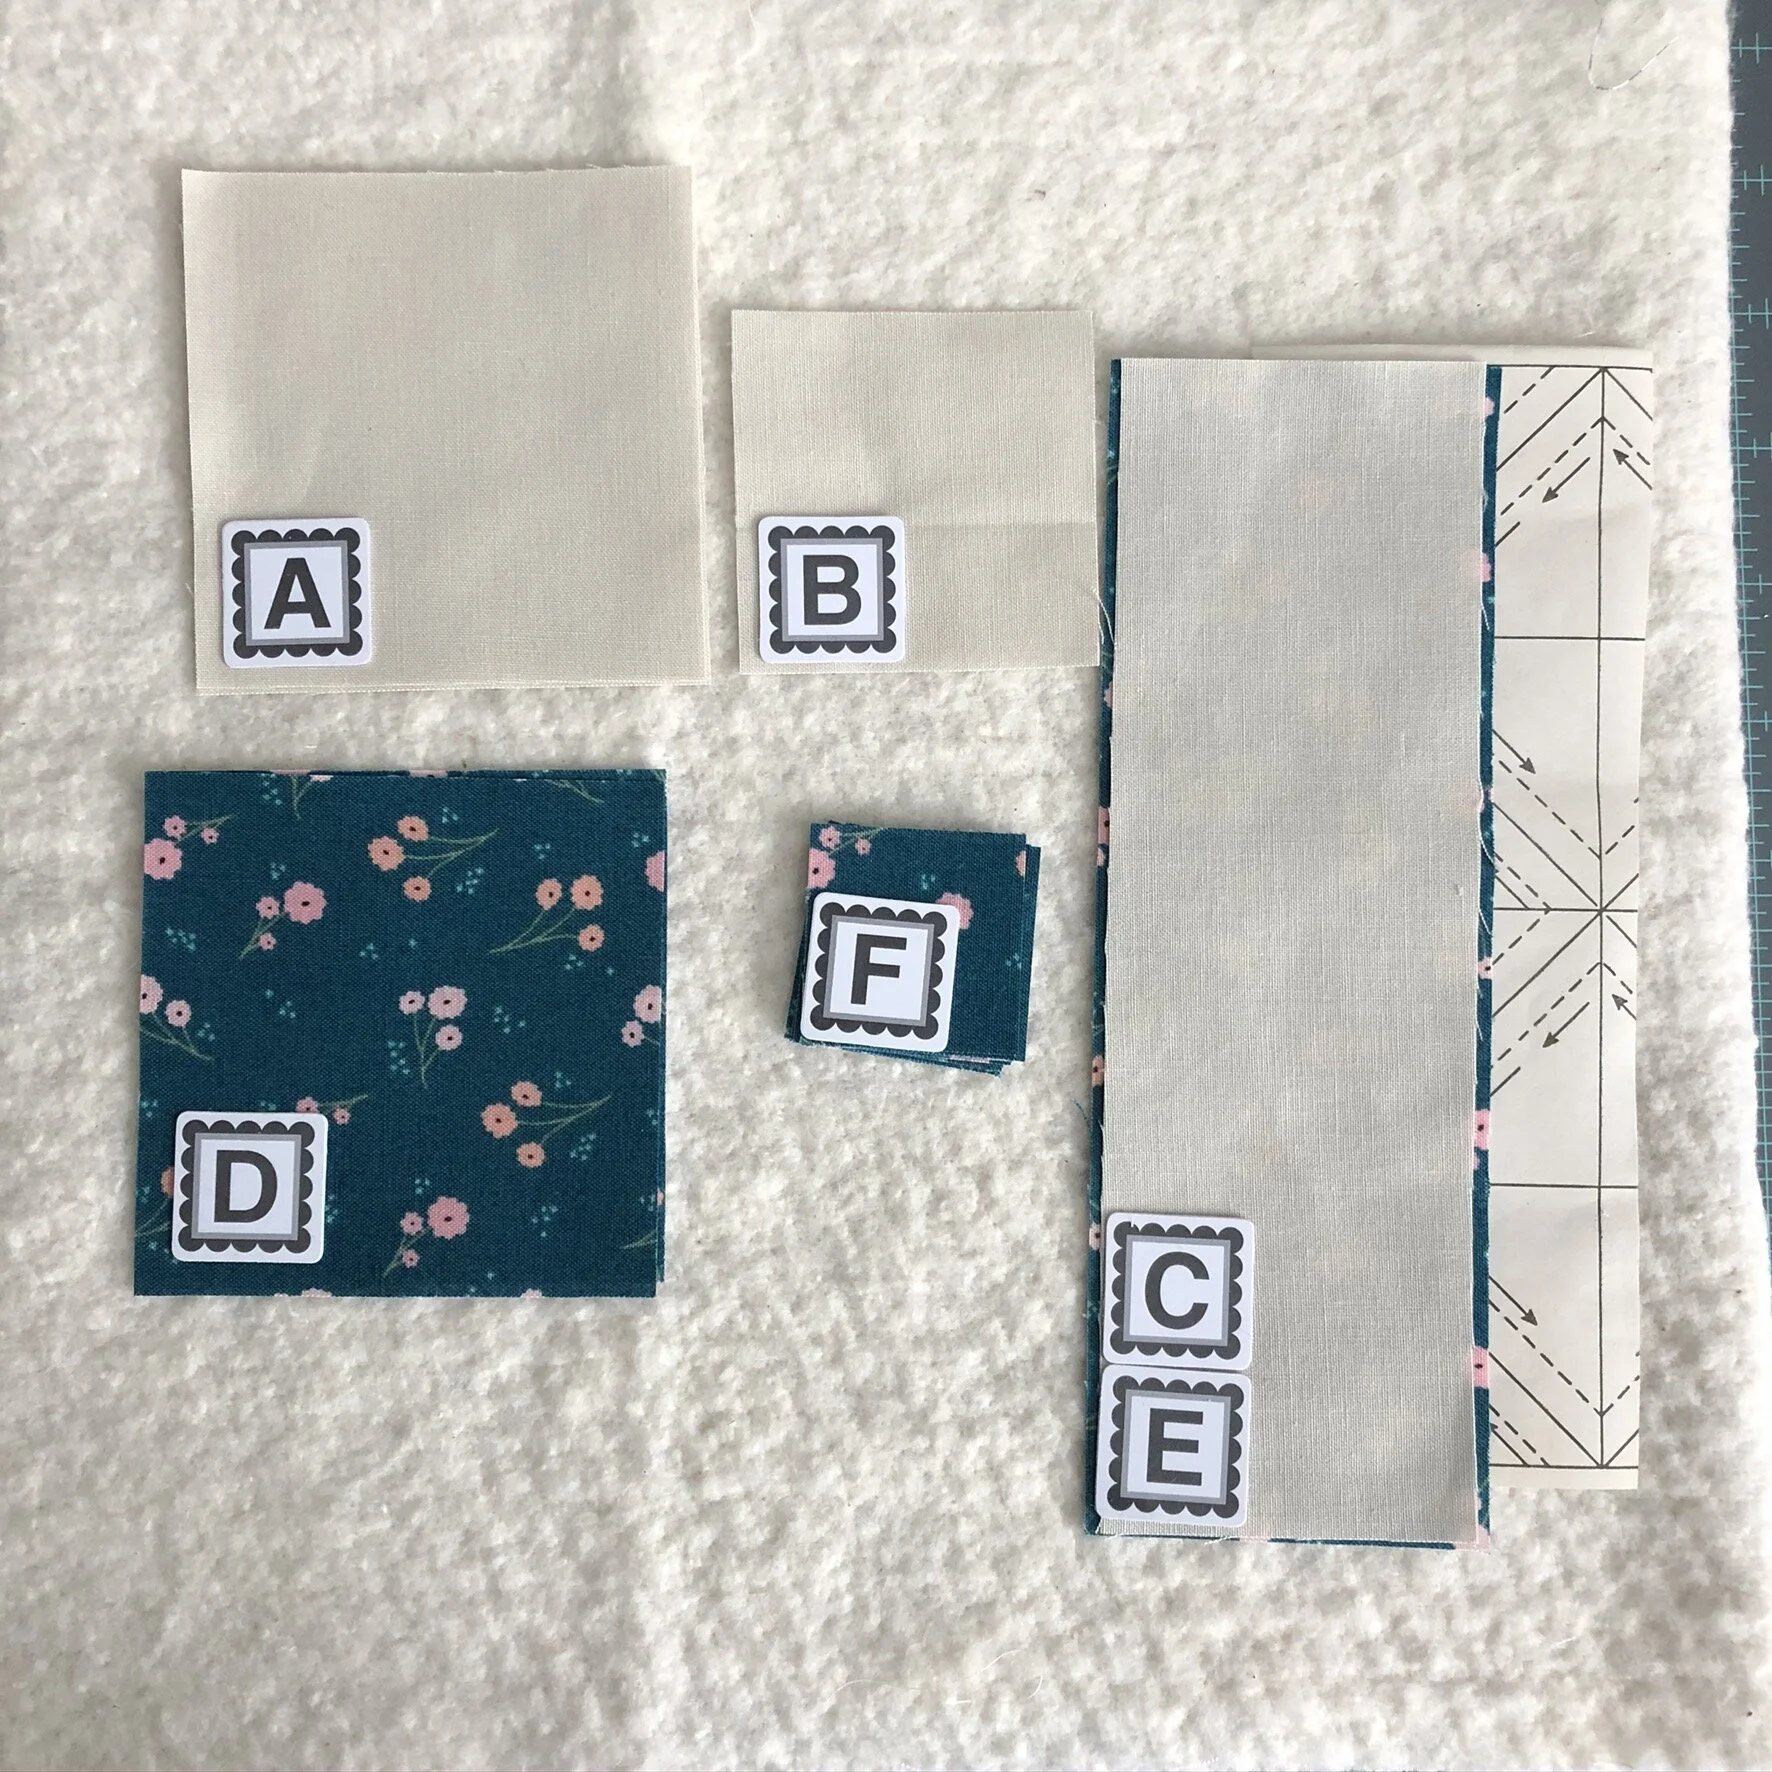
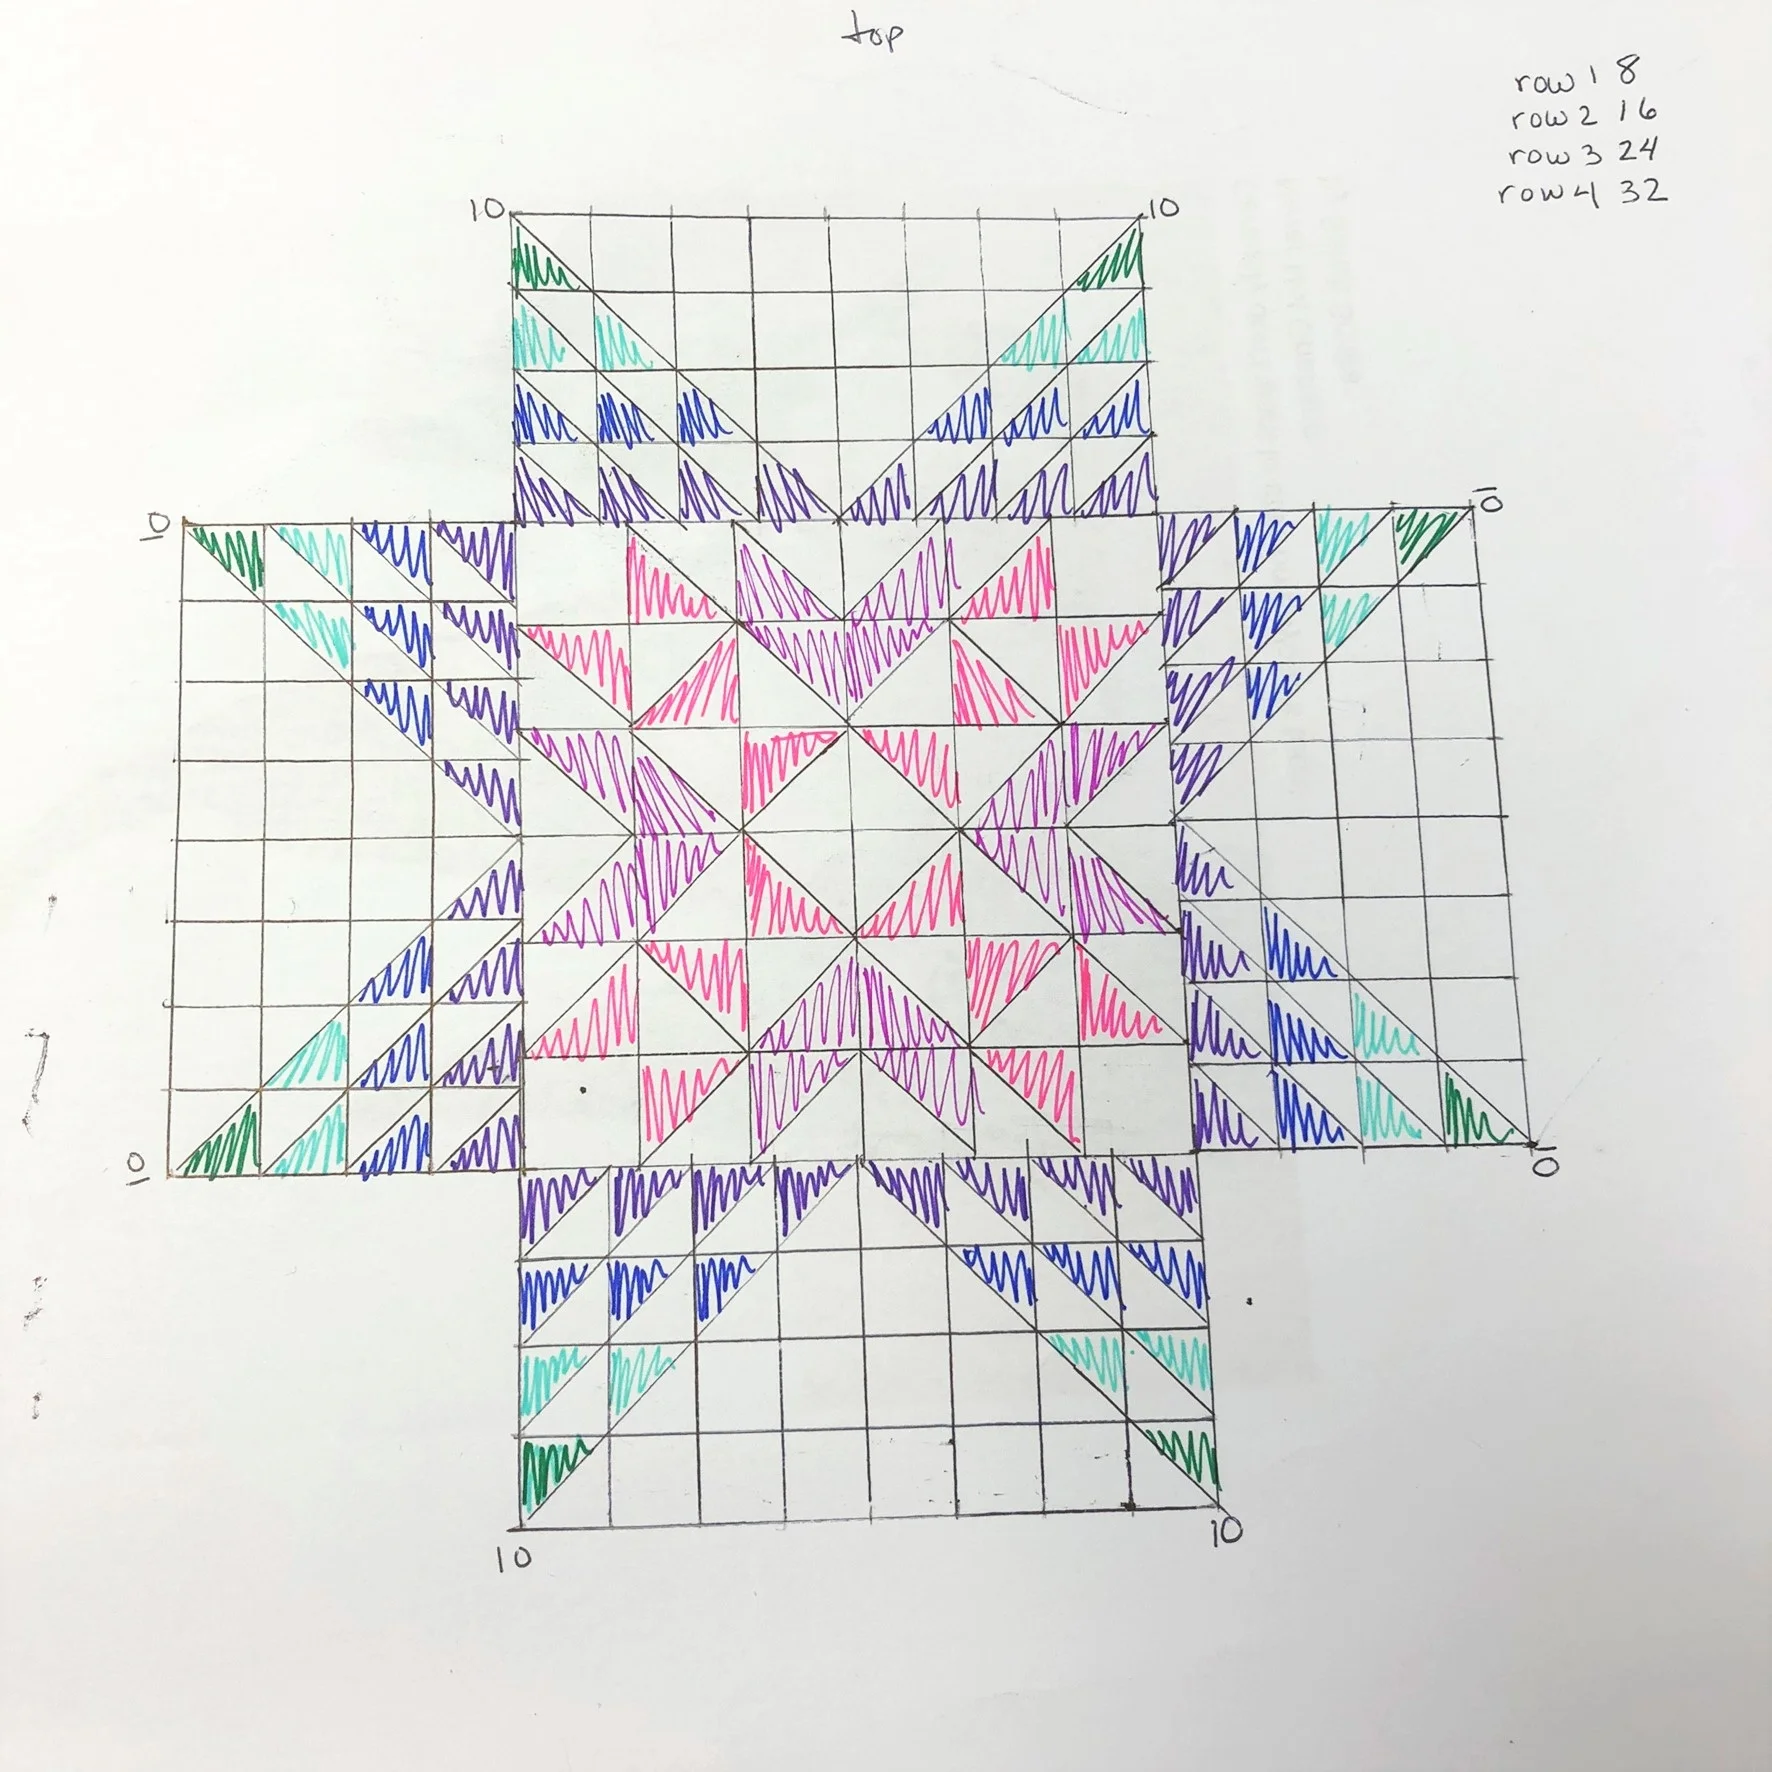
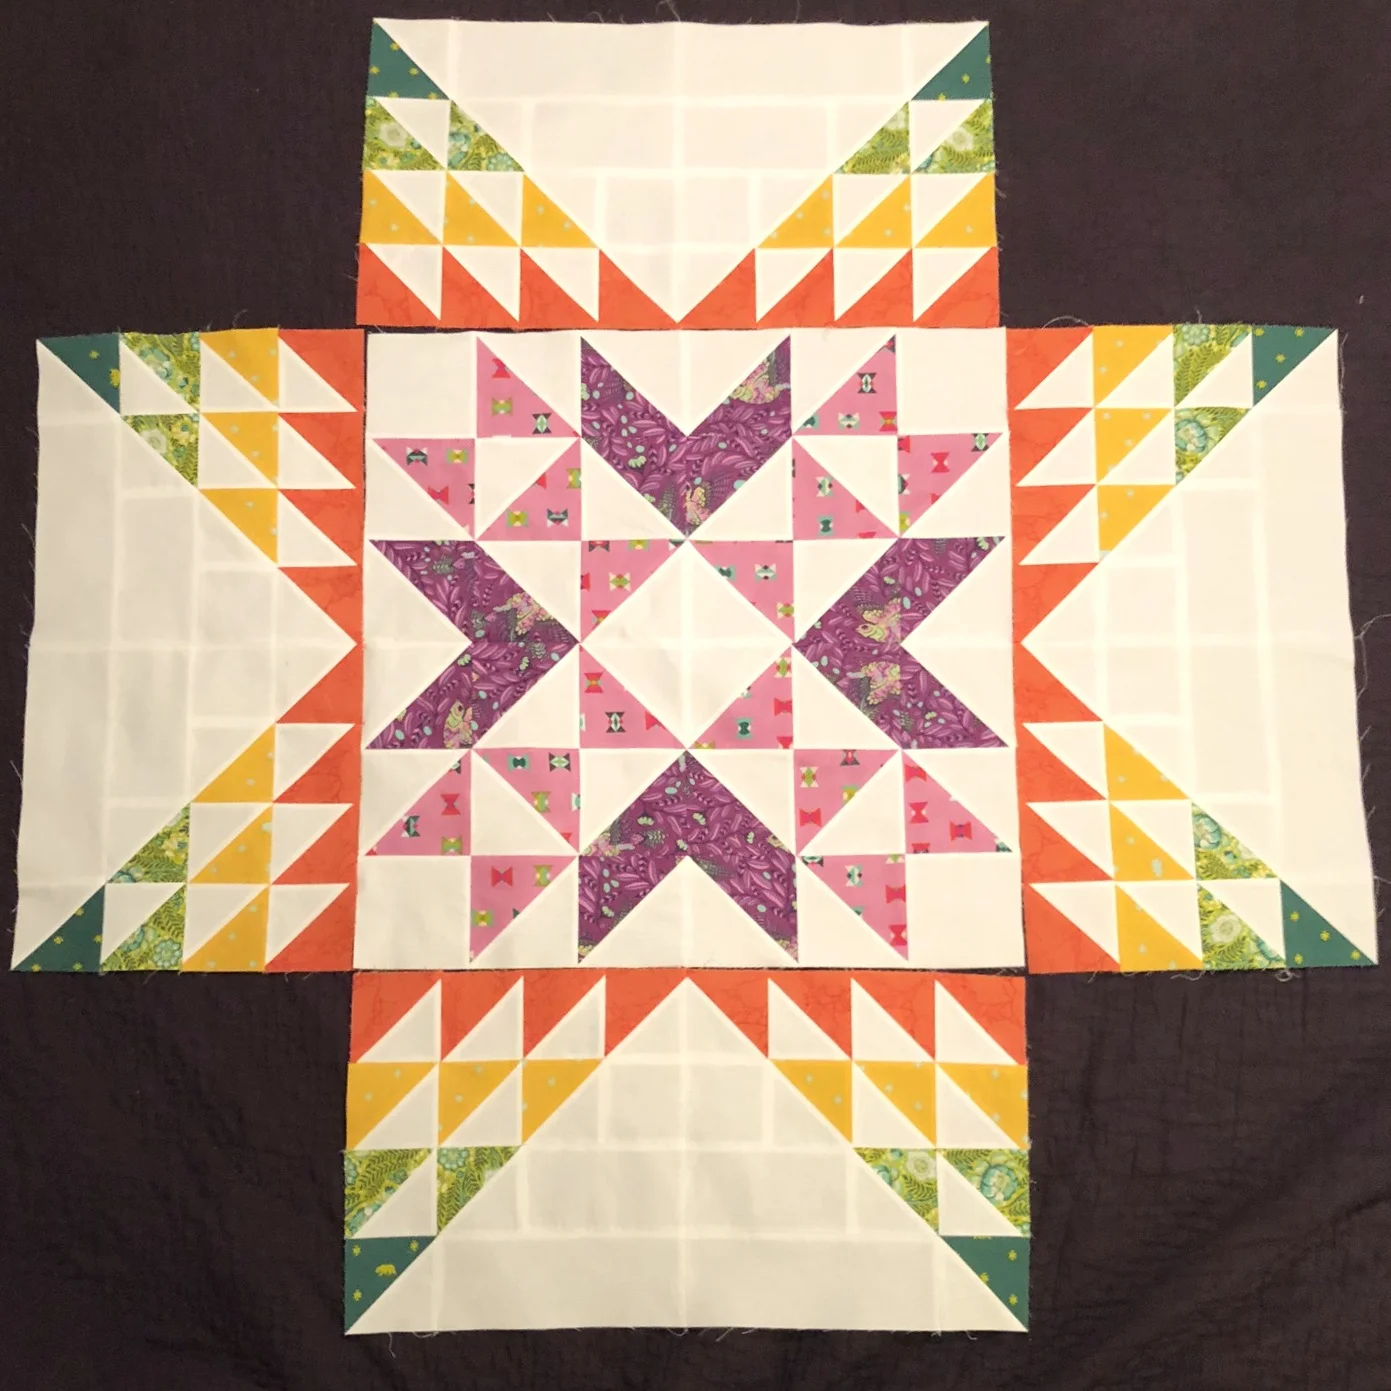
Block 6 of Sewcialites is called Devoted and is brought to us by Robin Pickens. This one is rated experienced, and I would definitely agree with that rating. It took me about an hour and a half to complete. There are a lot of small HSTs in this block. The block is nearly all HSTs! We've discussed my trepidation around HSTs before, but maybe by the end of this project, I'll feel a lot more comfortable with them.

I did use the Triangles on a Roll in the 1" finished size for the smaller HSTs and made the two larger ones the traditional way. I'm still figuring out which way I prefer, but I think I like making larger and trimming down. My finished block is more accurate when I do that versus using the triangle paper and trimming on the lines on that.

It is a stunning block. I'm not 100% happy with the way mine finished as it's a little wobbly, but the block design itself is striking. I might remake this one after I make the next block with the fabric. I want to make sure I have enough, though I'm sure I will since there is a significant portion of the fat quarter remaining.

IMG_2996.jpg

Sewcialites: Block 2

This week's Sewcialites block, designed by Lisa Bongean, is called Loyal. This block is labeled beginner, and it was a lovely, quick sew after work today. It only took me 40 minutes from grabbing the fabric to trimming the block. Because it was so speedy, I didn't take many pictures or use the Alphabities.

There is less contrast between the solid and print fabrics this week, but I'm happy with how it looks. Overall, the quilt will have heavily contrasting and lower contrast blocks, so I think it will balance out. I did use a design board for this. It's nice that the fabric sticks to it, so things don't go wonky if there's a breeze. (Yes, this has happened to me more than once, including recently with the Jawbreaker layout.)

IMG_2707.jpg

Loyal is another block that uses HSTs, so I grabbed my Triangles on a Roll. I utilized the 3.5" strip of solid that I cut for last week's block, so I didn't have to wrangle with a larger piece. I also had a smaller scrap that I trimmed to the required 1.5" square. For the print pieces, I cut a 3.5" strip from the fat quarter and used that for the piece I needed for the HSTs and the rectangles.

Before assembling, I double-checked the finished size on my HSTs. Since last week's block came out a hair large, I don't think I'm hitting precisely the right spot on the line when trimming my paper. The HSTs were a tiny bit larger than the 3" size the pattern called for, so I trimmed it off.

IMG_2708.jpg

Sewing this block together was a breeze since there weren't many seams to match. Trimming it was also relatively easy, and the block ended up closer to 6.5" than last week's.

It was nice to have a quick block after the more complex first block, almost like a palette cleanser. It also leaves me extra time to work on the other projects on my list...and there are many. I'm hoping that I'll have a few things to share after this weekend (or over the weekend).

IMG_2712.jpg

Sewcialites: Block 1

The day finally came! The Fat Quarter Shop released Block 1 of the Sewcialites Quilt Along this morning. I had all of my fabric starched and folded nicely, just waiting to be used.

IMG_2660.JPEG

I printed out the pattern and took a look at what I would need to know. It is designed by Lissa Alexander, and rated as an intermediate sew. It contains HSTs and hourglass blocks. Neither of those blocks is my forte, even using Triangle Paper from It's Sew Emma, but I'm looking at this whole project as a skill-building exercise and trying very hard not to get too stuck on perfection - a problem for me in my daily life.

As I reviewed the pattern, I used a tip that I've learned over the years while knitting sweaters and designs with multiple sizes. The sizes are usually listed in parentheses, and it's easy to get lost while you're knitting and knit to the wrong measurements. To prevent later aggravation, highlight or underline the size you're using throughout the pattern, so your eye is drawn to it. I went through the printed pattern and put a box around the measurements I would need to pay attention to.

IMG_2659.JPEG

After that, I went digging in my bin of Triangle Paper. Since I'm sewing the 6" blocks, I needed 1" Finished Triangle Paper, or a size close to it that I could trim down. I had 1" in my stash, so I unrolled it and peeled off what I needed for the HSTs in this pattern. I figured out what size of rectangle I would need in place of the cuts listed in the pattern for traditional HSTs. I went with 2.5" x 8". I cut out the rest of my pieces and labeled them with the Alphabities.

IMG_2664.JPEG

Earlier in the day, I watched Kimberly's Livestream, where she sewed the block and collected some tips. I was particularly interested in the final block assembly recommendations because I didn't want to lose my points or end up with a wonky-shaped block.

The tips worked! I haven't lost any of my points. As for squaring up my block, it's a HAIR larger than the 6.5" that it's supposed to be, but when I sew the whole quilt together, I shouldn't lose any of my points either. Hopefully...we'll find out in June. ;)

Tiny Little HSTs

When the July 2020 Sew Sampler Box arrived last month, I opened it excitedly, like I always do. The past few boxes haven't been my thing pattern-wise, but that's okay. I'm signed up to expand my skills, receive interesting notions and fabric, and honest, open the mailbox to something fun. This box, though there was something about it that appealed to me. I don't know if it was the color combination, the overall appearance, or all of it, but I wanted to make it.

C7910C6A-683D-4C02-8A65-51AEEF7AD6DA.jpg

As I usually do, I added all of the products needed to finish the larger size to my cart on Fat Quarter Shop and walked away. I do this a lot. It saves me from over-impulse-buying and keeps me from purchasing too much that I don't need. I checked the next day, and many of the fabrics I needed were now out of stock. I got a little annoyed but then decided I liked it enough to make the smaller version, so I purchased the finishing kit.

Boy, am I glad I made that choice! Not because I'm sad I would've missed out. I would've survived if I had, but now that I've started the teeny, tiny little half-square triangles, I'm so glad that I only had to make just over 100 versus MANY more.

Even using the Triangles on a Roll for 1" finished HSTs, it has been quite the project. I was hoping that I could get it done in a week, but with work and all of the other projects I'm working on, that didn't happen.

I'm about 1/3 of the way done with the small 9-patch blocks, and even though they're small and a bit fiddly, I do get excited every time I finish sewing, press them, and square them.

IMG_2214.JPEG

Eight Carat Quilt Along Part 3 - The Finishing!

I think it’s confession time. Even though life sometimes gets in the way of piecing, where I really get stuck in the quilt-making process is the actual quilting. I don’t know that I’d go so far to say that I get paralyzed by fear, but it’s pretty darn close. Because of this, my quilt top was completed a month ago.

IMG_0308.JPEG

Even though some of my points are a little cut off, I’m really in love with the way it came out. I’m glad I was able to use fabric from a previous Sew Sampler Box. The Triangles on a Roll made half square triangles super easy and It’s Sew Emma/Fat Quarter Shop always have easy to follow instructions.

Over the years I’ve spent many hours crawling around on the floor pinning my quilt sandwiches together. And I’ve hated every one of those minutes. I recently decided to give 505 Basting Spray a try and I’ve found I’ve been SO MUCH happier with the results. I make sure to use it sparingly and so far, I’ve been pretty happy with the results.

IMG_0335.jpg

Before I moved on to the quilting I did a little bit of research. I thought I would use my walking foot because I’m still not super happy with my free motion quilting. (It’s tough wanting to be perfect at something that really does require practice.) I found a Leah Day machine quilting design called matrix and I thought it might look neat with the star. So, I attached my walking foot, stuck my supreme slider on my machine/extension table and promptly got disappointed.

My machine is a Janome DC2011. It’s a great machine for what it is and it has served me well over the last 8 years, but it does not have the most generous throat space. This means I have to do a lot of pushing, shoving, and fighting when I’m quilting. It’s definitely a workout! I have a dream machine and hopefully in the next year I’ll be able to afford it, but for now, I have to work with what I have.

Anyway, I used the seam ripper on my attempt and walked out of the room for a bit. What would I do? I didn’t want to ruin the quilt having just spent all the time assembling it. What to do…what to do? Then I had a light bulb moment and remembered that I have all of Angela Walters quilting rulers (my machine is also not REALLY designed for these, but I’m making do). I picked up Elvira and started making some wavy lines.

IMG_0427.JPEG

Even with the ruler, my quilting isn’t PERFECT, but it’s definitely better! As Angela says, “Finished is better than perfect!” I’m not going to be entering the finished project in any contests, but I do like the overall look. I was pretty happy to finish the quilting and get the binding on. I didn’t have any Aurafil (my preferred thread) that matched, so I had to grab some older Coats & Clark from the collection.

IMG_0434.JPEG

Here it is finished! This is before it took its bath in the washing machine. I think I did a pretty good job not making too many wrinkles in the quilting. There are a few, but once it was washed, you can’t really spot them.

IMG_0452.jpg

And here it is washed and photographed in the bright sun. The backing is just a solid FreeSpirit Fabrics color that coordinates with the Tula Pink collection.

IMG_0466.JPEG

Project Details
Finished Size: 60” x 60”
Pattern: Eight Carat Quilt from Fat Quarter Shop
Fabric: Tula Pink Spirit Animal; Moda Bella Solids; FreeSpirit Fabrics Designer Solids
Batting: Happy Cloud 80/20 Silky Batting

IMG_0462.JPEG

Eight Carat Quilt Along Part 2 - Where the planning pays off

As I shared in my last post on the Eight Carat Quilt from Fat Quarter Shop I made some pretty big plans for my project, and then I had to pivot. When I was first planning this project I wanted to use my V & Co Ombre Confetti Metallic that I had in my stash. I remembered it being fat quarters. It turns out, they were 5” x width of fabric cuts. This was NOT going to work for my plan, so into the stash I dove. I came up with the Tula Pink Spirit Animal fat quarters from a previous Fat Quarter Shop Sew Sampler. I figured I could modify the plan I had already painstakingly created and use this fabric collection instead.

What was so painstaking about my planning? Well, you see, I couldn’t just put my half square triangles willy-nilly. No, I had a vision of an exploding gradient, of sorts. So, I set out with my colored pens and a ruler. Would this have been WAY easier with graph paper? Yup, it sure would have, but I didn’t have time to create that. Instead I figured out how I could sketch it out, including how to sketch the difference between the 4” finished squares section in the middle Sapphire block and the 3” finished squares of the Jade block. Again, it probably would’ve been much easier with graph paper, but I’ve never been known to make things easier on myself. Here’s my sketch:

FlourFabricGraph

As you can see, I ended up counting how many half square triangles I would need in each color. Looking at the graph, I have no clue what the 10s I put in the corners meant, but apparently it meant something to me at the time.

FlourFabricTOAR

So, I set out with my 3” finished It’s So Emma Triangles on a Roll and got to stacking, sewing, and cutting. Overall, I’m really very pleased with how my half square triangles turned out. I’ve done it the “regular” way without the paper a number of times and it works just fine, but the paper adds just that little bit of help that means you can speed through the sewing just a touch faster. When you don’t have a ton of time to work on your hobbies because work and life take up more time that you want them to, it’s nice to be able to shave a few seconds here and there.

FlourFabricTOARStack

I ended up with a lovely stack of triangles to tear the paper from. This did not take quite as long as I thought it would, which was nice. I sat down in front of the tv and got to work. The cat joined me, but she was more interested in the contained I was tossing the paper scraps into than the actual triangles. There were a couple that I probably tugged a little too hard on and the edge stitches came undone, but it wasn’t anything that a quick stitch or two on the machine couldn’t solve.

FlourFabricTOARPiecing

When I started piecing, I did one block at at time until the entire unit was finished. This felt like it took forever, so I took a page from Kimberly Jolly of the Fat Quarter Shop (Have I said how much I love them yet? Because it’s my favorite online shop!) and did all of the pieces that I could in groups. This seemed to move things along a bit faster, and again, when I can save a few seconds here and there, it makes me happy. I sewed my blocks together anxious to see what it would look like when I laid the pieces out.

Since I wasn’t following my original plan, I was a little afraid it wasn’t going to work out, but as I laid out the pieces last night I realized my planning paid off and I was pretty darn thrilled with what I have. I’m looking forward to moving on to part 3!

FlourFabric8Carat2

Here We Go! Eight Carat Quilt Along Part 1

When it comes to shopping for quilting supplies, I don’t have a lot of option locally, so I have to do my shopping online, and have had to since I started exploring quilting about 9 years ago. One place I’ve been ordering from consistently is the Fat Quarter Shop. Not only am I a Sew Sampler Box member (and have been since the first box), but I give them major props for the way they work to connect with their customers. They have great blog content, fantastic tutorials and live videos, and having spoken to their customer service on the phone (and I dread having to use the phone), they are top notch. They recently released the Triangles on a Roll Quilts Book to go along with their Triangle Paper by It’s Sew Emma. Since my half square triangle skills are decidedly lacking, I decided to give their Eight Carat Quilt Along a go. The quilt along uses their triangle paper in 3” and 4” finished sizes and two patterns from the Triangles on Roll Quilts Book.

I had big plans for using some fabric from my stash, but when I got ready to starch the fabric, I realized that the fabric I thought was fat quarters were very much not. Plan B came in the form of fat quarters that were in the October 2017 (yikes!) Sew Sampler Box, Tula Pink’s Spirit Animal. Usually if I want to create the project that comes in the box, I’ll purchase the rest of the fabric. For this one, I didn’t purchase the fabric, so this collection was just open stash. I made a plan, which I’ll share more about in a future post, chose my fabrics, starched, and got to work.

I’m a fan of foundation paper piecing. I have a tendency to be a bit of a lazy quilter/sewer sometimes. More of a 90-percenter, if you will (plus a little Angela Walters “finished is better than perfect” thrown in for good measure), so when I have something that gives me seemingly perfect blocks. So, I set out to stock my fabric and pin the paper on top.

Next, I took it over to my sewing machine, my trusty Janome DC2011 that doesn’t have a fancy name other than “my sewing machine” and started stitching. Using the recommended 1.5 stitch length I followed the arrows along the dotted lines. Easy peasy!

Once that was complete, I cut the pieces on the solid line and ended up with 32 perfect half square triangle in two colorways. I will admit that peeling the paper always makes me nervous. I’m afraid that I’m just going to yank out the stitches, so I’m extra careful when doing that.

The directions suggest trimming off the “ears,” so I did. I tried it two ways, the first was lining up a ruler and using my rotary cutter, and the second was just taking my fabric scissors to the tiny triangles. I decided that the scissors was the better option for me, plus I could step away from the sewing room to finish that part of the project.

I laid out the block, which is quite sizable, and it mostly fit on my table, and set out to sew the individual blocks together followed by the rows. My seam ripper and I did make friends a couple of times, but it mostly went quite well. As the block started coming together, I will admit, I was getting pretty giddy about how nicely it was coming out. I finished the final seam and gave it a nice press (all of the seams are pressed open in this block). There are a couple of places where everything doesn’t match up quite as nicely as I would hope for, but overall, I’m incredibly happy with this giant block! What do you think?