The day finally came! The Fat Quarter Shop released Block 1 of the Sewcialites Quilt Along this morning. I had all of my fabric starched and folded nicely, just waiting to be used.

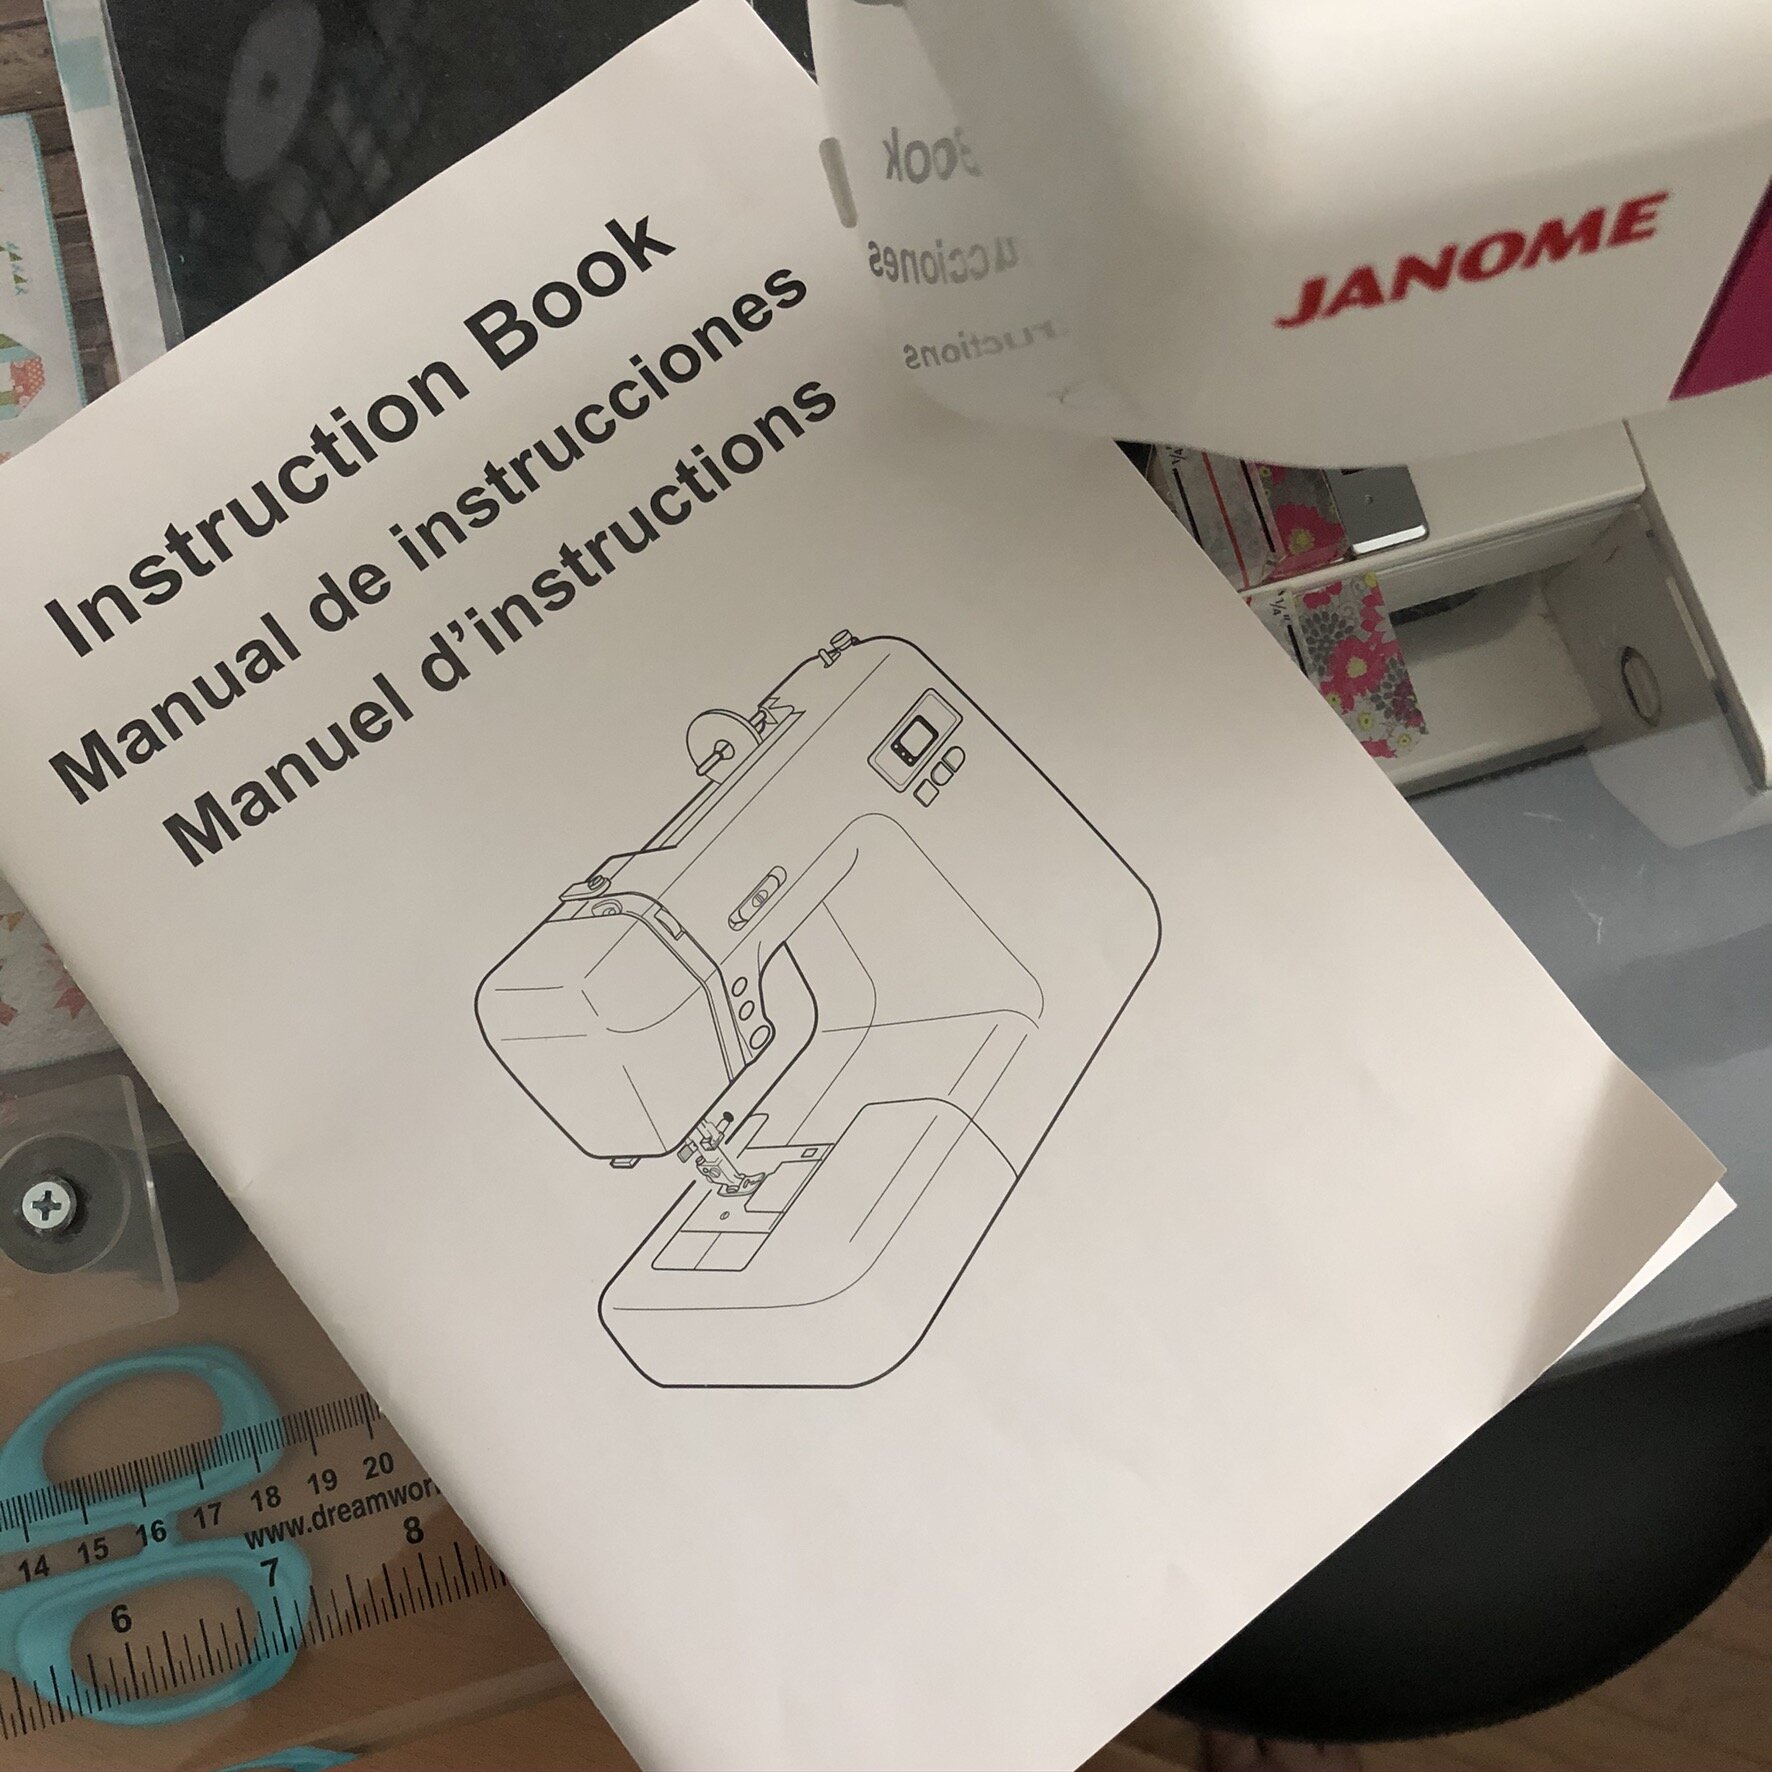
I printed out the pattern and took a look at what I would need to know. It is designed by Lissa Alexander, and rated as an intermediate sew. It contains HSTs and hourglass blocks. Neither of those blocks is my forte, even using Triangle Paper from It's Sew Emma, but I'm looking at this whole project as a skill-building exercise and trying very hard not to get too stuck on perfection - a problem for me in my daily life.
As I reviewed the pattern, I used a tip that I've learned over the years while knitting sweaters and designs with multiple sizes. The sizes are usually listed in parentheses, and it's easy to get lost while you're knitting and knit to the wrong measurements. To prevent later aggravation, highlight or underline the size you're using throughout the pattern, so your eye is drawn to it. I went through the printed pattern and put a box around the measurements I would need to pay attention to.

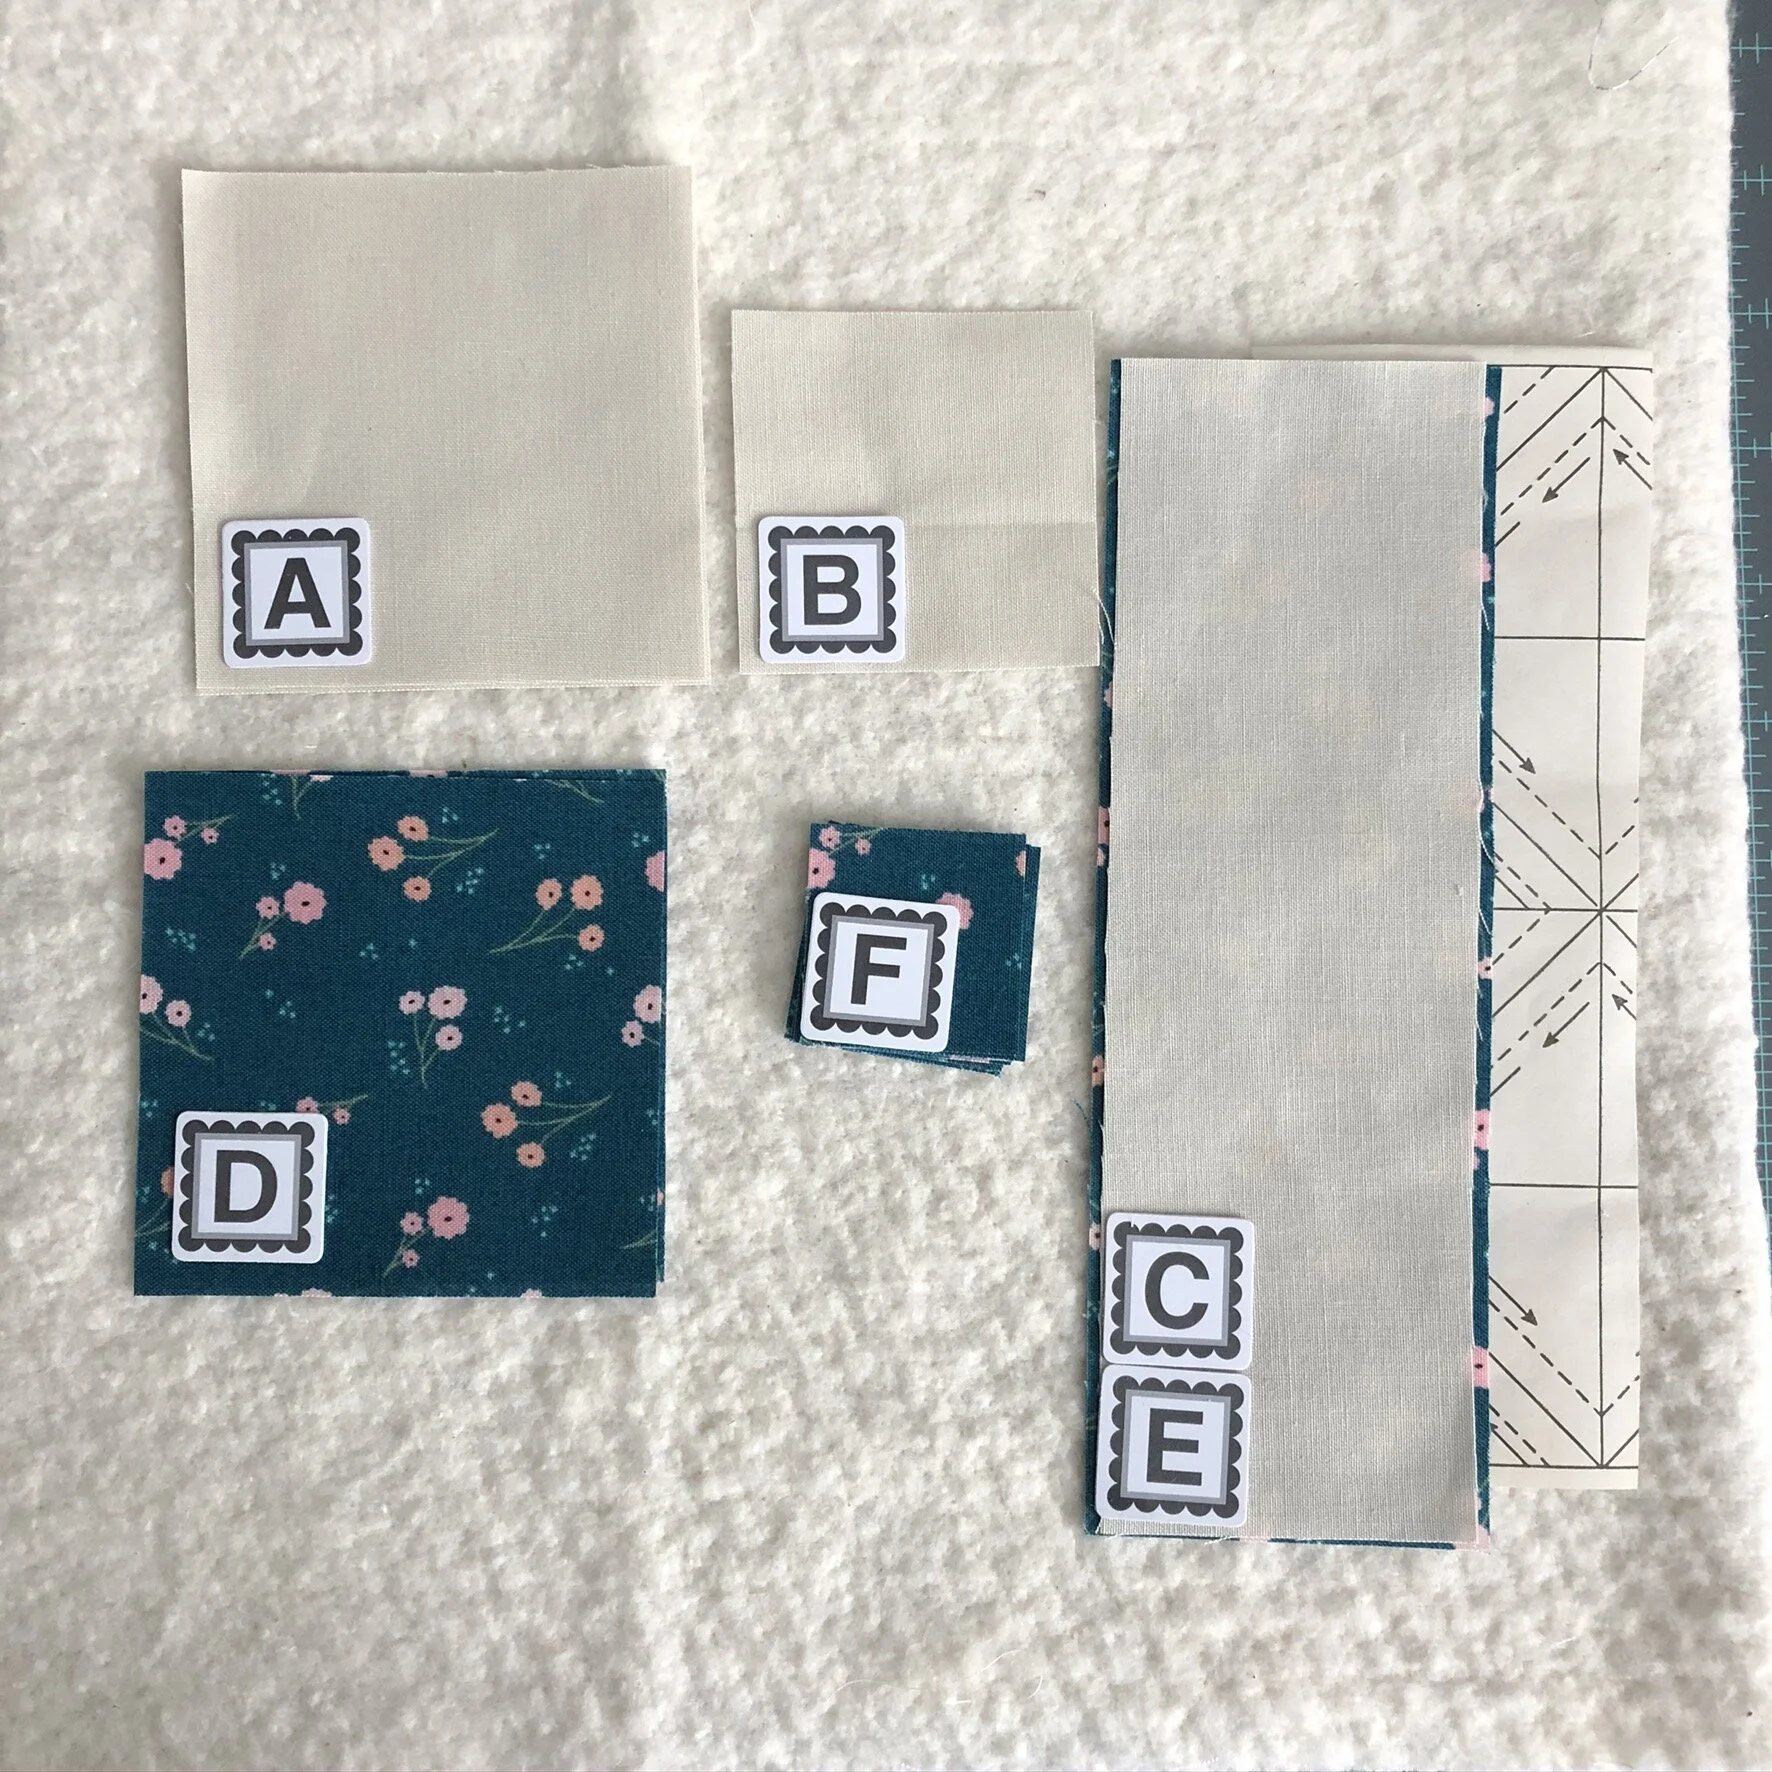
After that, I went digging in my bin of Triangle Paper. Since I'm sewing the 6" blocks, I needed 1" Finished Triangle Paper, or a size close to it that I could trim down. I had 1" in my stash, so I unrolled it and peeled off what I needed for the HSTs in this pattern. I figured out what size of rectangle I would need in place of the cuts listed in the pattern for traditional HSTs. I went with 2.5" x 8". I cut out the rest of my pieces and labeled them with the Alphabities.
Earlier in the day, I watched Kimberly's Livestream, where she sewed the block and collected some tips. I was particularly interested in the final block assembly recommendations because I didn't want to lose my points or end up with a wonky-shaped block.
The tips worked! I haven't lost any of my points. As for squaring up my block, it's a HAIR larger than the 6.5" that it's supposed to be, but when I sew the whole quilt together, I shouldn't lose any of my points either. Hopefully...we'll find out in June. ;)