Journey 2 Nebula - Candy Dish: Finished!

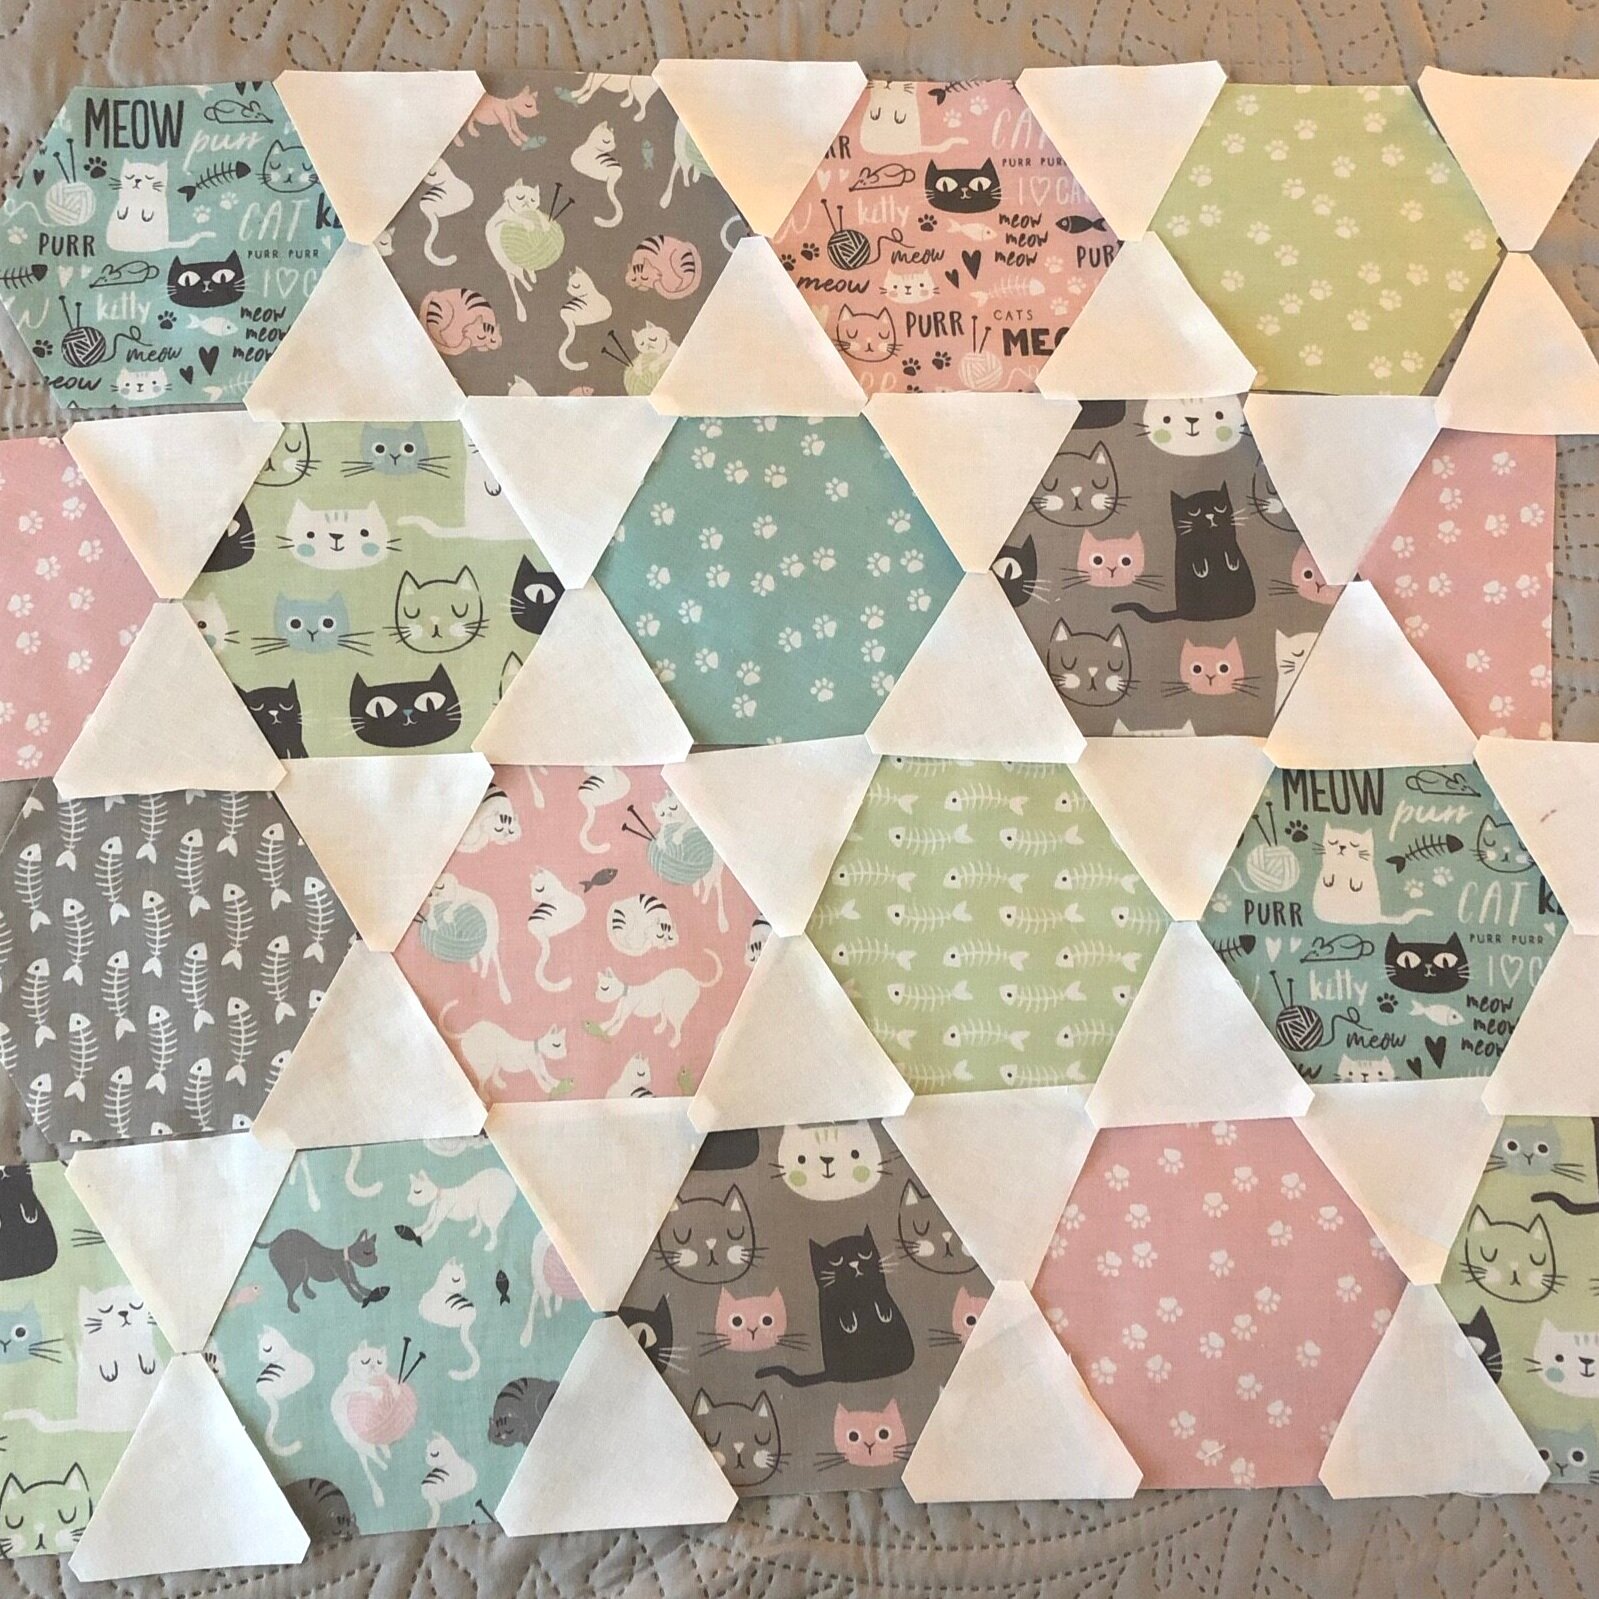
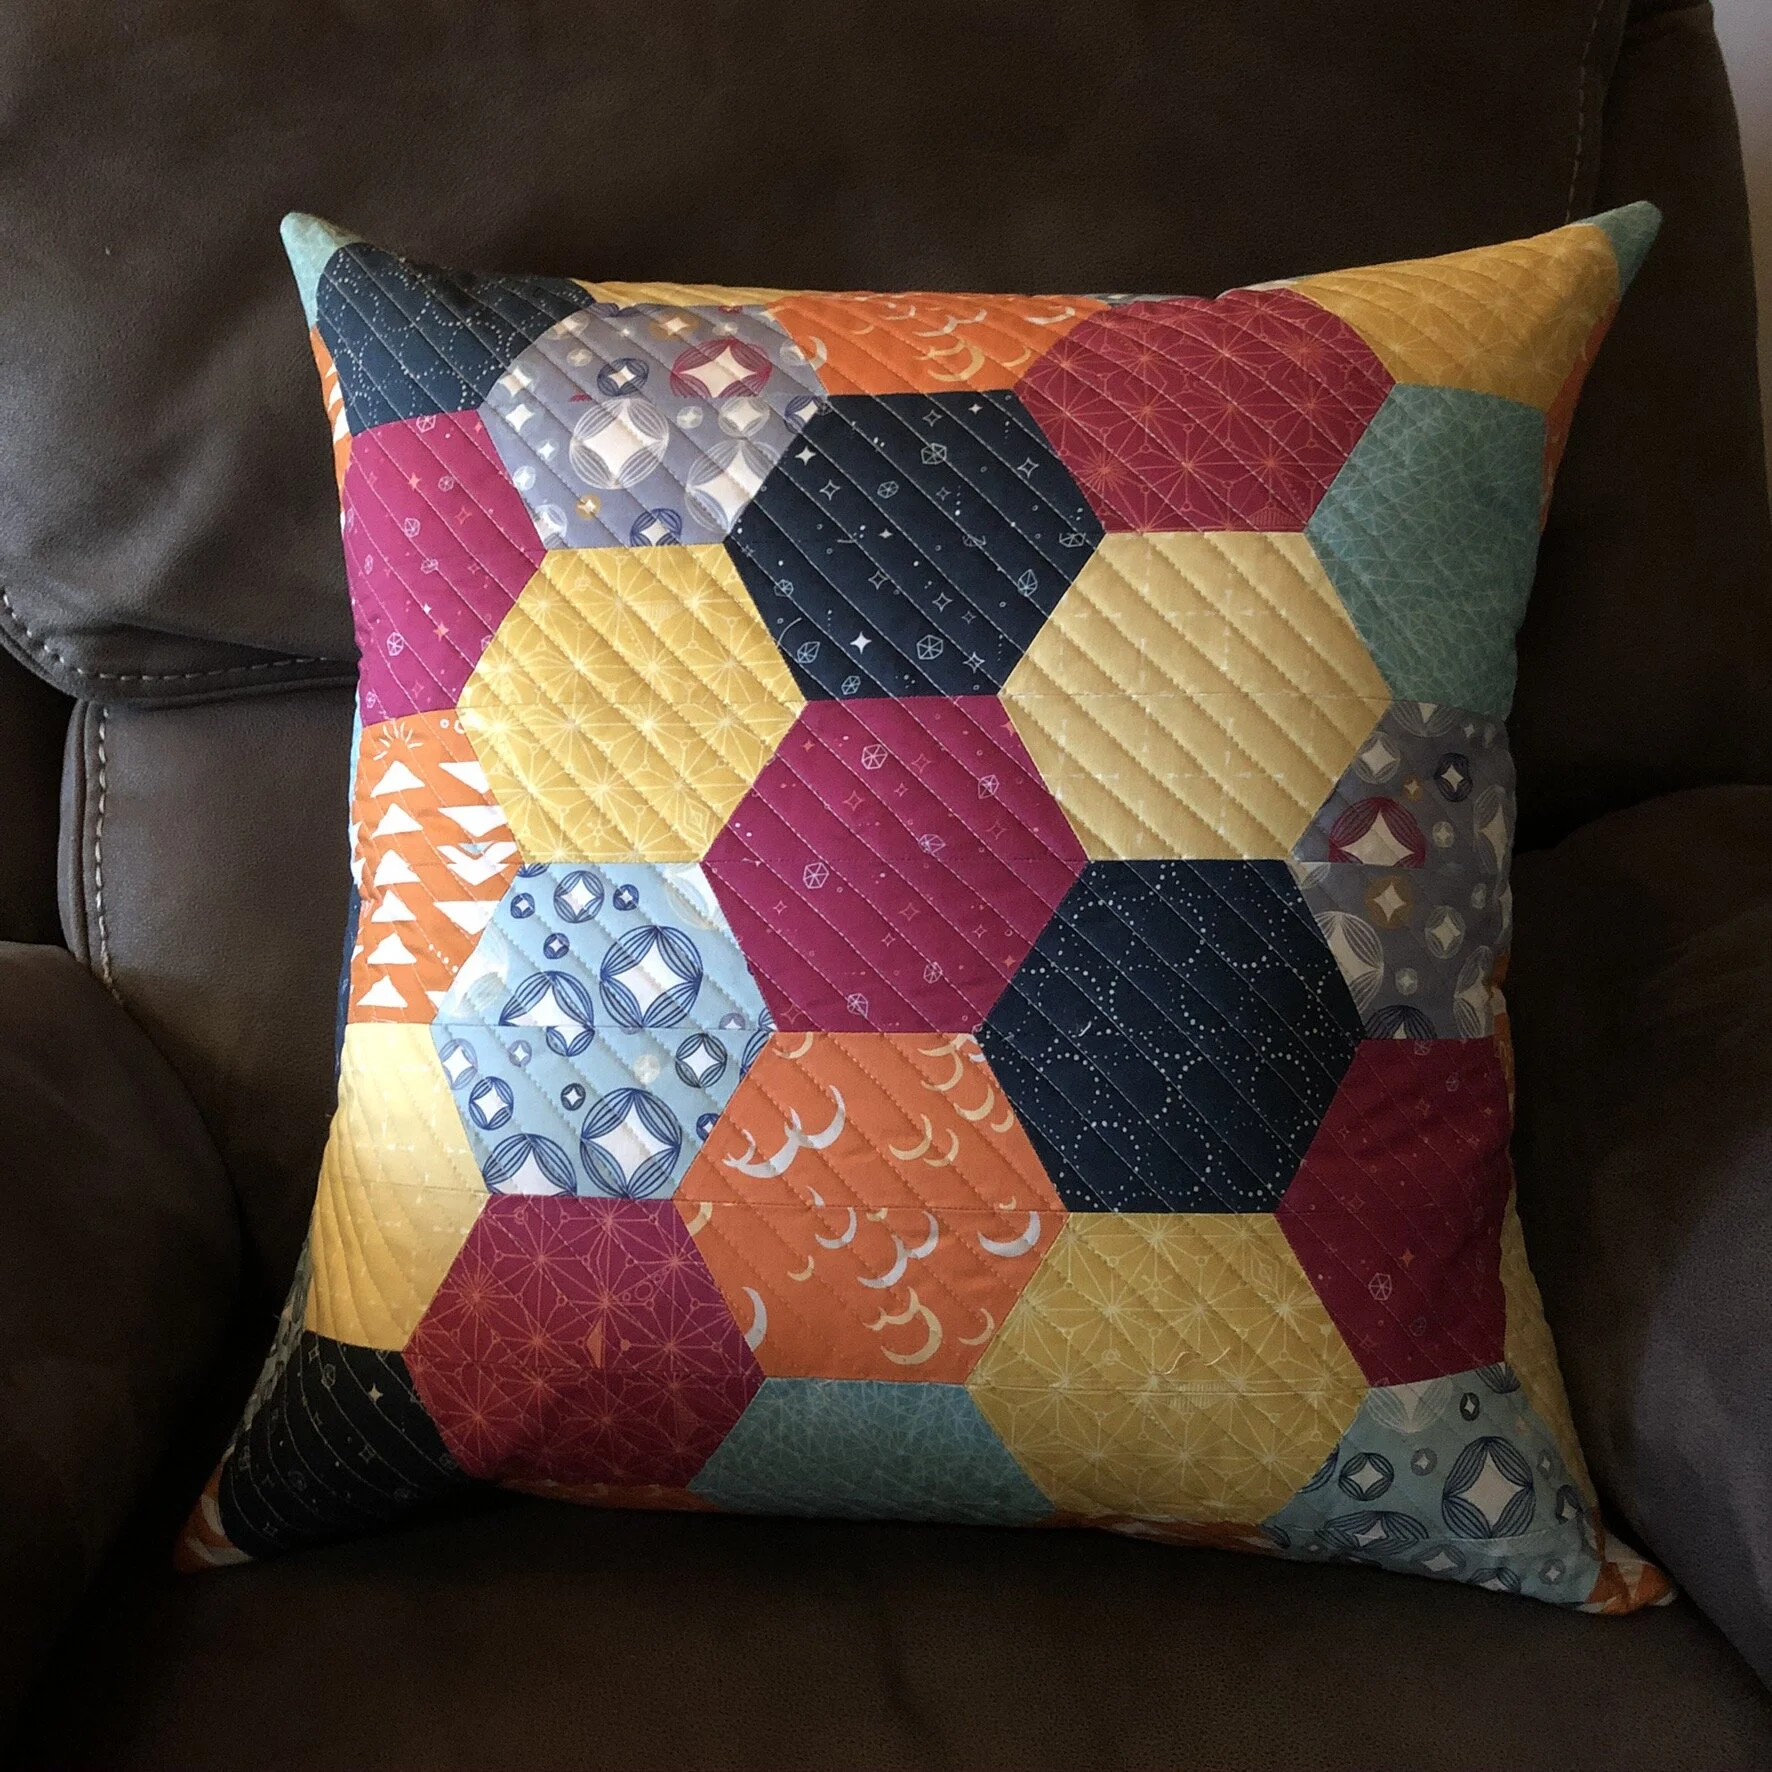
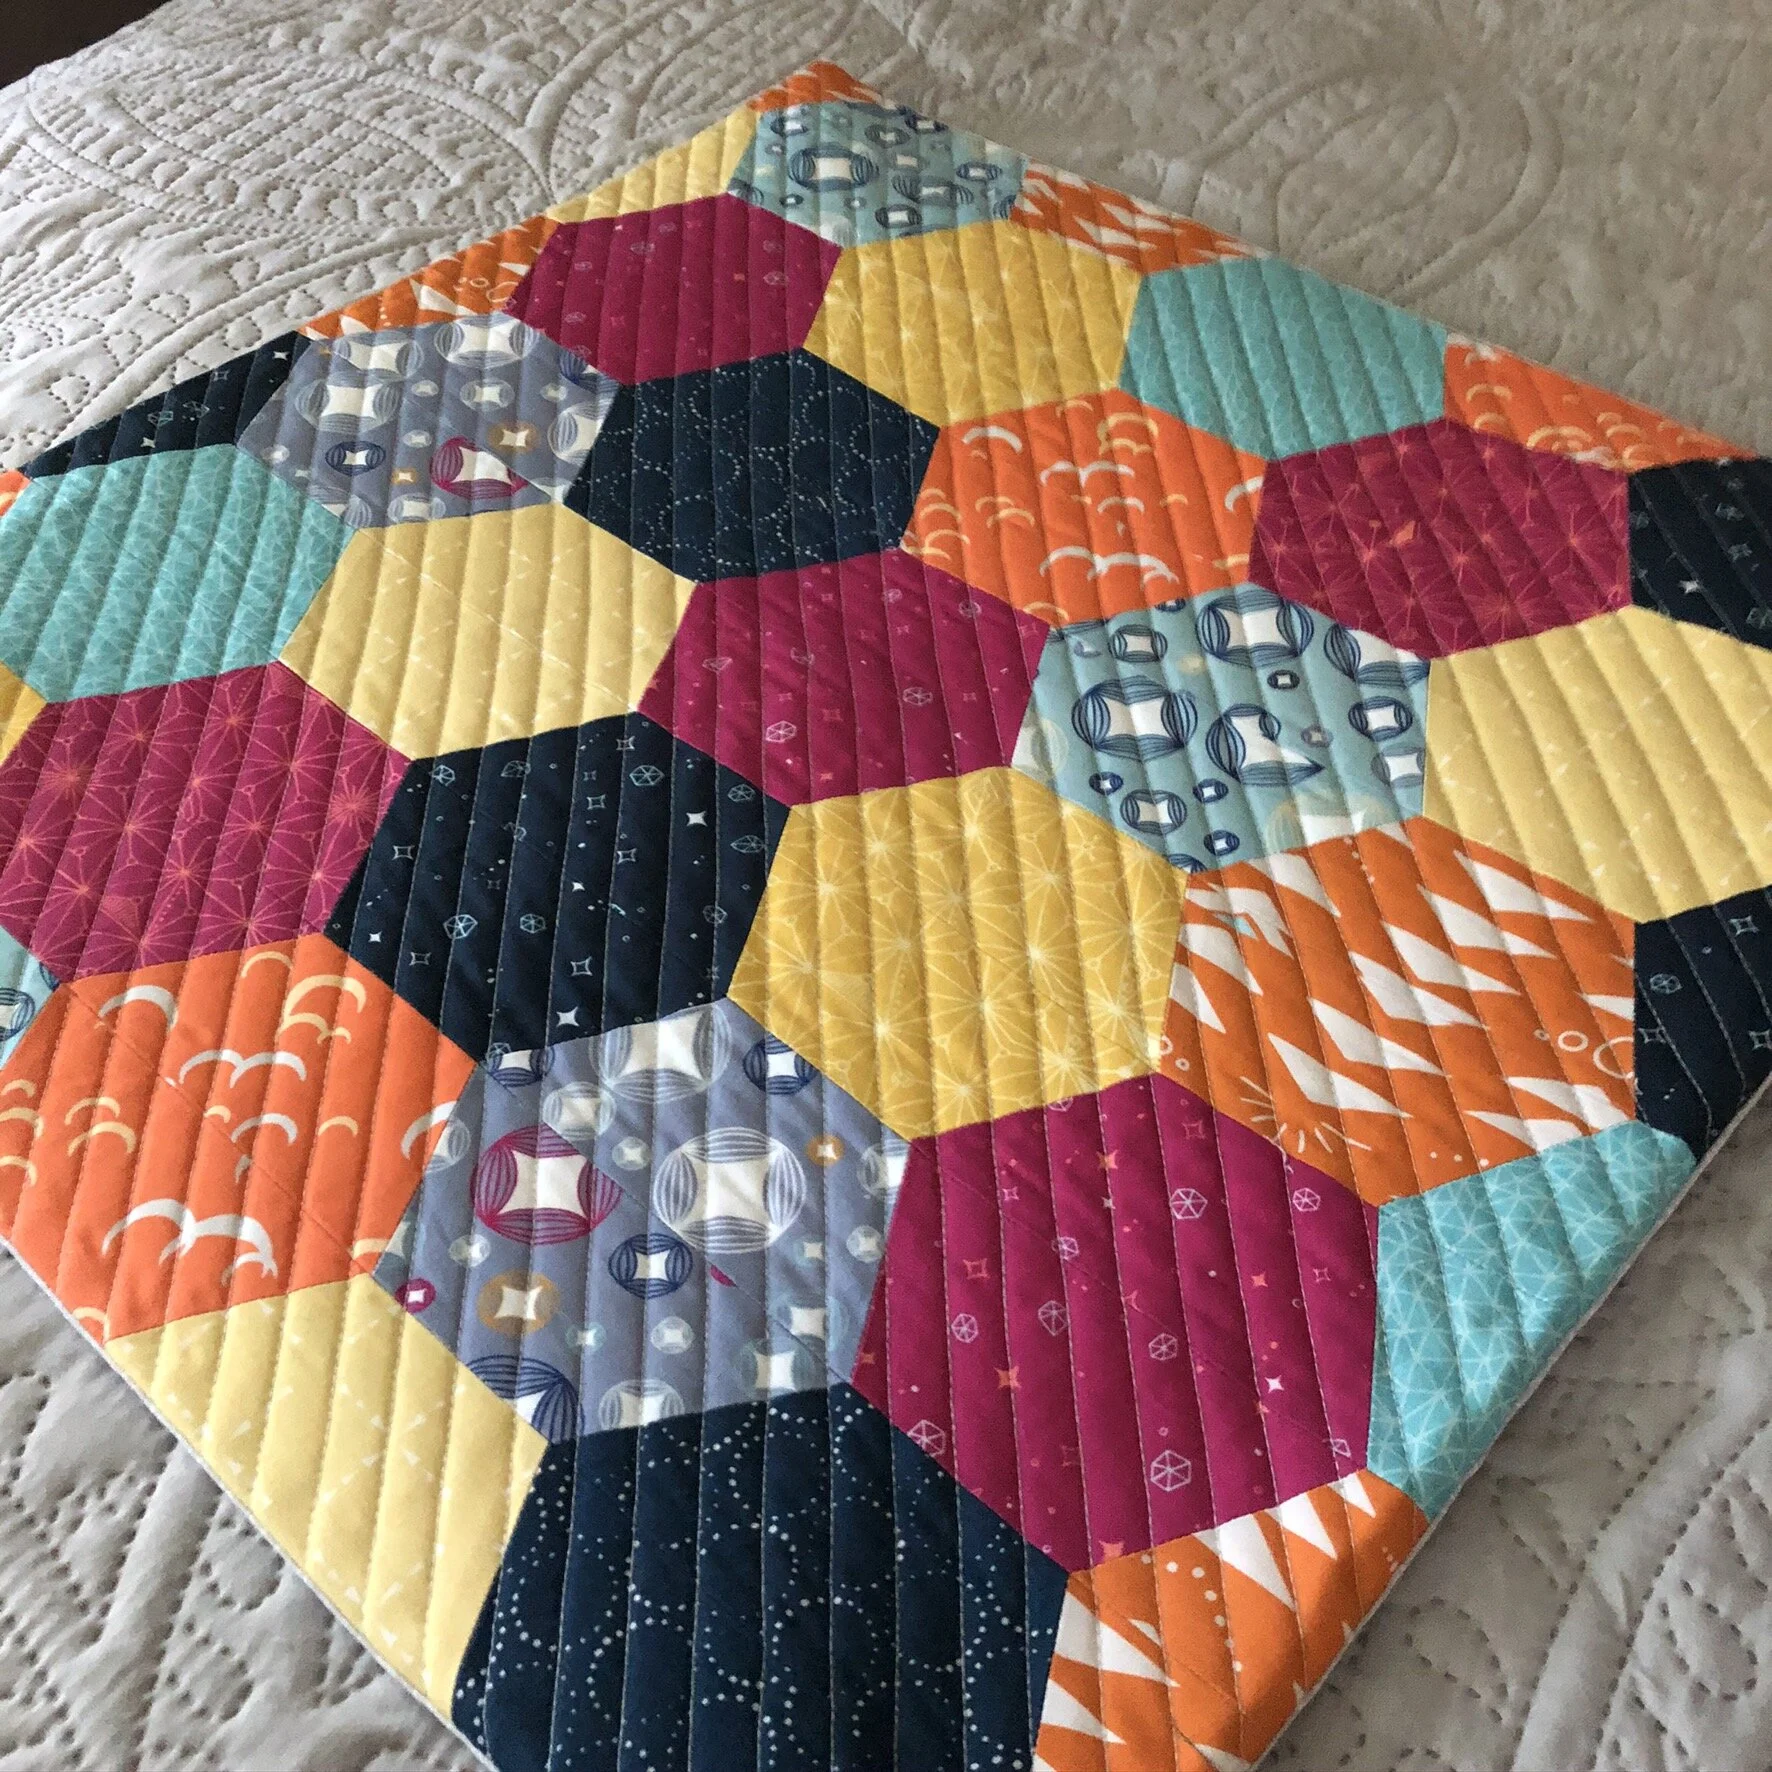
I finished my pair of Jaybird Quilts Candy Dish pillows! For the most part, the piecing on these went reasonably smoothly. There are a few points that don't match perfectly, but you can't see the slight misses when you look at it as a whole.

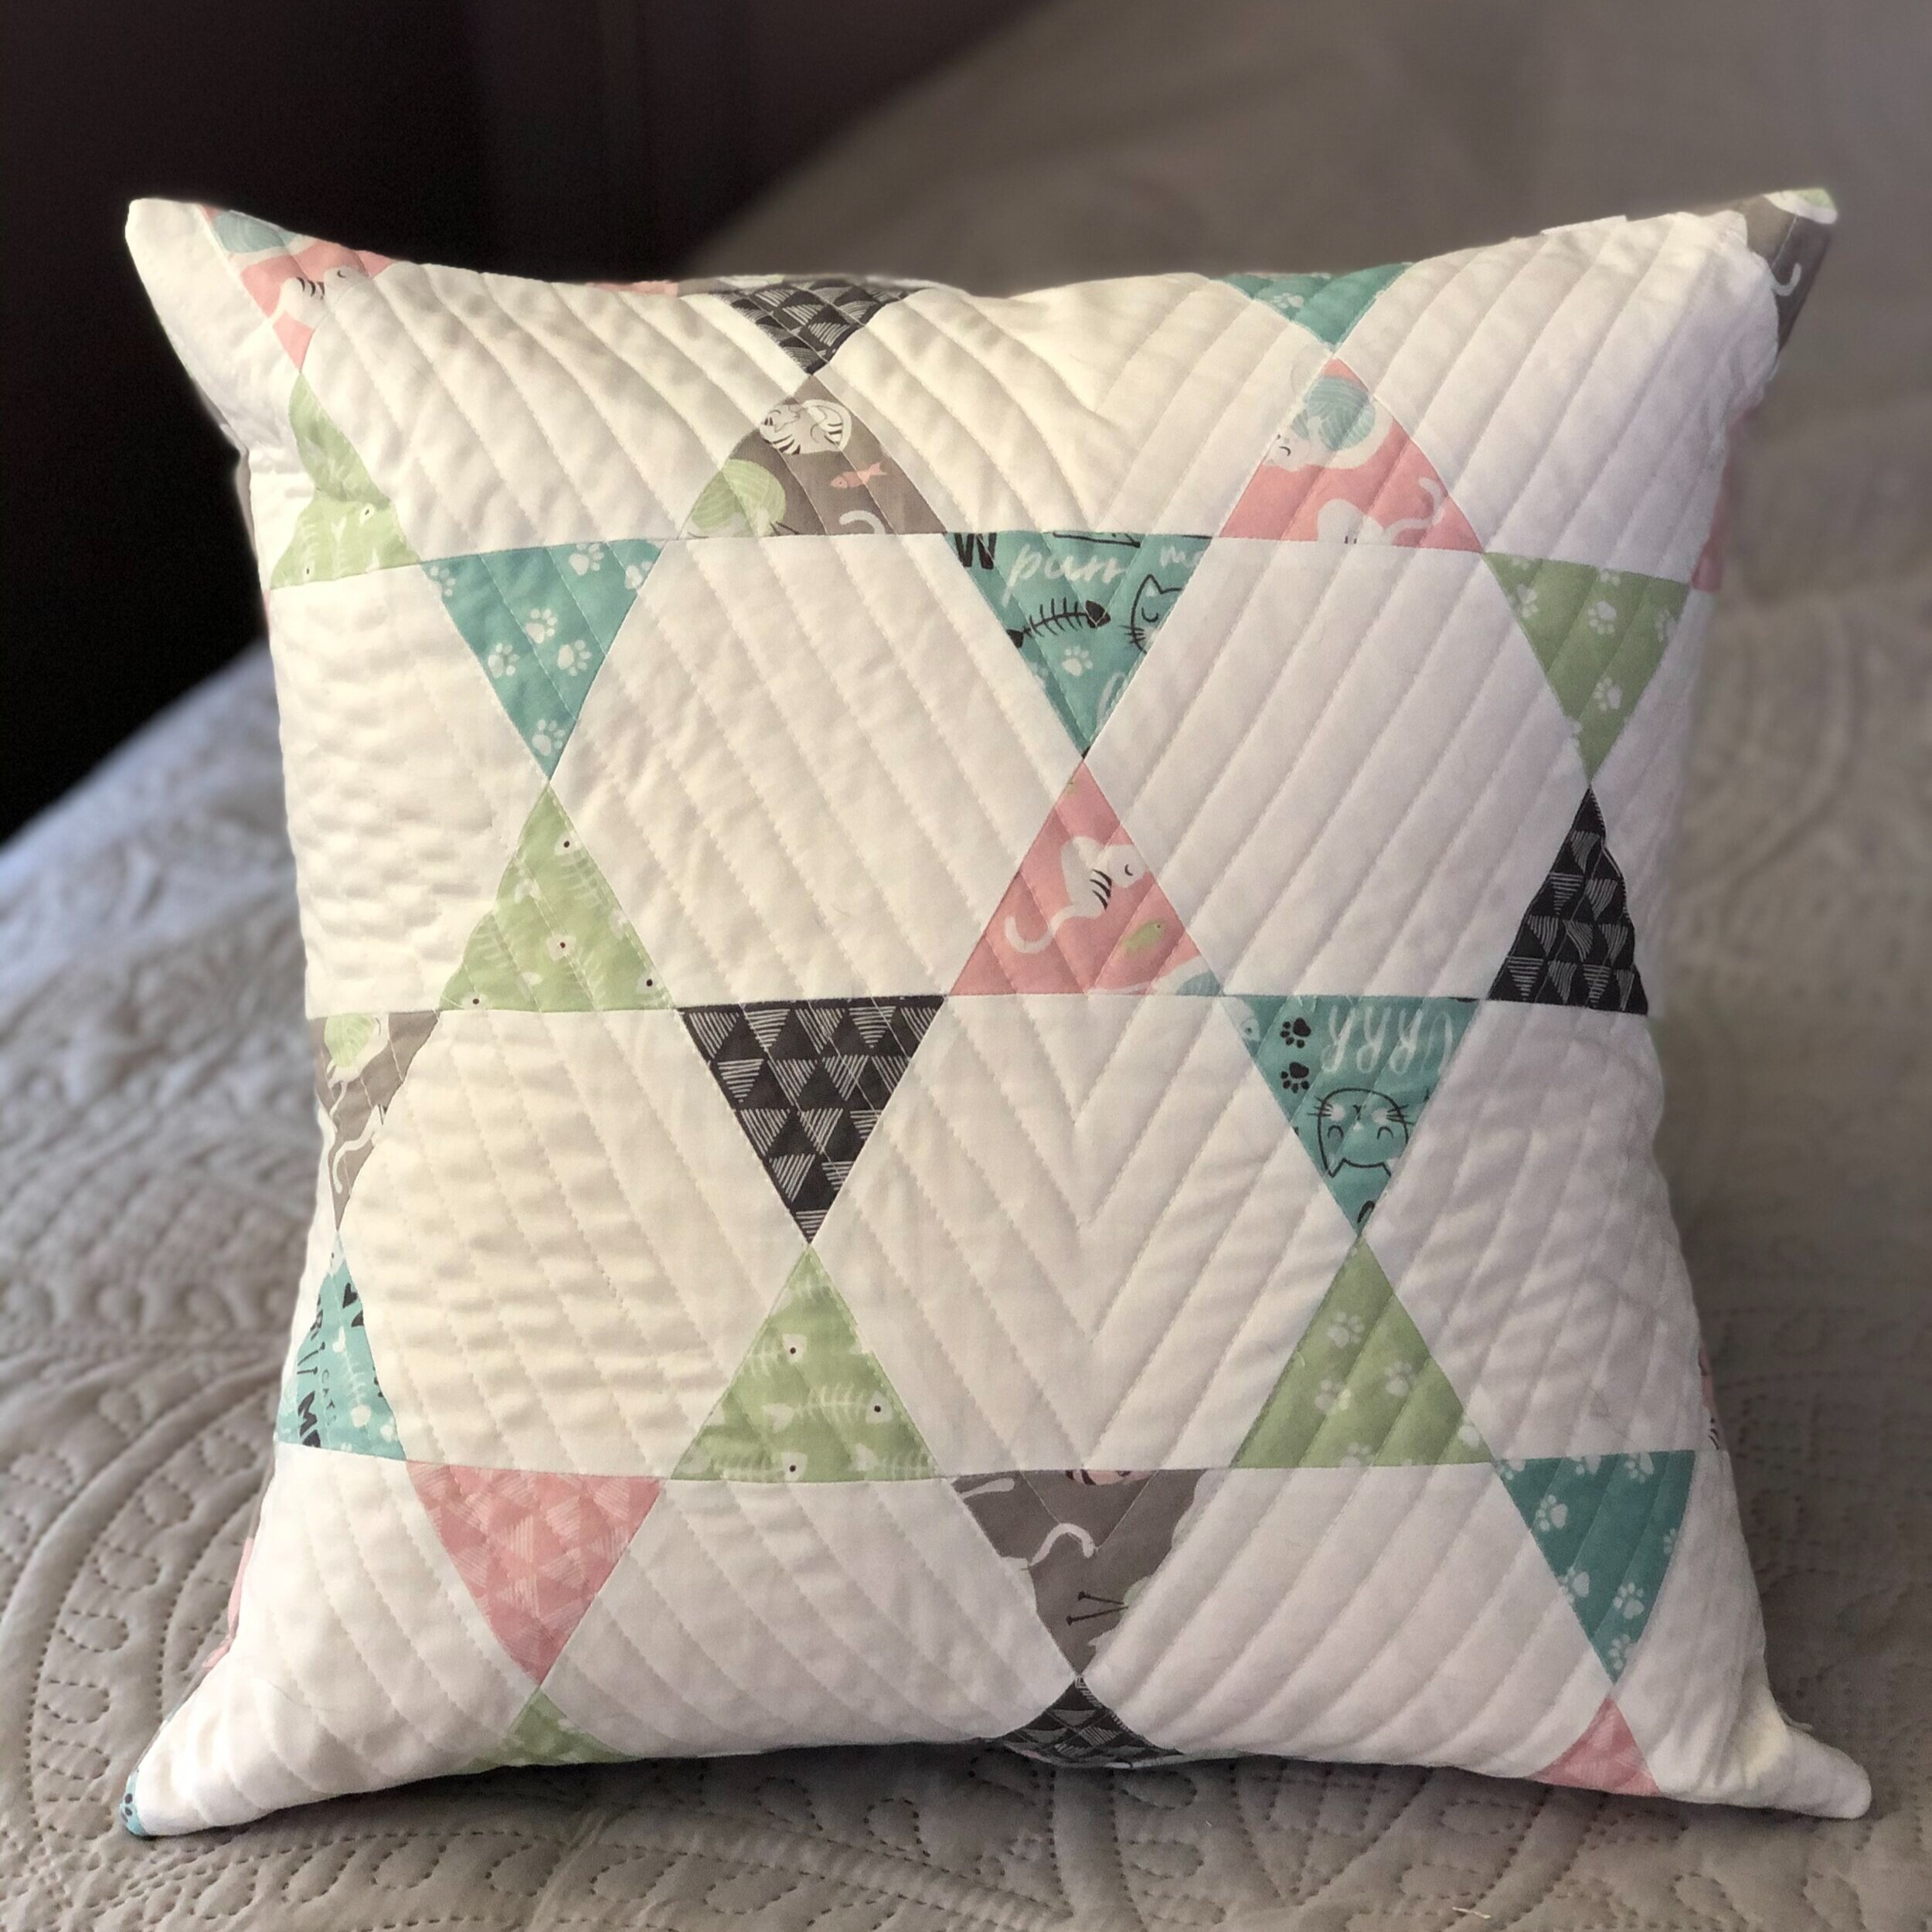
I love the fabric. The little kitties make me so happy. I'm glad that these pillows are a bit on the smaller side. We recently bought a new living room set for our newly finished basement, and the couches came with pillows. I have so many pillows, but at least these smaller sizes are a bit more unobtrusive.

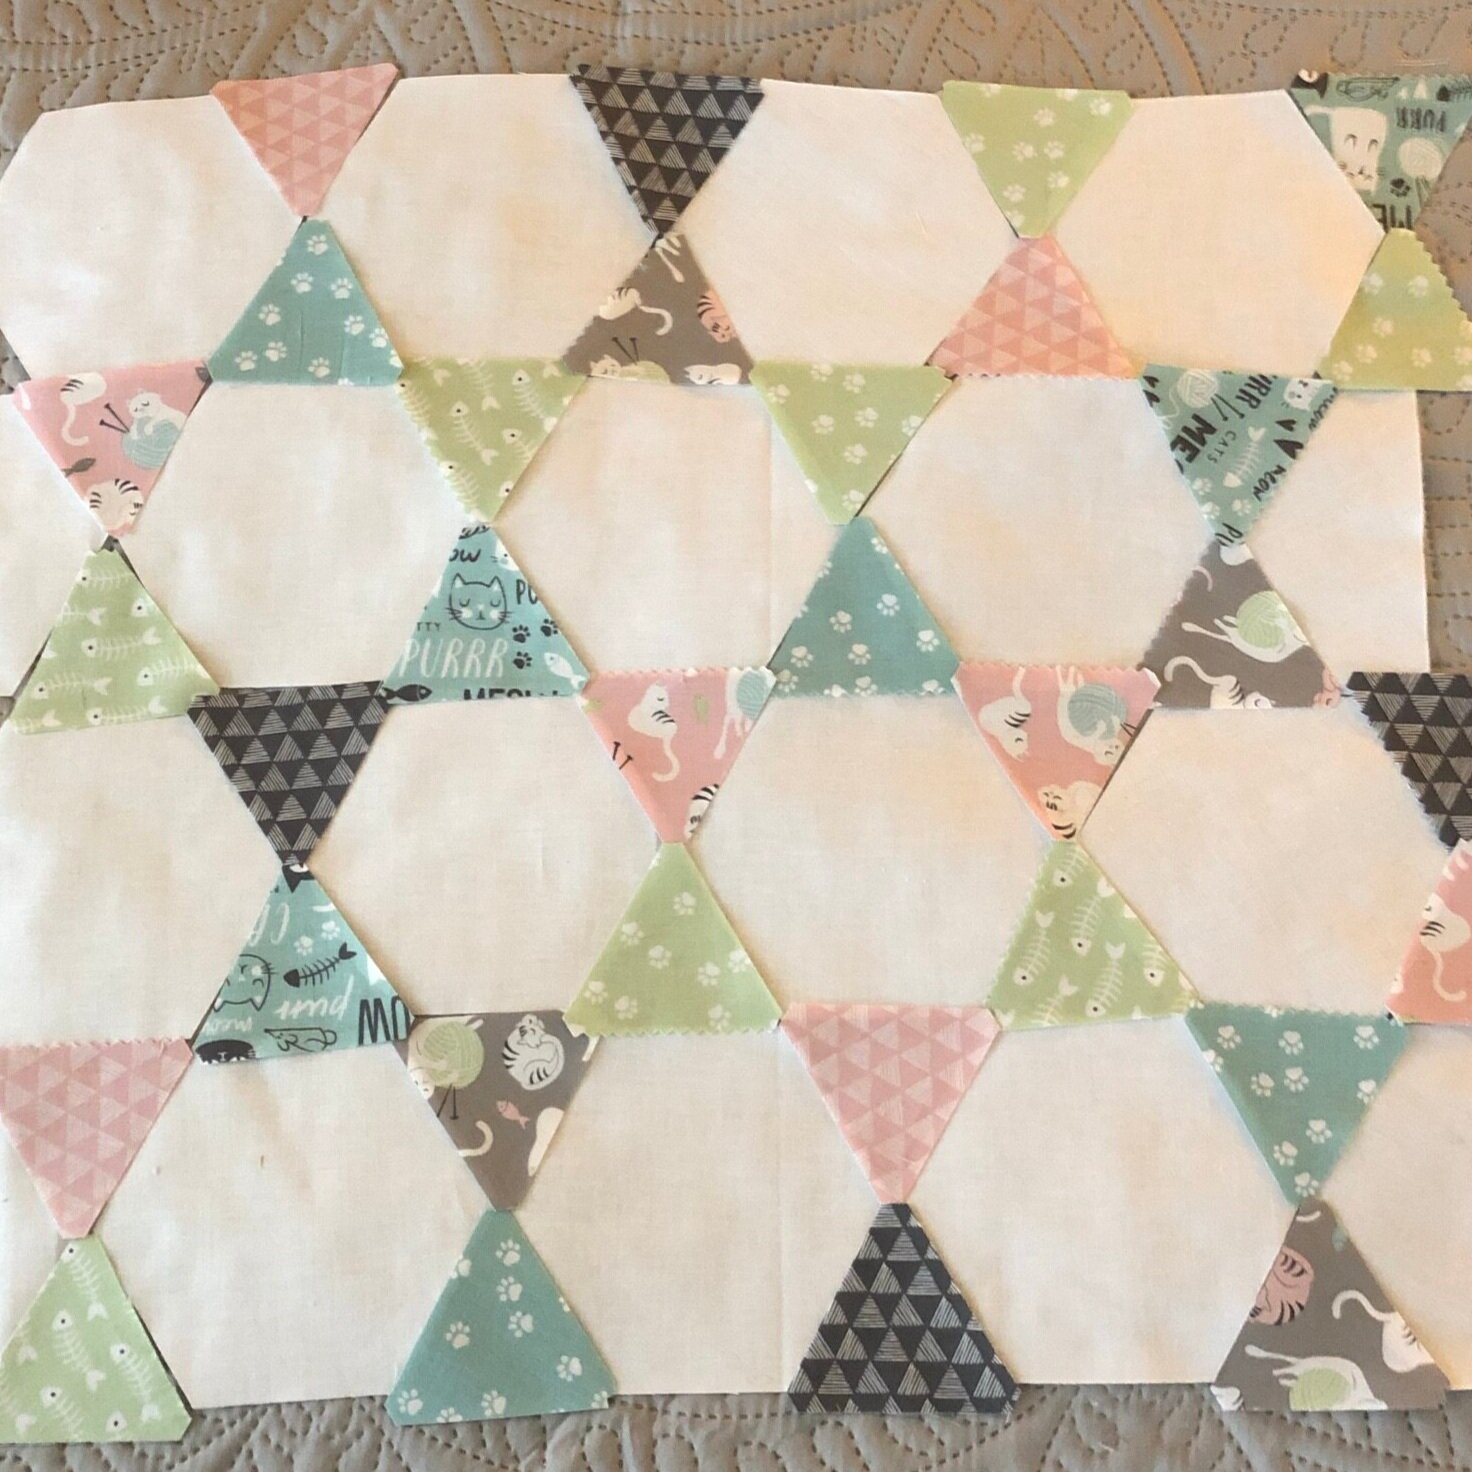
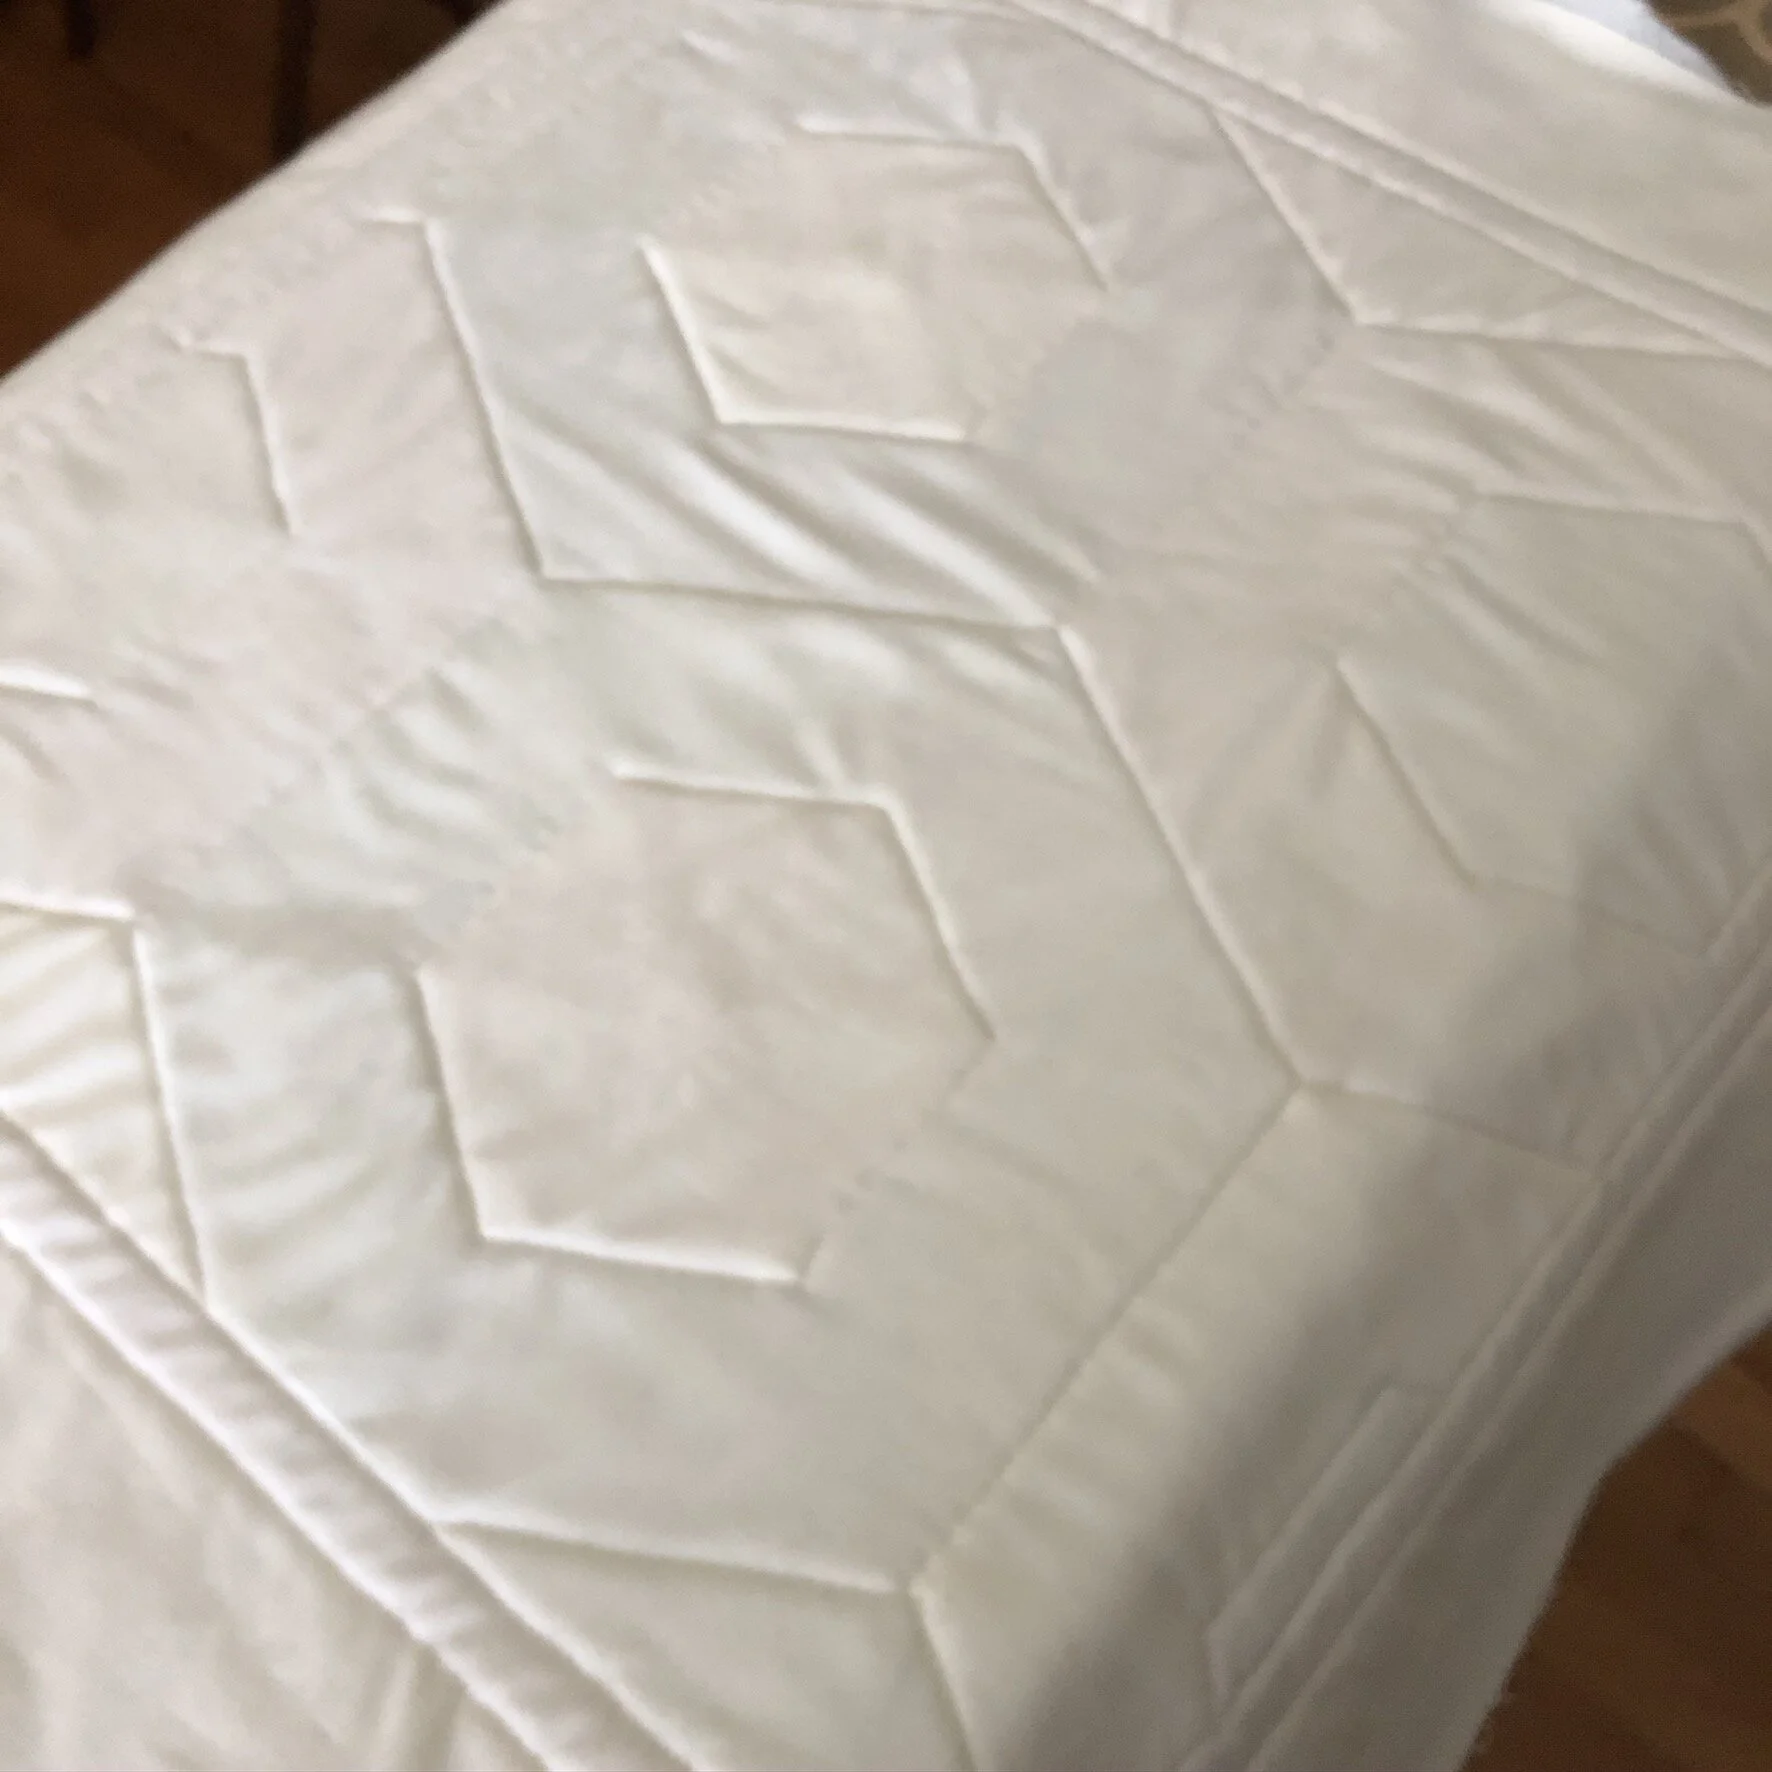
I wasn't sure how I wanted to quilt them. I thought about doing something fancier, but I also wanted to get the project done since there are currently so many things on my to-do list. I had a long list this weekend, and while I finished a good chunk, it wasn't quite as much as I was hoping for. I expected to cross off one more thing, but alas, I did also have to take some time to relax. I didn't want to cover up the cute 'lil kitties on the hexagon focus quilt, so I just did some stitch in the ditch-ish on the diagonals and horizontal lines.

IMG_3138.jpg

For the more background focused pillow, I did some straight-ish line quilting. I like the texture of straight line quilting on pillows. It feels nice when you run your hand across it in an almost calming way.

IMG_3139.jpg

I can't believe there's only one more project in the Journey (except for the exclusive patterns that Julie mentioned when signing up). I'm not usually great at keeping up with "alongs," but I'm pretty proud I've been able to keep up with this one. I do have to spend some time tonight, deciding which fabric I have will be used for the next project.

IMG_3134.jpg

Details
Fabric: Purrfect Day by My Mind’s Eye for Riley Blake Designs
Thread: Aurafil 50wt, 2021
Batting: Unknown from the leftover pile, likely 100% cotton
Pattern: Jaybird Quilts Candy Dish
Pillows: Foamily 16” x 6” Pillows from Amazon
Total Hours Spent: 6 hours, 44 minutes

Journey 2 Nebula - Candy Dish: Cutting & Layout

While I've used stash fabric and scraps for the previous stops on the Journey 2 Nebula, I couldn't resist Purrfect Day by My Mind's Eye for Riley Blake, so I purchased a charm pack and some yardage to complete Candy Dish. I just love cats! I have a cat, a black cat named Minnie, who is now 11 years old. We've been through a lot together. Now that I'm working from home, she snoozes in a bed all day next to me while I work.

The cutting for Candy Dish is pretty straightforward. Hexagons and triangles and the Hex N More ruler makes it super easy to do. I trimmed all of my triangles using the GE Designs Point Trimmers (60-degree) because it was more manageable than wresting with the ruler to cut all of the points.

I'm pretty happy with the layouts that I picked. I did split the hexies wrong the first time because apparently reading comprehension is hard. :) But it's all good!

I'm looking forward to adding these pillows to my collection.

Journey 2 Nebula - Jawbreaker: Finished!

I finished the latest project in the Journey 2 Nebula this week. Jaybird Quilts Jawbreaker is a pillow that uses the Hex n More Ruler to create triangles that turn into hexagons. Last week I had a little trouble with my rotary cutter, but I'm all healed now. You can barely even tell where I had the accident!

I watched Julie's video that had tips for assembling the hexagons and set to work. I don't have an ideal place in my sewing area to layout projects, so I usually do it on the spare bed. Then I have to walk between the two rooms, which isn't a huge deal, it's extra steps, but I like to figure ways to still be accurate without making too many trips. I did figure out a way to chain piece these rows and make it easier. First, I took a picture with my phone of the layout, so I had a reference to double-check the layout. Then, I stacked the triangles from one for and lined them up in order next to my sewing machine. Chain pieced them in pairs and brought them over to the ironing board to press, still attached. When pressing open, I picked up a tip from Kimberly Jolly of Fat Quarter Shop. I set my seams and then press them to one side, then flip them over and press open. I have tried both this and just pressing open in the same sewing session, and I find this way much easier. After pressing open, I bring them back to space next to my machine, still attached, and lay that down. Next, I clip the threads and rotate the pieces to the appropriate layout. After double-checking my layout, I sewed the first two and the last two together, cut the threads, checked the layout, and sewed those two pieces together. I stitched together the rest of the rows and just kept them stacked next to me, so I had them for reference from the next row.

I was a little anxious about trimming the pillow's center since I didn't have a ruler big enough to use for the total square. I followed Julie's direction in the video, and I successfully trimmed the oddly-shaped piece into a square! I was pretty darn proud of myself the other day when I did that successfully.

IMG_2756.jpg

I used another strip from the jelly roll I used for the strip sets for my inner border. I added the two borders and let the top sit for a day to decide how to quilt it. I've seen some lovely quilted Jawbreakers on Instagram and Facebook, and even the simple quilting on the cover of the pattern is appealing. I love the hexagons and didn't want to take away from them at all, so I went with very simple stitching in the ditch. I've never been overly successful with this, but since I haven't tried it in a while, I went for it, and I'm pretty happy that my seams must have been straight because I didn't have trouble stitching in the ditch.

IMG_2782.JPEG

Assembling the pillow should have gone a little more smoothly than it did for me, and if I had paid more attention to what I was doing, it probably would have. After basting the front and back together, I realized that I did the opening vertical to what I was considering the top and bottom instead of horizontal. I momentarily debated ripping it out and starting over. In the end, I decided since this wasn't a learning-how-to-pillow journey, and since it's a pillow that will only be out for about a month and a half, and you can't tell it's wrong, I left it. I did insert a label the same way I did with the last pillow. I printed it on paper with my inkjet printer and then sewed it into the backing.

IMG_2795.JPEG

I love the finished pillow! I didn't purchase another pillow form, so this is just the same form from Amazon that I used on Lucky Charm. Before Christmas, I'll probably pick up another one so that I can use the pillow to decorate. I used the same fabric (and leftovers from the jelly roll) for the Jelly Snowflake. I still haven't quilted that project, but it's on the list before Thanksgiving! Whenever I look at how the hexagons came together so nicely, I am so pleased! I also really like how the black fabric pops. The tiny scattered trees is my favorite print in the collection, which is why I used it for the outer border, binding, and backing.

IMG_2800.jpg

Details
Fabric: The Christmas Card by Sweetwater for Moda
Thread: Aurafill 50wt, 2000
Pattern: Jaybird Quilts Jawbreaker
Batting: 100% polyester
Total Hours Spent: 7 hours, 39 minutes

Journey 2 Nebula - Lucky Charm: Finished!

I am tickled! I finished the Jaybird Quilts Lucky Charm pillow, and I'm so pleased with it. Is it perfect? No. Does it make me smile? You bet!

IMG_2651.JPEG

After watching the video that Julie posted, I set out to sew the half hexies together. I've sewn hexies in Jaybird Quilt patterns before, but I cut them from a jelly roll strip, which means they lined up differently. Because I used 5" squares, the cutting didn't go exactly to the edge, but it was okay because it would be within the seam allowance. There were a couple of half hexies that I had to take the seam ripper to because they were VERY off, but you get a feel for where your pieces should line up as it goes, so it becomes easier.

IMG_2632.JPEG

I sewed each of the rows, sewed the rows in pairs, took those pairs, and sewed them into the completed top. Most of my points lined up exactly where I wanted them. A few are ever so slightly off, but it's nothing that I'm angry about.

I had visions of trying something exciting with the quilting, but let's face it, I wanted to get the project done, so I went with (mostly) straight diagonal lines. I used batting from my "bag 'o batting scraps." I'm pretty sure it's 100% cotton, based on the feel. The scrap was the right size, so I sandwiched it with some scrap white fabric and took to quilting. I did try to quilt it with some sparkly thread, which was not agreeing with me, so after only two tries, I gave it up and went with a pale gray.

The backing I used for this is also part of the Moongate collection. I like adding labels to my quilts, and I wanted to add one to this as well. I usually "design" them on my computer and print them on the June Tailor printable paper. I use design loosely since I'm not at all a designer, but they work. I don't usually add the date, etc. because I like having a collection of labels that I can use for whatever I need, so I just go with "handmade" and my name. I sewed this label to a scrap of fabric, turned it right side out, and then slid it into the folded over edges of the backing before doing the topstitching. I'm happy with it. It's enough to show that I made it, but doesn't get in the way of the pillow.

IMG_2638.JPEG

After quilting, my pretty-darn-square piece was very-not-square, so I squared it as much as possible without taking away from the design and stitched it to the backing.

I purchased a pillow form from Amazon since I don't have a backstock of extra throw pillows. It is QUITE fluffy. I wasn't expecting it to be this fluffy, but I love how it fills out the pillow. I did go with the 20" x 20" size, and I'm glad I didn't go for the recommended 22" x 22" because it would have been overstuffed.

IMG_2649.jpg

I'm so excited about this finish! Now, I need to clean up the sewing space and start on the next project on my list. This weekend, I'll probably prep my fabric for the next project in the Journey.

IMG_2647.jpg

Details
Fabric: Moongate by Christina Cameli for Maywood Studio
Thread: Aurafil 50wt; piecing: 2000, quilting: 2615
Batting: Unknown from the assorted scrap bag. Probably 100% cotton
Pattern: Jaybird Quilts Lucky Charm
Pillow: Foamily Premium Hypoallergenic Stuffer Pillow, 20" x 20"
Total Hours: 6 hours, 29 minutes

Journey 2 Nebula - Lucky Charm: Cutting

The next step in the Journey 2 Nebula started today! We began the Jaybird Quilts Lucky Charm pillow. It uses the Jaybird Quilts Hex n More Ruler, which I have used before. I find it a bit more fiddly than the Super Sidekick Ruler. I think that is because there are a couple of other angles to cut.

I'm using Moongate from Maywood Studios for this pillow. I have it leftover from the GE Designs Hope Quilt Along. I finished that top, but I haven't quilted it yet. Maybe a coordinating pillow will inspire me to get it done so that I can show it off! Last week, I took my scraps from that project and turned them into 5" squares.

IMG_2488.JPEG

Today, after watching Julie's video for tips, I cut the half hexies. It's a good thing that I watched the video because it probably would've stressed me out to have a tiny bit of fabric missing from the edge. Julie said that it was okay, though!

IMG_2577.JPEG

After cutting, I laid out all of the pieces until I had a few remaining that would be sliced and diced for the edges. Before I decided on what those would be, I made sure I was happy with the middle and that I would have enough variation for the edges. Overall, I think I'm pleased with the layout, but I'll keep looking at it until next week's tip video for sewing it together.