Jolly Box 2020

I feel like I haven't been getting much done; lately, it's been a bit tough, but today is my birthday, and a birthday surprise arrived! The Fat Quarter Shop 2020 Jolly Box! I wasn't expecting it to come for a few more days, so it was a pleasant surprise. I'm sure you're wondering what was in it, so I'll stop babbling and get to sharing.

IMG_3166.JPEG

I didn't have any clues about what would be in the Jolly Box this year since fabric has been selling so quickly in the last seven or so months, and there's not much Christmas fabric left to be had. I was quite surprised when I opened it at Deer Christmas by Urban Chiks for Moda was staring back at me.

Here's what was in the box:

Fat Quarter Shop Exclusive Deer Christmas Multi Deer Quilt Panel - at 23" x 42" it's smaller than the original panel, but a great size for a wall hanging.

Deer Christmas Charm Pack - charm packs, need no description, do they? 5" squares of this adorable fabric collection ready to go!

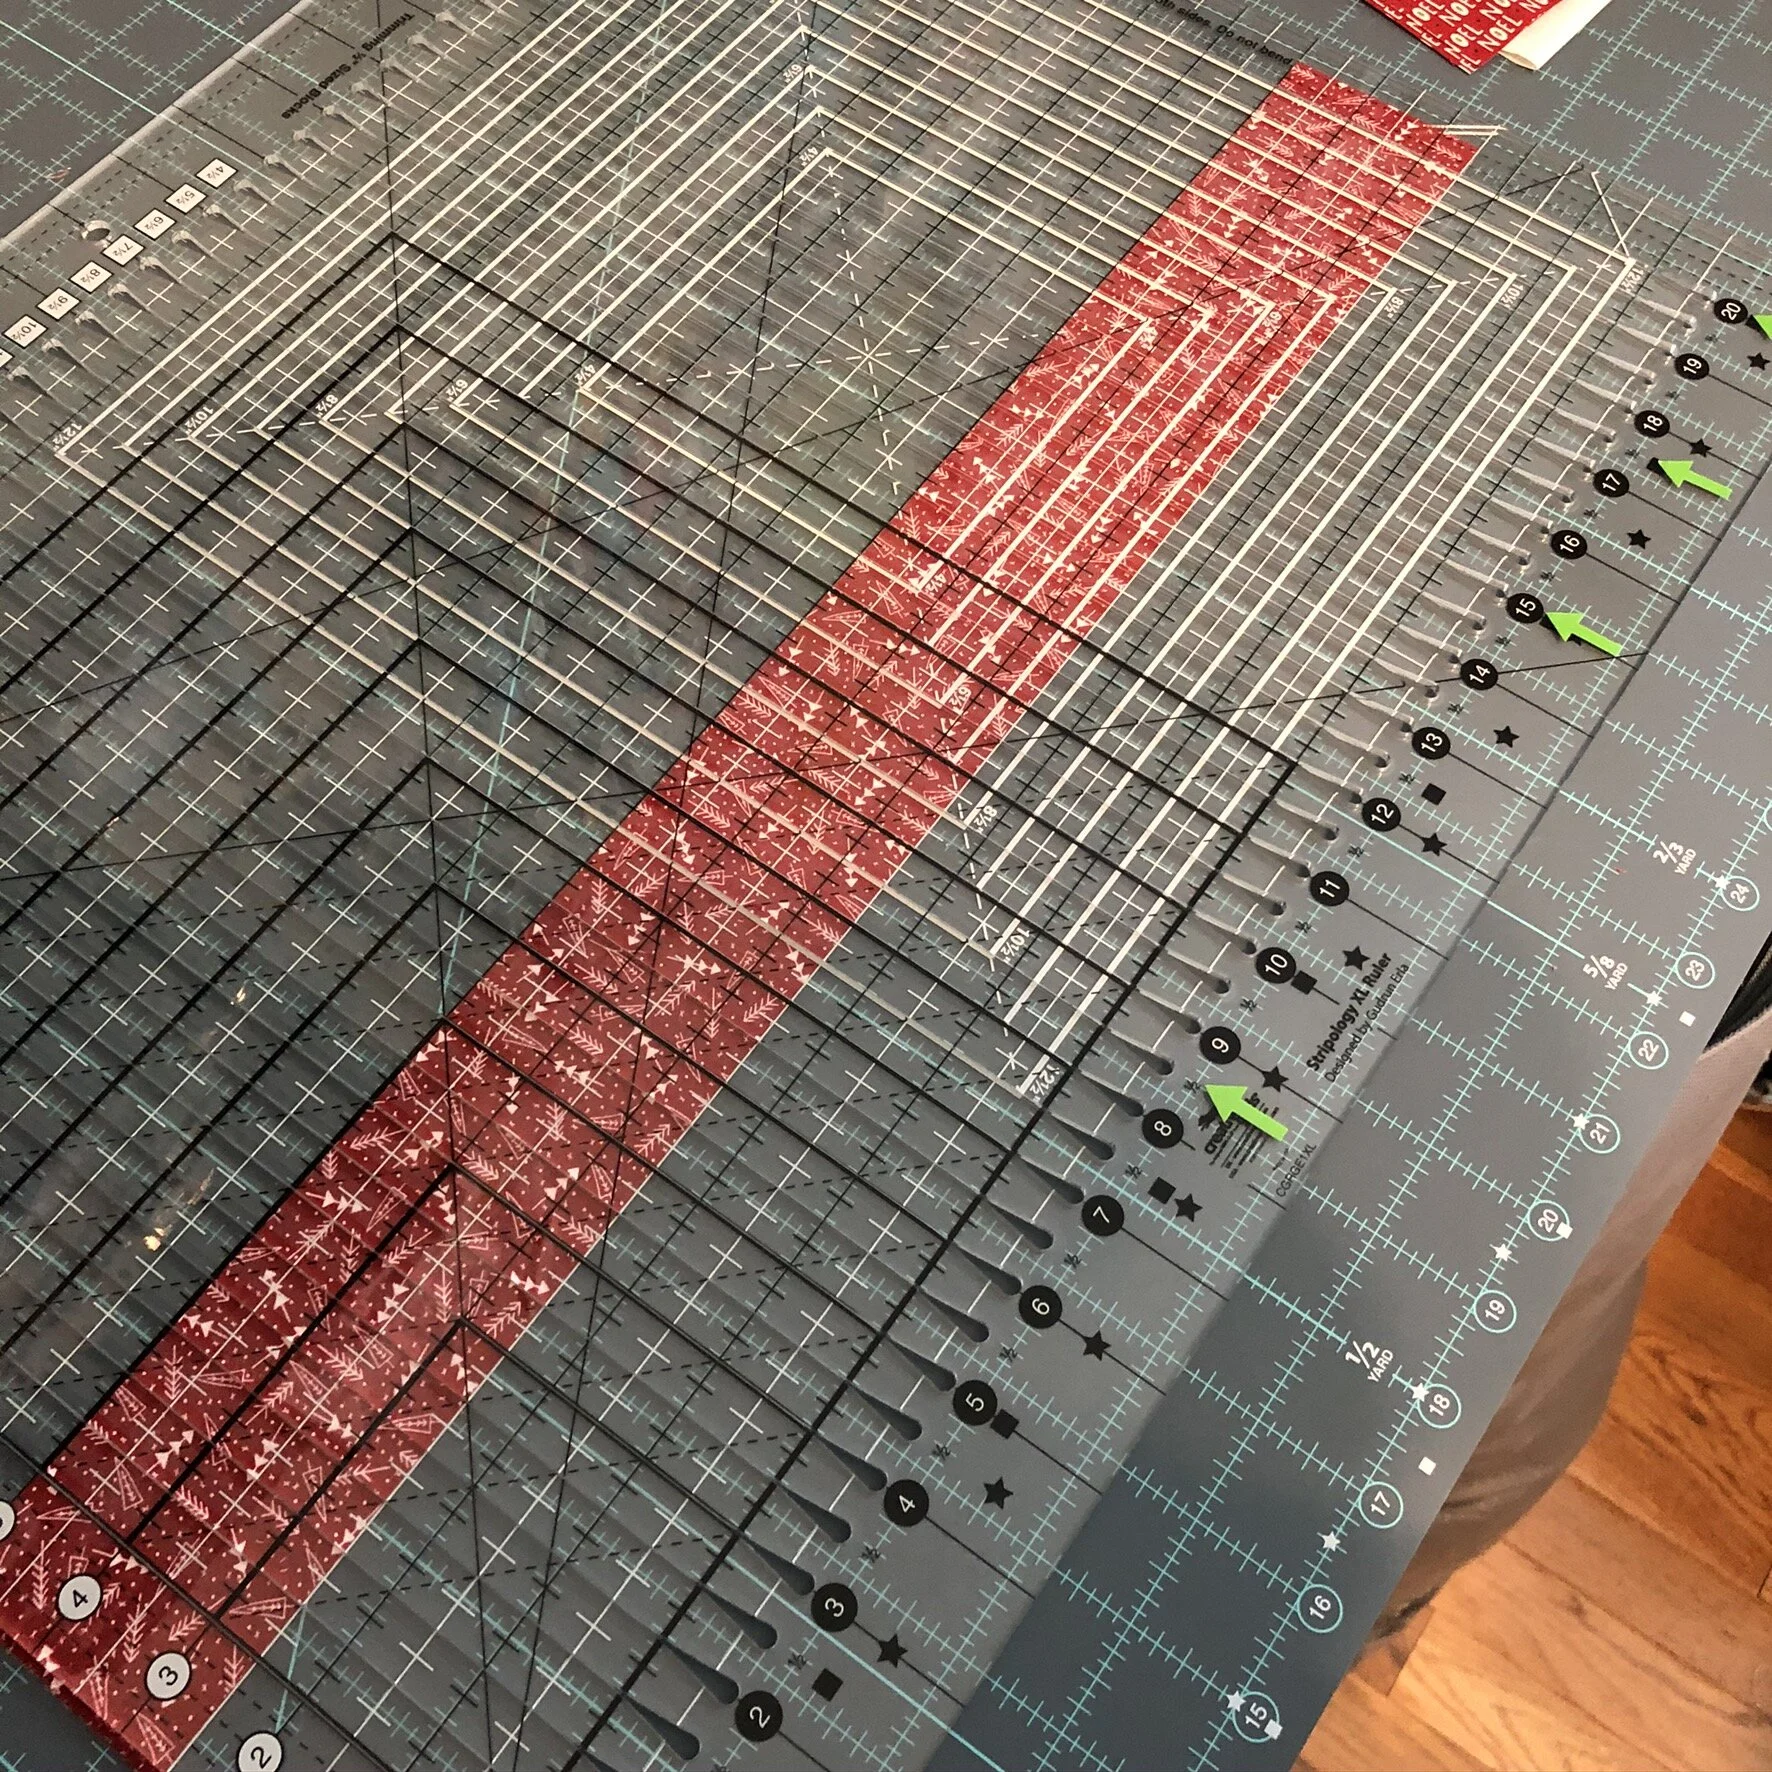
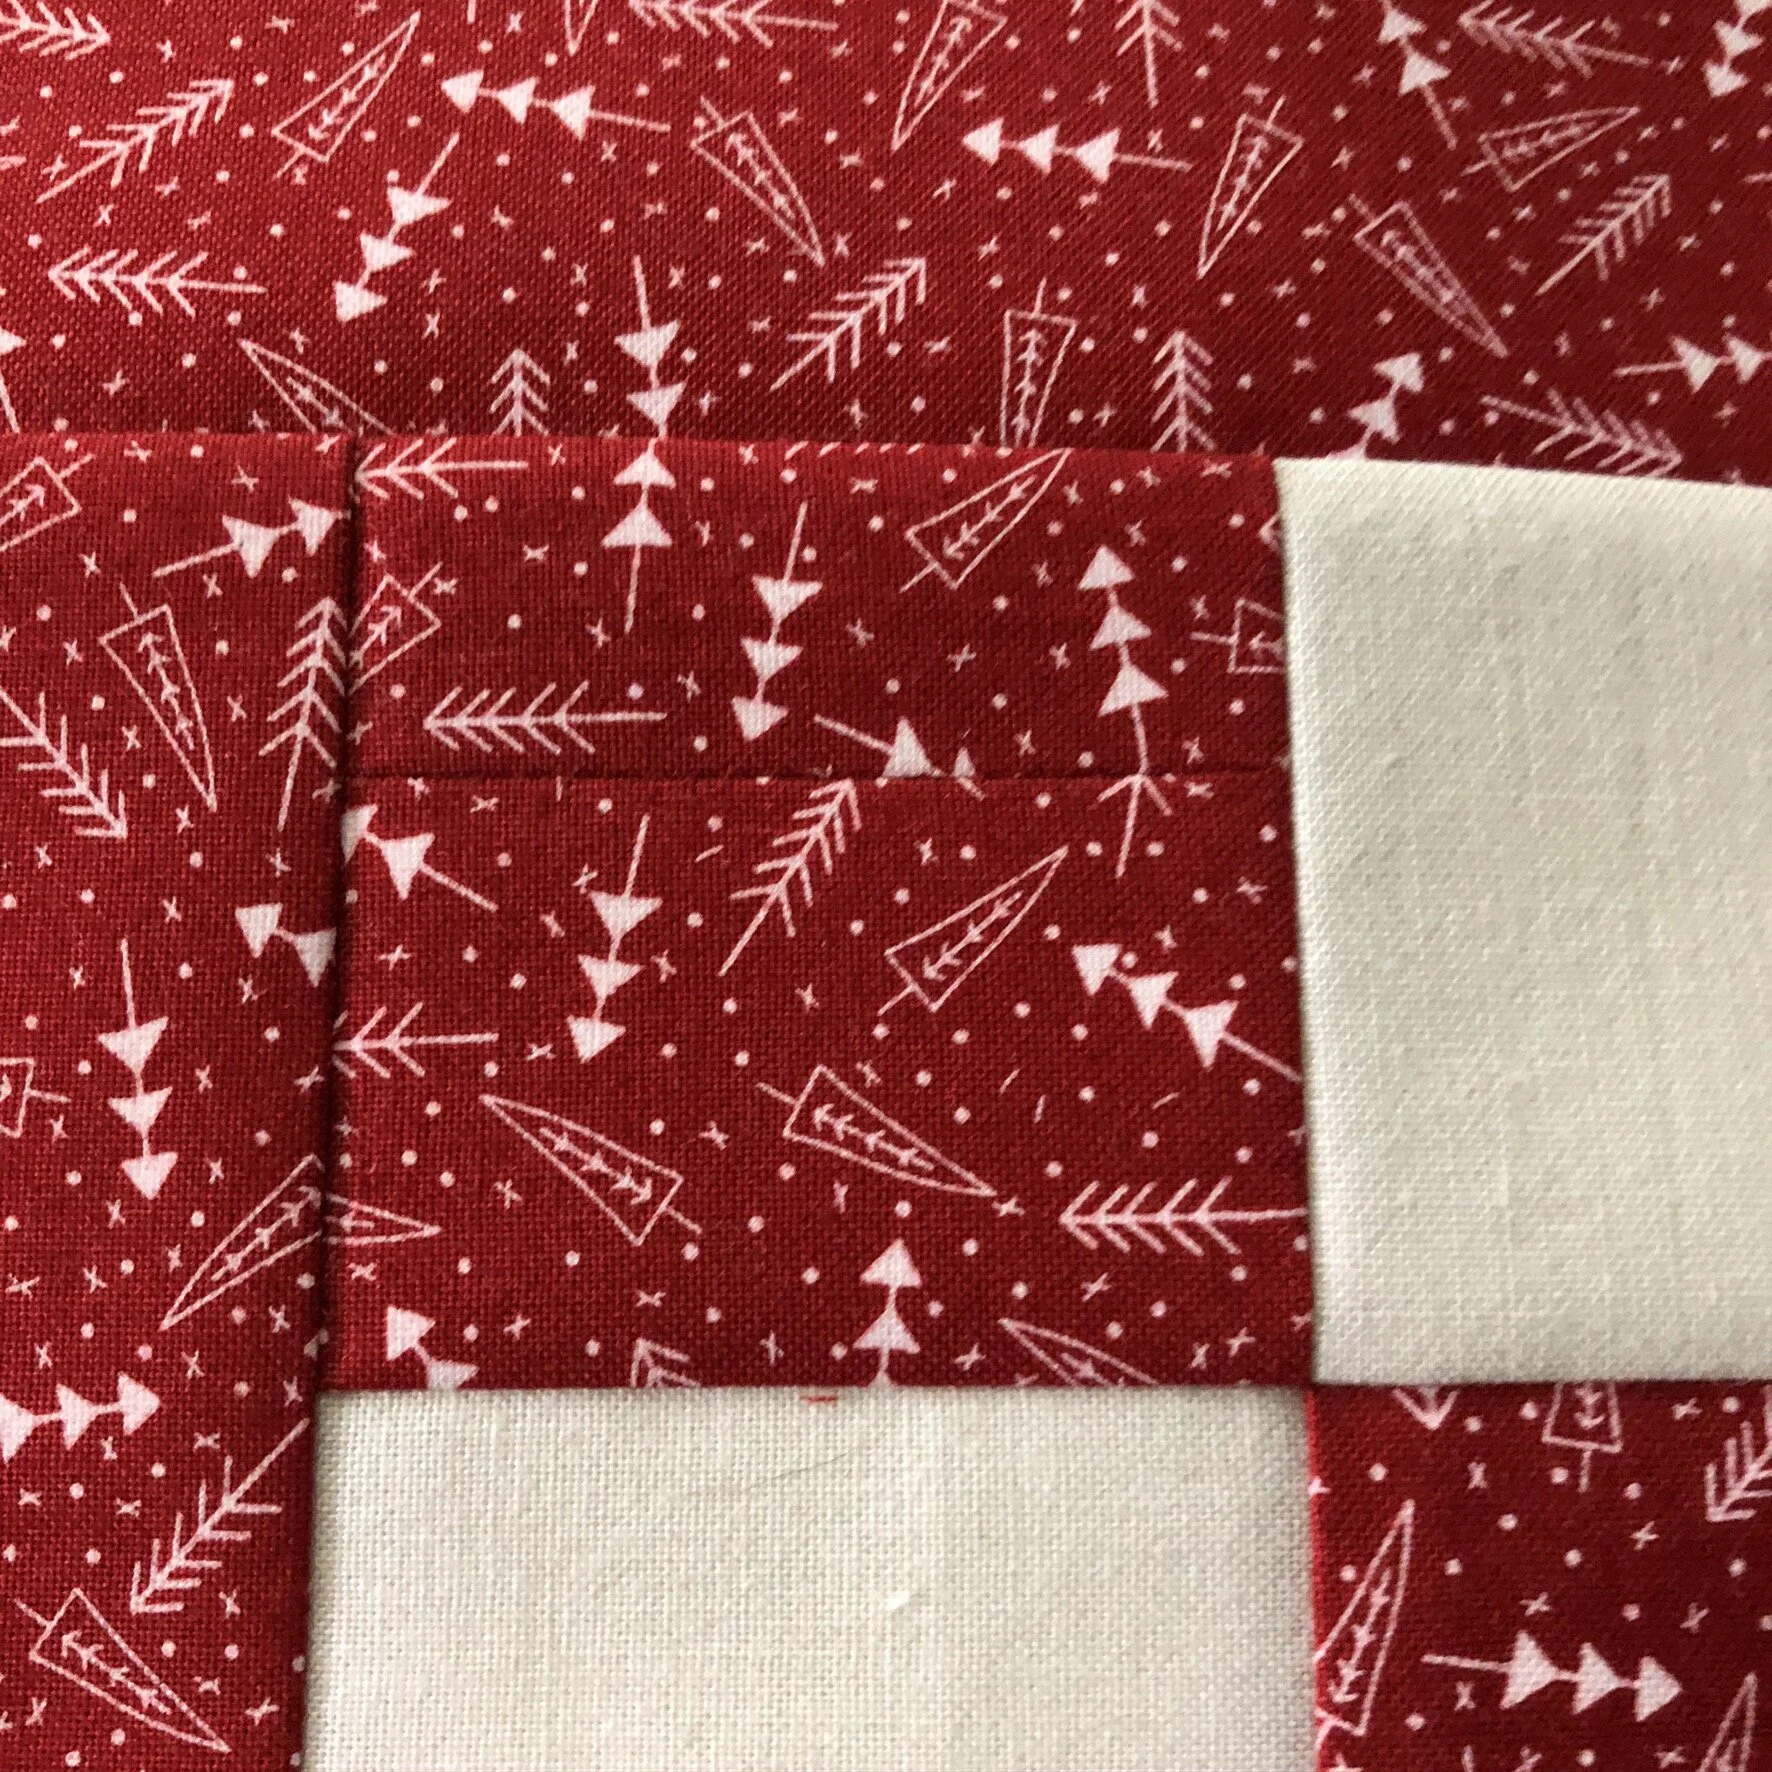
North Pole Quilt Pattern - The finished size of this project is 27 1/2" x 36 1/2", so it's an excellent option for a wall hanging. It uses the panel and charm pack for a simple, quick project that can quickly be done in time to celebrate this year.

IMG_3168.JPEG

Oh Deer! Socks - One cannot have enough socks, especially up here in Massachusetts! These cute socks feature the deer from the Deer Christmas fabric line and polka dots. And, I, for one, cannot get enough polka dots.

Two Spools of Aurafil 50wt - Pretty self-explanatory, two small spools in two colors I often use, 2600 and 2024.

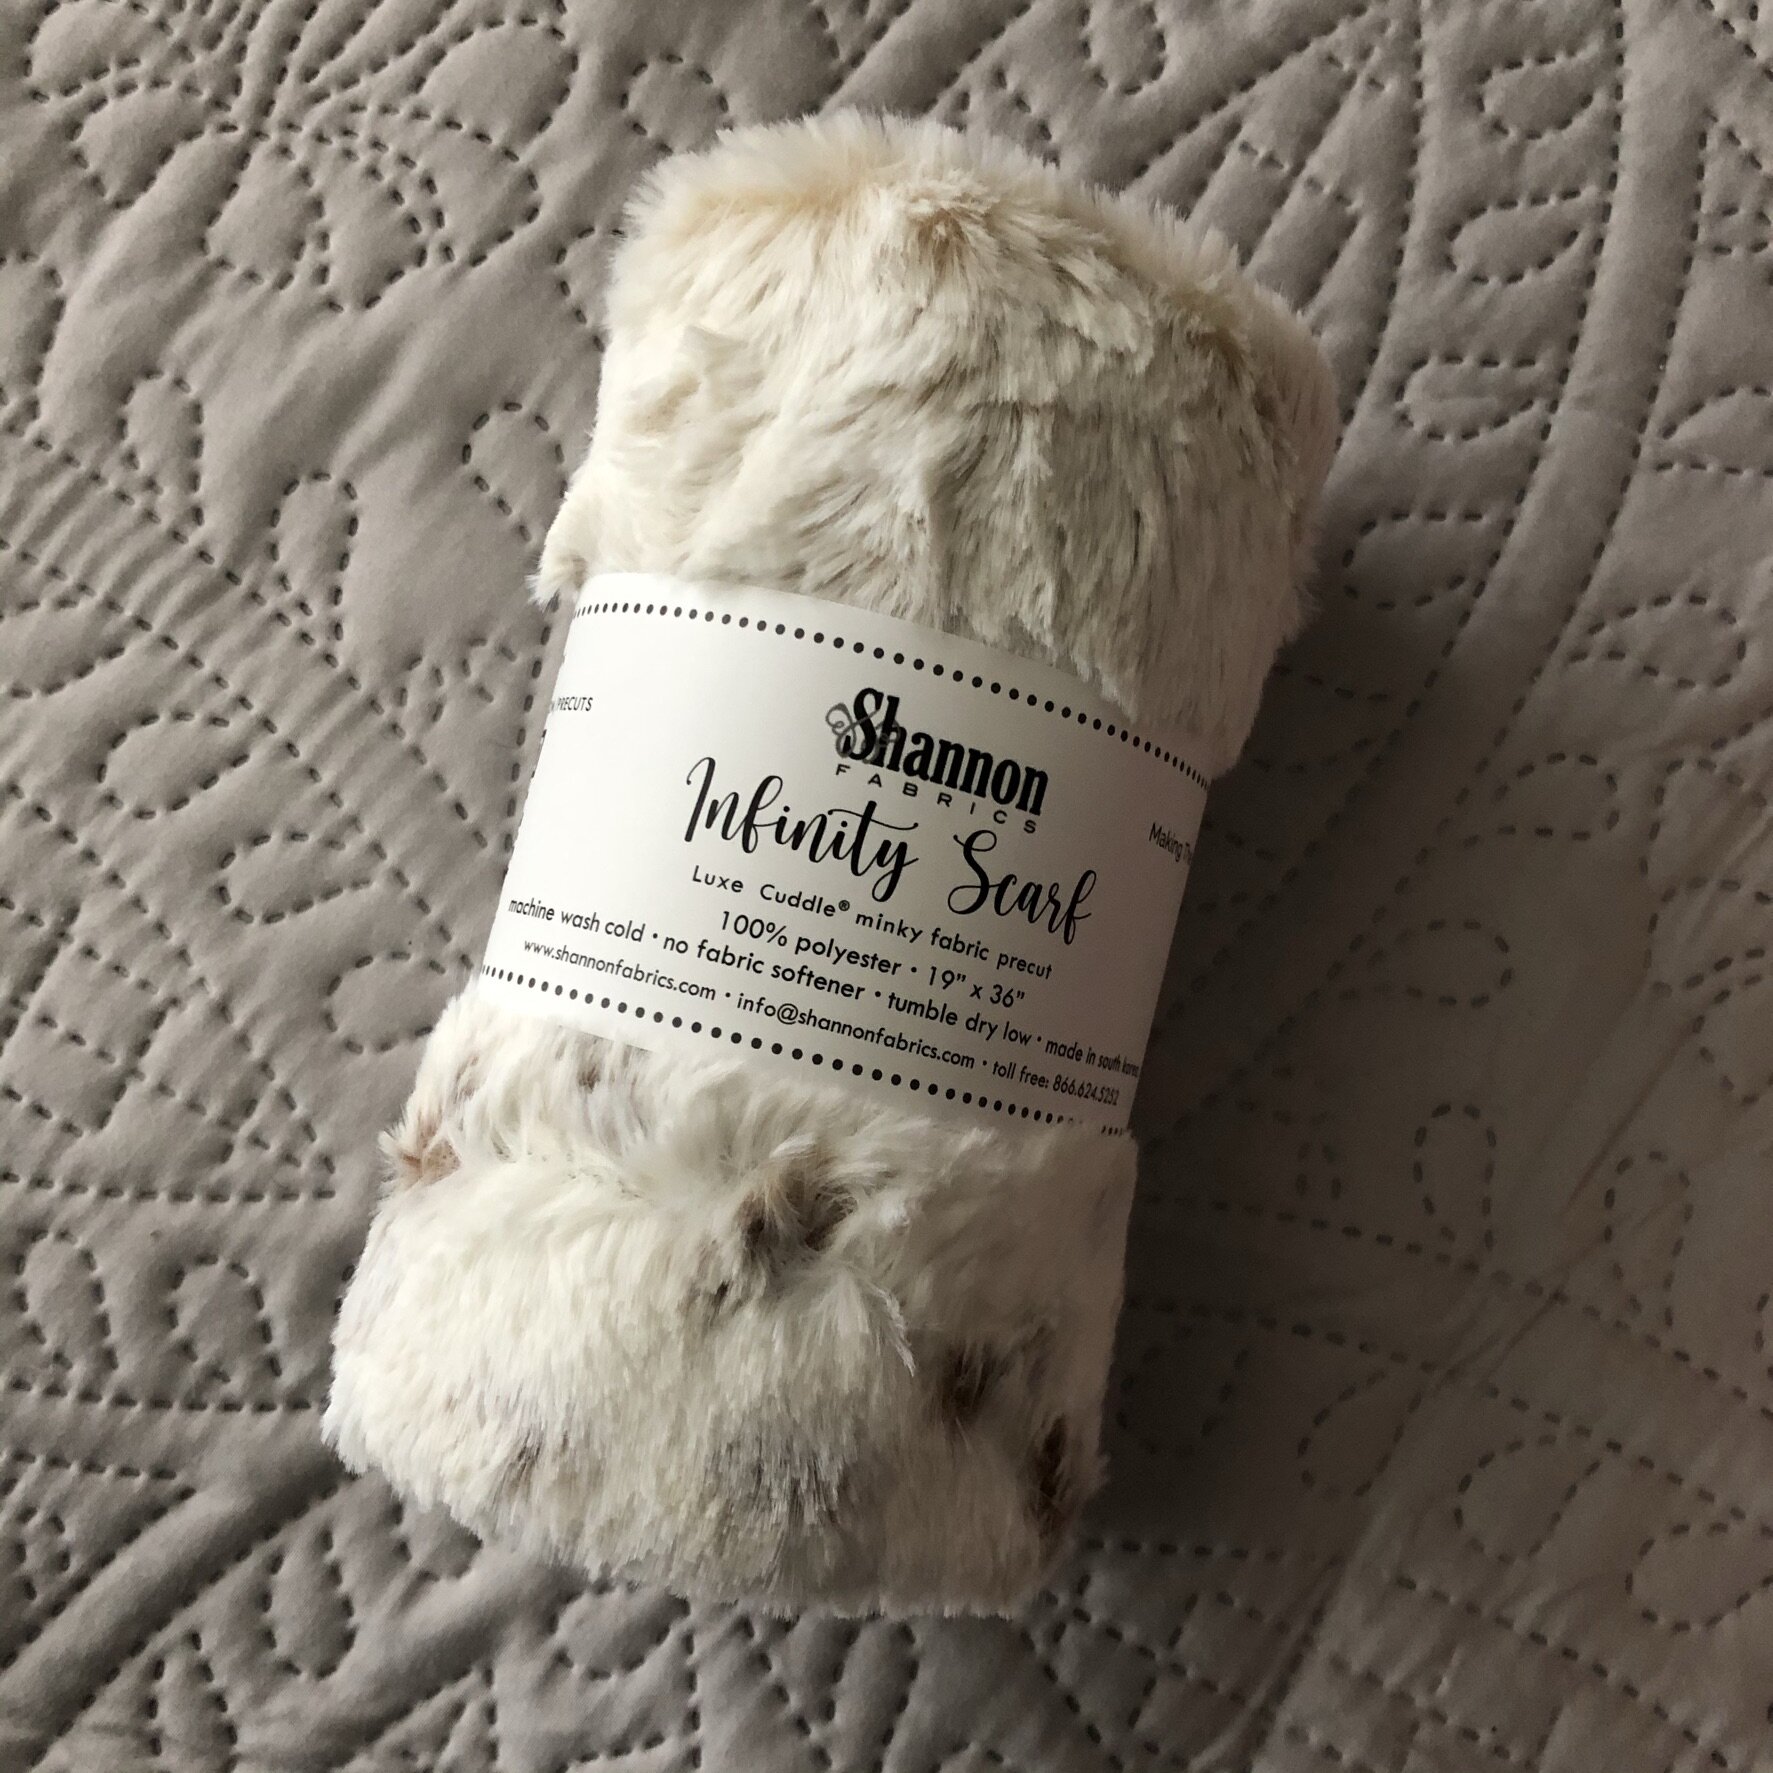
Frost Lynx Infinity Scarf Kit - I'm certainly intrigued by this. I've wanted to give Minky a go for a while, but I just haven't leaped. I guess I will now with this infinity scarf kit! I'm looking forward to having something soft and warm, especially as the daylight hours quickly get shorter; something soft and comforting is just what you need. There are some similar ones here.

IMG_3167.JPEG

Homegrown Holidays Pocket Notepad - From Moda, this cute notepad has a magnetic closure and smooth paper (I'm a paper-snob sometimes) with a linen-print and snow-covered trees.

This box is pretty different from the previous two Jolly Boxes, but I'm pleased with the variety in this one. We get to try a little of everything with this one.

Journey 2 Nebula - Jawbreaker: Finished!

I finished the latest project in the Journey 2 Nebula this week. Jaybird Quilts Jawbreaker is a pillow that uses the Hex n More Ruler to create triangles that turn into hexagons. Last week I had a little trouble with my rotary cutter, but I'm all healed now. You can barely even tell where I had the accident!

I watched Julie's video that had tips for assembling the hexagons and set to work. I don't have an ideal place in my sewing area to layout projects, so I usually do it on the spare bed. Then I have to walk between the two rooms, which isn't a huge deal, it's extra steps, but I like to figure ways to still be accurate without making too many trips. I did figure out a way to chain piece these rows and make it easier. First, I took a picture with my phone of the layout, so I had a reference to double-check the layout. Then, I stacked the triangles from one for and lined them up in order next to my sewing machine. Chain pieced them in pairs and brought them over to the ironing board to press, still attached. When pressing open, I picked up a tip from Kimberly Jolly of Fat Quarter Shop. I set my seams and then press them to one side, then flip them over and press open. I have tried both this and just pressing open in the same sewing session, and I find this way much easier. After pressing open, I bring them back to space next to my machine, still attached, and lay that down. Next, I clip the threads and rotate the pieces to the appropriate layout. After double-checking my layout, I sewed the first two and the last two together, cut the threads, checked the layout, and sewed those two pieces together. I stitched together the rest of the rows and just kept them stacked next to me, so I had them for reference from the next row.

I was a little anxious about trimming the pillow's center since I didn't have a ruler big enough to use for the total square. I followed Julie's direction in the video, and I successfully trimmed the oddly-shaped piece into a square! I was pretty darn proud of myself the other day when I did that successfully.

IMG_2756.jpg

I used another strip from the jelly roll I used for the strip sets for my inner border. I added the two borders and let the top sit for a day to decide how to quilt it. I've seen some lovely quilted Jawbreakers on Instagram and Facebook, and even the simple quilting on the cover of the pattern is appealing. I love the hexagons and didn't want to take away from them at all, so I went with very simple stitching in the ditch. I've never been overly successful with this, but since I haven't tried it in a while, I went for it, and I'm pretty happy that my seams must have been straight because I didn't have trouble stitching in the ditch.

IMG_2782.JPEG

Assembling the pillow should have gone a little more smoothly than it did for me, and if I had paid more attention to what I was doing, it probably would have. After basting the front and back together, I realized that I did the opening vertical to what I was considering the top and bottom instead of horizontal. I momentarily debated ripping it out and starting over. In the end, I decided since this wasn't a learning-how-to-pillow journey, and since it's a pillow that will only be out for about a month and a half, and you can't tell it's wrong, I left it. I did insert a label the same way I did with the last pillow. I printed it on paper with my inkjet printer and then sewed it into the backing.

IMG_2795.JPEG

I love the finished pillow! I didn't purchase another pillow form, so this is just the same form from Amazon that I used on Lucky Charm. Before Christmas, I'll probably pick up another one so that I can use the pillow to decorate. I used the same fabric (and leftovers from the jelly roll) for the Jelly Snowflake. I still haven't quilted that project, but it's on the list before Thanksgiving! Whenever I look at how the hexagons came together so nicely, I am so pleased! I also really like how the black fabric pops. The tiny scattered trees is my favorite print in the collection, which is why I used it for the outer border, binding, and backing.

IMG_2800.jpg

Details
Fabric: The Christmas Card by Sweetwater for Moda
Thread: Aurafill 50wt, 2000
Pattern: Jaybird Quilts Jawbreaker
Batting: 100% polyester
Total Hours Spent: 7 hours, 39 minutes

Journey 2 Nebula - Jawbreaker: Cutting & Layout

The next stop on the Journey 2 Nebular is Jawbreaker. In this pattern, we practice cutting strip sets and turning triangles into hexagons. I've pieced Jaybird Quilts Science Fair before, so I'm pretty familiar with the technique.

For this project, I decided to use some leftover strips from my Jelly Snowflake Quilt, The Christmas Card by Sweetwater for Moda. (Yay! Using up stash!) I'm sure I must have mentioned it before, but I have realized that jelly rolls are not my favorite pre-cut. No matter what, they seem to end up wobbly, plus the ones I've been using are slightly over 2.5," which isn't necessarily bad, but for this pattern, the size is essential.

I felt a little lazy, so I didn't want to deal with starching the pieces for this one, so I went with Best Press. It performs similarly to the starch that I use, but I don't have to wait for it to dry. I use the unscented because I'm quite particular about scent, and it works well. I laid my strips out as straight as I could get them, sprayed, and pressed. There's a little shrinkage, and it stiffens the fabric up a bit.

After that, I pieced the strips so I could get to cutting. I did have a bit of a mishap while cutting this one, and unfortunately, the accident wasn't the fabric. It was my finger. Don't worry; it's not a major injury. I try to be very careful when using the rotary cutter since I tend to be accident-prone. Before I cut, I make sure my hands are out of the way, everything is stable, and I have created the habit of closing my blade every time I'm done with a cut, even if I'm just shifting the ruler. I've seen too many Facebook posts in my quilting groups of slices, and I'm not good with blood! Anyway, I have a feeling it was coming. When I thought, "you know, I think it's going to happen today...I'm going to get cut," I should've just put the rotary cutter down and walked away. Not me! As I moved to close my blade with my right hand, my left hand decided to have a mind of its own and moved just close enough to the blade that it cut my index finger between my second and third knuckles. It was an instant, and all I could think was, "Oh no!" I immediately applied pressure after seeing how much it would bleed (not the best plan for someone who doesn't like blood) and went to grab a paper towel. I laid down and applied pressure for a bit. After a while, I checked it, and the pressure worked, and it seemed to stick itself back together. After that, I cleaned it up, applied my trusty antibiotic ointment and a bandage, and moved on with my day. It stung for a bit, about the same as a nasty cat scratch, but it's not too bad now.

Despite all of that drama, I managed to get my triangles cut. It's a pretty easy cut. After repositioning the ruler each time, you just have to make one cut.

IMG_2692.JPEG

I'm not sure which fabrics I'm going to go with for assembly, but I think I like this layout. I know the black stands out, but I really love the Christmas tree print, so I don't hate that it's a feature fabric. I have a week to decide!

IMG_2694.jpg

Jelly Snowflake Mystery Quilt Block 4

I managed to get myself caught up on the blocks for the Jelly Snowflake Mystery Quilt Sew Along! Block 4 was a relatively easy block, though it is a long rectangle, which I worry about a little because sometimes they have a tendency to get a little wobbly.

IMG_2071.jpg

It was a pretty easy block to put together. Once I had the pieces cut (which also didn’t take long with the Stripology XL ruler), I was able to assemble each block in about half an hour. That includes pressing and trimming. Considering I’m not the speediest sewer, I’m pretty pleased with that time.

99802A6B-396F-4314-82F5-A490925D6A29.jpg

I’m excited to put together the final layout. I couldn’t wait, so I laid it out and I’m letting the layout sit for a day or so. I generally like to do that will all of the quilts I make. I like to make sure that I’m don’t have two of the same fabrics next to each other, or two of the same color. I’ll usually lay it out, take a picture (or two) with my phone and stare at it, squint my eyes, and scroll back and forth from the image so I can get an overall picture.

Mistletoe Lane Stitch Along Week 2

Week 2 of the Mistletoe Lane Stitch Along went significantly quicker than week 1. This was a pretty easy stitch, and it was nice to add in some additional colors to the piece. I first stitched the dark green leaves and the berries. After that, I filled in the lighter green on the leaves and stitched the stocking. I love how they’re not traditional Christmas colors. I do usually decorate in more traditional colors, but I’m excited to have this in one of the rooms I don’t usually decorate to add a little holiday flair.

IMG_2020.jpg

I’m currently stitching week 3, which is the house. It is taking significantly longer, but I’m hopeful I’ll be able to get it done and caught up with week 4 (which is a nice small area) by this Friday.

Jelly Snowflake Mystery Quilt Block 3

So, I’m actually not as far behind as I said I was. I completed block 3 of the Jelly Snowflake Mystery Quilt in just over an hour this weekend. Compared to block 2, this one was a breeze. It helps that there weren’t any flying geese in this one!

I used my pretend design board to keep my pieces organized and it was so helpful. I messed up block 1 a couple of times when going back and forth between pressing and sewing together, so placing everything back on the board helped keep track of where everything should be.

IMG_2056.jpg

I did utilize chain piecing throughout and that seemed to help cut down on time. I did the two sections of the 4 patch and the square + green rectangle all at once, pressed and then completed the chain block. For the red pieces, I chain pieced the angled pieces, then pressed and added the squares. I’m really pleased with how this block finished, and super pleased with how quickly the four blocks came together.

IMG_2059.JPEG

Jelly Snowflake Mystery Quilt Block 2

What a shock, I’m behind! Block 2 of the Jelly Snowflake Mystery Quilt was a tough one for me. I’m not good at flying geese. It doesn’t matter what I do, how I cut, how I draw a line, how I sew, I inevitably end up with blocks that are off somehow.

I’ve been using my cheap-and-not-at-all-a-design-board piece of cardboard and that has helped me organize my blocks, along with the Alphabitties. I know I could easily MAKE a design board. Lori Holt just posted a video on it this weekend, but at the moment it’s spend time making a design board or sewing, and sewing has currently won. (If you haven’t checked out the video yet, I recommend it. The organization Lori has for her blocks is enviable!)

IMG_1992.JPEG

Someday, hopefully soon I’ll work on making my own design boards. I could also purchase them, but since I have the ability to make them, why wouldn’t I go the more affordable route? I DO need a glue gun anyway, so this is a good excuse, right? :)

Anyway, back to those flying geese. I don’t know why I have such a hard time with them. I’d like to blame my machine, but I’m pretty sure it’s more me trying to go too quickly and get things done and making a mess of things. I know that people are going to look at them and say “those look great, what are you talking about?” but if they’re not perfect, they’re wrong. (That’s a me thing though, I wouldn’t say that to anyone else!)

IMG_1993.JPEG

I did avoid trying to catch up on this block because of my fear of flying geese. And because I was going so slow, this block did take me a lot longer than I wanted it to, but they are done and I’m pretty pleased with them. I’m not sure I’ll be happy with using the lighter color on them, but using the lighter color also has the advantage of the mistakes blending in just a little bit better!

IMG_2053.jpg

Jelly Snowflake Mystery Quilt Block 1

Once again, I am behind on a quiltalong. I think I am destined to just not be able to keep up. That’s okay though, it’s still fun!

This week, I finished block 1 of the Jelly Snowflake Mystery Quilt. This was a fun block. I used my Stripology XL ruler to do all of the cutting and it went pretty quickly.

IMG_1956.JPEG

I did trim my jelly roll pieces to exactly 2.5” as Kimberly demonstrated in her video for the block. I need all the help I can get for getting precise blocks! You can see that I also used my Ruler Stickers from GE Designs on the ruler. Good thinking, right? Well…it’s good thinking when you actually pay attention and cut where the stickers are. If your brain thinks it knows better and cuts wherever it wants, you need to do some surgery on one block to make it a 2.5” square.

IMG_1986.JPEG

The good news is, I don’t think it’s very noticeable at all when you’re looking at the whole block, or when I don’t say “Can you see the mistake? It’s right here? See it?? See it…here!!??”

Overall, I’m super happy with the way the blocks came out and the process for making them. I did them over two separate days and the first two blocks took over 15 minutes longer to complete than the second pair of blocks I made. I’m sure that’s because I had gotten the hang of what they were supposed to look like.

IMG_1988.JPEG

You can’t see the mistake, right? ;-)

Jelly Snowflake Mystery Quilt

With everything going on in the world and spending a lot of time at home, I’m longing for joyous times. Christmas has always been a favorite holiday of mine, so when Fat Quarter Shop announced their Jelly Snowflake Mystery Quilt, how could I not participate?

I chose The Christmas Card by Sweetwater for the jelly roll, backing, and binding. It’s been hard to pick which 14 strips to use in the quilt, but I narrowed it down and starched. Now, I just have to decide which fabrics to use for part one.

IMG_1921.jpeg

2019 Jolly Box from Fat Quarter Shop

Every year the Fat Quarter Shop does a few special holiday boxes. The Christmas-themed box is called the Jolly Box. As someone who loves both FQS and Christmas, I’ve been stalking my email inbox and Kimberly’s Stitch Squad on Facebook for the first notification of the Jolly Box. It popped up last week and I placed my order immediately. The whisk on the box image made me even more excited to see what was going to be coming given my love of baking. Well, the package came today and I’m so excited!

IMG_0507.JPEG

I eagerly sliced open the tape so I could get inside and check out this year’s surprise and was thrilled with the collection of treasures that I found.

IMG_0508.JPEG

Here’s what was inside:
A bundle of seven fat quarters from Kimberbell’s We Whisk You a Merry Christmas line, which I think is just adorable. (I actually purchased a project bag for my cross stitch in this fabric a few weeks ago!)
A Wonky Star Ornament that doubles as an applique template
Happy Cloud Silky (80/20) Batting in a tablerunner size. This 19” x 55” package of batting is the perfect amount for the enclosed project.
A Double Tumbler Template. This nifty little template has options for both a chunky and skinny tumbler that can be 1” to 5”!
The Sugar Plum Stocking Pattern, which uses the enclosed templates and fabrics.

IMG_0509.JPEG

And finally, the super cute Peppermint Twist a Whisk. This spatula turns into a whisk with a quick twist. I haven’t seen anything like this before and is a fun addition.

I love this box even more than last year’s. With shipping, it was under $45 and is an over $65 value. I still haven’t made the project from last year’s box, but I think this one will be done soon!